
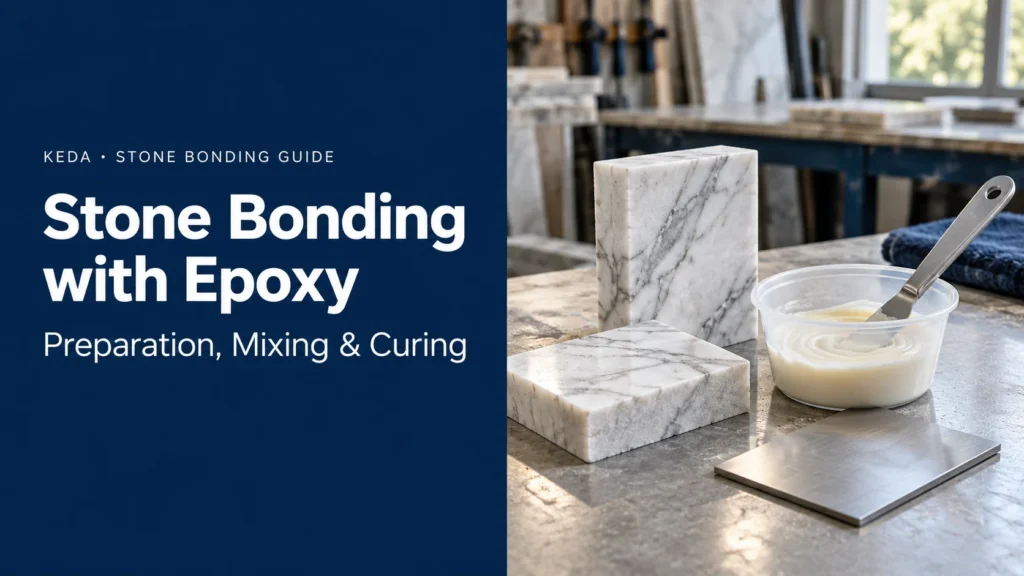
Una junta de epoxi para piedra fiable depende, en primer lugar, de las superficies con las que entra en contacto el adhesivo. La cara posterior de la piedra, un recubrimiento metálico, un tratamiento de resina preexistente y el estado del sustrato pueden alterar la interfaz de adhesión. Un adhesivo de alta resistencia no puede compensar una capa suelta que se encuentre debajo de él.
Para el trabajo práctico, siga esta secuencia: defina la unión, prepare las superficies de contacto, encaje las piezas en seco, mida los componentes que van a encajar, mezcle bien el producto, colóquelo dentro del tiempo de trabajo y mantenga el ensamblaje apoyado durante el tiempo de curado necesario.
Esta guía distingue entre la unión de la instalación y el tratamiento con resina para la reparación de losas, y a continuación explica los controles que deben realizarse tanto en el taller como en la obra para garantizar que el proceso sea repetible.
1. Define el trabajo antes de elegir el epoxi
La conexión a tierra y la reparación de losas son procesos distintos
La pasta que se utiliza en la unión entre la piedra y el soporte debe adaptarse a la geometría de la junta y al sistema de instalación. La resina líquida que se emplea para tratar los defectos superficiales durante el procesamiento de las losas tiene una función, un método de aplicación y una secuencia de acabado diferentes.
| Tareas pendientes | Debate sobre productos relevantes de KEDA | ¿Qué caracteriza al proceso? |
|---|---|---|
| Unir una interfaz específica entre dos piedras o entre una piedra y un soporte | Adhesivo estructural epoxi de dos componentes | Superficies de contacto reales, detalles de las uniones, soportes, sistema de fijación y exposición |
| Tratamiento de los defectos superficiales durante el procesamiento de las losas de piedra | KD-015: Resina epoxi para la reparación de losas de piedra | Condiciones de defecto, aplicación de resina, curado asistido y acabado posterior |
| Analizar el uso de malla de refuerzo para losas frágiles | Evaluación del proceso KD-015 | Estado de la piedra, malla, proceso de fijación y requisitos de manipulación |
| Colocar baldosas, rellenar juntas de dilatación o inyectar material en las grietas de los edificios | Una selección independiente de productos y sistemas | El método de instalación y los requisitos de mantenimiento para esa tarea concreta |
Adhesivo estructural epoxi de dos componentes KEDA es el punto de partida para las interfaces de instalación rígidas designadas. Resina epoxi KEDA KD-015 para la reparación de losas de piedra Se refiere al tratamiento de la resina en la fase de fabricación. Para elegir entre ellas hay que partir de la función que vayan a desempeñar, y no del término común “epoxi”.”
Describe la articulación en una sola frase
Incluye tanto los materiales de contacto como la función del adhesivo y las condiciones de servicio. Por ejemplo: “Pega la cara posterior preparada de este componente de mármol al soporte metálico especificado dentro del conjunto de revestimiento”. Añade un plano de la unión y fotografías de las superficies reales.
En cuanto al revestimiento, el diseño establece la trayectoria de la carga, la superficie de unión y las fijaciones mecánicas. La selección del adhesivo se ajusta a esa disposición. El Guía de instalación de mármol en vertical explica cómo se complementan entre sí el soporte, la fijación y la unión.
2. Preparar las superficies de contacto reales
Inspeccionar la piedra, el soporte y los materiales adyacentes
No te fijes solo en la superficie pulida. Toma nota de los tratamientos con resina, malla, selladores, recubrimientos y restos de adhesivo en el reverso. Una unión satisfactoria con la piedra sin tratar no garantiza la adhesión a una capa de soporte no identificada.
Comprueba también el material que hay debajo de la superficie de contacto. Un adhesivo bien fijado puede desprenderse si la capa de piedra es débil, el revestimiento está suelto o el hormigón no está en buen estado. Detén la preparación si se descubre una losa inestable o un defecto más profundo que requiera una evaluación.
| Superficie de contacto | Qué hay que identificar | Objetivo de la preparación |
|---|---|---|
| Piedra sin revestir | Polvo, humedad, capas frágiles, tratamientos previos y defectos | Material de contacto en buen estado, limpio y seco, preparado para el adhesivo seleccionado |
| Piedra con soporte de resina o malla | Identificación de la resina, fijación de la malla y estado | Una interfaz definida representada en la prueba de compatibilidad |
| Metal | Aleaciones, óxido, aceite, pintura, galvanizado u otros recubrimientos | Metal preparado de forma estable o un recubrimiento conservado deliberadamente y evaluado |
| Sustrato de hormigón o mineral | Loose material, curing compounds, coatings and moisture | Sound substrate with interfering layers addressed |
| Existing repair area | Old adhesive, contamination and recurring damage | A stable repair condition with its cause understood |
Clean and Abrade as One Controlled Sequence
Use a preparation method suitable for both the substrate and the selected adhesive. Remove contamination without spreading it across the bonding area. Where abrasion is required, control its extent, remove the resulting dust and protect the prepared face from handling and renewed contamination.
Avoid a universal grit number or solvent recipe. The right method depends on the stone, coating and adhesive instructions. Acid etching is a poor default for natural stone: marble and other calcareous stones can be damaged by acids. Likewise, sealing a porous bonding face first creates a different interface rather than automatically improving adhesion.
Plan dust control and chemical handling before starting. Use the protective equipment and ventilation stated in the component safety information, and keep preparation residues away from the mixing area.

3. Dry-Fit and Arrange Support Before Mixing
Rehearse the assembly with no adhesive present. Confirm the parts fit, the bonding faces are accessible and the crew can reach the final position without dragging contamination into the joint.
Set out the holding equipment, clean tools, mixing containers and cleanup materials. Establish who mixes, who positions and who records the batch. For heavy components, complete the handling and support plan before opening the adhesive containers.
Use the joint detail to determine contact area and thickness. A thick blob is not a general correction for an inaccurate fit, and squeezing every trace of adhesive out can leave an inadequate bonding layer. The dry fit should reveal these problems while they can still be corrected.
4. Measure Components on the Stated Basis
Keep Volume Ratios and Weight Ratios Separate
KEDA’s current product page for 2-Component Epoxy Structural Adhesive specifies A:B = 1:1 by volume. For that listed product, measure equal volumes of the matched components. Equal volume does not automatically mean equal weight; follow the instructions supplied with the actual grade.
Use suitable volume-measuring equipment for a volume instruction. For paste products, the dispensing method must produce reproducible filled volumes without large trapped voids. Two similar-looking scoops are not a measurement method.
If another supplied epoxy specifies a ratio by weight, calculate the batch from that written ratio. For a required total mixed mass:
- Part A mass = total mixed mass × A parts ÷ (A parts + B parts).
- Part B mass = total mixed mass − Part A mass.
These formulas apply to a weight-based instruction; they do not convert the P02 volume ratio into weights. Choose a batch large enough for the weighing equipment to resolve both quantities reliably, while remaining manageable within the available working time.
Prevent Cross-Contamination
Use separate clean dispensing tools for A and B. Keep lids and tools assigned to their own components, and close the source containers after dispensing. Mixed material belongs in the working container, not back in either original pack.
Record product identity, component lots, measured quantities, measurement basis and mixing start time. This short record makes a later soft patch or unexpected cure easier to investigate.
5. Mix a Batch the Crew Can Place
Mix in a clean container using the product’s stated method. Work through the material, scraping the walls, bottom and corners so unmixed pockets are brought into the batch. Similar component colors make color uniformity an incomplete check on mixing.
Keep the batch size tied to the actual placement sequence. Temperature, mixed quantity and container geometry can affect the working window. A published working time under specified conditions is not a guaranteed countdown for every bucket and site.
Use a smaller batch or improve the assembly sequence when the crew cannot finish placement in time. Extra hardener, solvent or improvised heating changes the material instead of solving the scheduling problem. Stop using material that has begun to gel or thicken beyond its usable condition.
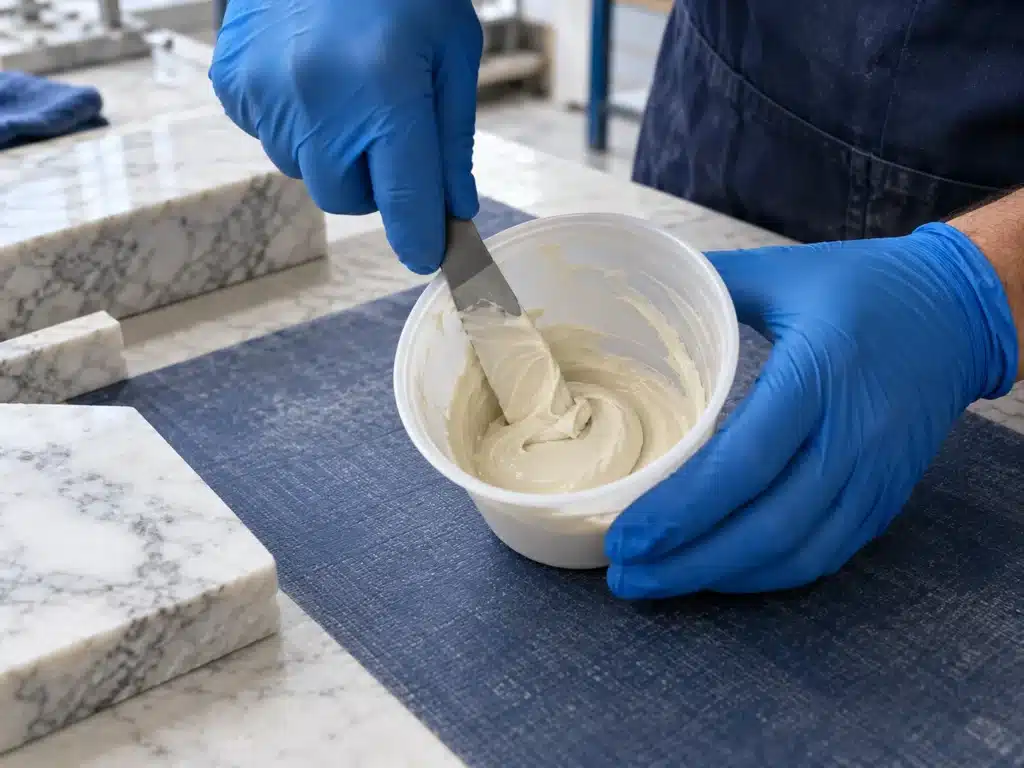
6. Apply, Position and Hold the Joint
Place the adhesive at the interfaces, contact area and thickness defined for the work. Bring the components into position within the working window and check alignment immediately. Maintain the required holding arrangement without forcing the joint below its intended thickness.
Visible squeeze-out can help identify local placement issues, but it does not prove complete internal contact. Assess placement on representative samples using the planned inspection method before production. Preserve the specified supports and mechanical fixings throughout the installation sequence.
Plan excess removal with the sample. A tool or cleaner that removes fresh adhesive may mark the stone or spread residue. Protect the finished face, use the agreed cleanup method and inspect the dry result. For pale or translucent stone, include a marble staining and glue-line assessment in the trial.
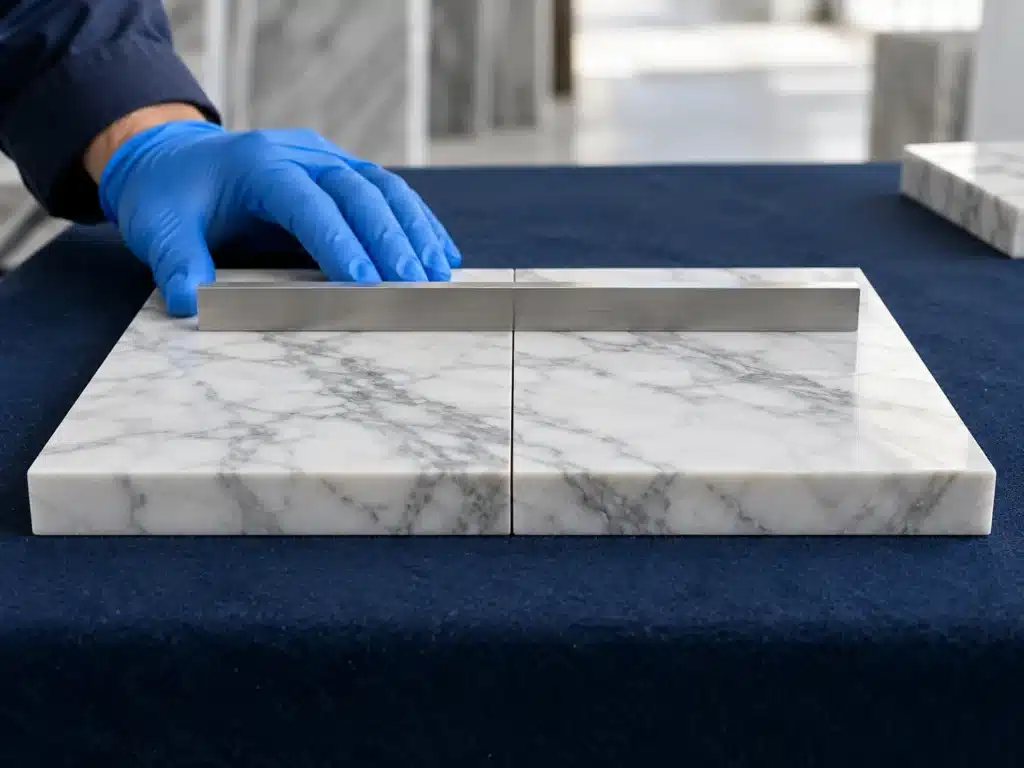
7. Separate Handling, Finishing and Service Readiness
Keep the assembly supported, protected and undisturbed through the required curing stages. Record actual conditions where the joint cures, including changes that could affect the product’s processing schedule.
Treat each next operation as a separate release decision:
- Handling: moving the piece without disturbing the joint.
- Finishing: grinding, polishing or machining without damaging the repair or bond.
- Support removal and loading: meeting the installation system’s required condition.
- Service exposure: reaching the stage required for the intended environment.
Surface hardness alone does not answer all four questions. Use the supplied product instructions and the assembly requirements to establish release points. The marble adhesive properties guide explains the distinction between working time, early processing and full cure.
For KD-015 trials, inspect the resin-treated stone after the planned finishing sequence. Compare repaired areas and surrounding stone with an untreated reference. A surface that looks filled does not establish that a damaged slab is ready for lifting or installation.
8. Evaluate the Sample and Investigate Problems
Make the trial from representative stone and contact materials. Reproduce preparation, joint geometry, mixing, holding, cure and cleanup. Define appearance and performance requirements separately so an attractive seam is not treated as a strength result.
| Observation | Investigate first | Next action |
|---|---|---|
| Soft or uneven areas remain | Component match, quantity, measurement basis, mixing and cure conditions | Isolate the affected work and review the batch before another trial |
| Adhesive separates from a face | Contamination, coating, moisture, preparation and contact | Preserve both faces and identify the separation location |
| Stone or backing breaks away with the adhesive | Weak layers, defects and backing attachment | Assess the substrate or stone condition rather than simply increasing adhesive strength |
| Parts drift or alignment changes | Fit, holding arrangement, joint geometry and working window | Rehearse and revise the positioning sequence |
| Joint or surrounding stone changes color | Material interaction, residue, tint, translucency and exposure | Compare with the reference and vary one factor at a time |
| Material gels before placement ends | Batch size, conditions, container and crew sequence | Replace unusable material and revise the batch plan |
Document photographs, timing and the exact location of any separation. The stone bond-strength testing guide explains how to define a relevant test and read its limits. Tapping, a thumbnail check or an improvised pull cannot establish an installed assembly’s design capacity.
Discuss the Complete Process With KEDA
Send the stone type, reverse-face photographs, adjoining material, joint drawing, support arrangement and service conditions. Include whether the work is installation bonding, surface repair or a mesh-backing process, plus the next handling or finishing operation.
Ask for the matching product grade, component instructions and a representative trial plan. For a broader comparison of fabrication, tile setting and joint materials, use the marble adhesive selection guide.
Ponte en contacto con KEDA with those details to discuss the appropriate product and supply requirements.
Frequently Asked Questions
1. What epoxy should I use to bond stone?
Start with the joint’s function and contact faces. Installation bonding paste and slab-processing resin perform different jobs. Include the actual stone backing, adjoining material, support and exposure when selecting the product.
2. Are equal amounts of Part A and Part B always correct?
No. Use the ratio and measurement basis for the supplied grade. A volume instruction requires volume measurement; a weight instruction requires weight measurement. Pack size and visual scoop size do not establish a transferable mixing ratio.
3. Should I seal porous stone before epoxy bonding?
Treat a sealer as a change to the bonding interface. Use a preparation process developed for the stone and adhesive, and represent any retained treatment in the sample. Sealing is not an automatic adhesion improvement.
4. Can epoxy replace stone brackets or anchors?
The installation design determines the load path, bonding areas and fixings. Select the adhesive within that system and retain its specified supports. The product name alone does not authorize a change to the fixing arrangement.
5. When can bonded stone be moved or polished?
Use the product-specific release criteria for each operation and the actual curing conditions. Handling, machining and service loading can require different stages. A dry-feeling or hard surface is insufficient evidence for every next step.