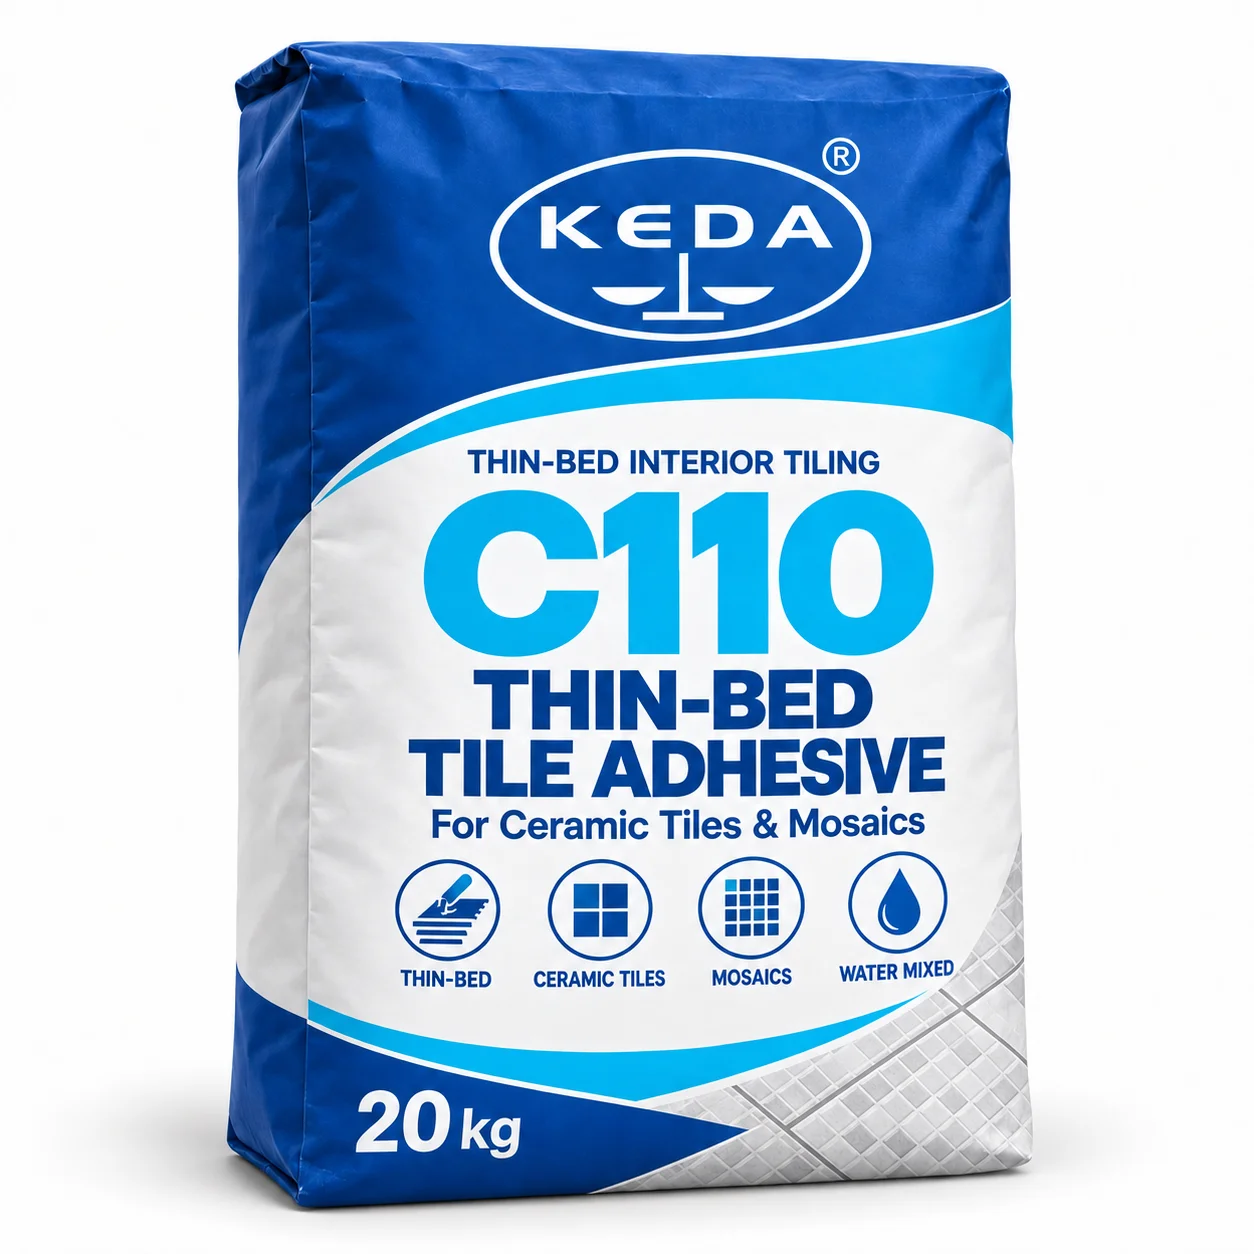
Thin-Bed Installation for Interior Ceramic Tiling
KEDA C110 is designed for notched-trowel application on properly prepared substrates. Its thin-bed approach offers an alternative to traditional thick cement-and-sand bedding where the installation conditions are suitable.
Demandes de renseignements des distributeurs et commandes en gros éligibles
| Axe thématique de l'appel à candidatures | Interior ceramic thin-bed tiling |
|---|---|
| Détails de la sélection | Tile absorption · wall condition · bed thickness |
| Conditions de commande | Vérifier la référence, la couleur, le conditionnement et la quantité fournis |
Demandez la notice d'utilisation actuelle du produit ainsi que les caractéristiques techniques confirmées pour votre application.
Check the tile’s water absorption and backing, not just its dimensions. Confirm that the substrate and installation location fall within the product’s recommended scope.
For distributor enquiries, provide the intended tile applications so that C110 can be positioned appropriately within your product range.
Vérifiez les matériaux et l'application avant de choisir la nuance fournie.
Use a sound, clean and stable substrate. Remove loose particles, dust, oil and release agents. Correct significant unevenness before tiling rather than compensating with excessive adhesive.
Measure clean water into a clean bucket, then gradually add powder while mixing mechanically. Follow the specified water ratio, resting time and remixing procedure.
Do not add extra water to restore mortar that has started to stiffen.
Spread the adhesive with a suitable notched trowel, forming straight ridges. Apply a thin coat to tile backs as required for adequate contact.
Press and move each tile across the ridges to collapse them. Lift tiles periodically to check bedding. Only spread an area that can be tiled before a surface skin develops.
Provide temporary support for wall tiles where necessary.
Leave the installation undisturbed until the adhesive has hardened sufficiently for grouting. Temperature, humidity and substrate conditions affect this process.
Remove excess mortar from tile faces and joints, and wash tools before the material hardens.
Share the tile material, dimensions, water absorption, substrate and installation area. Confirm the actual grade for those conditions rather than selecting from the product name alone.
No. Request a technical specification and evidence for the supplied grade. This page does not establish a C1, C2, T, E or S classification.
Follow the supplied instructions for the actual tile, substrate and site conditions. Do not copy curing times from another product.
Share your tile type, dimensions, substrate, installation location and expected order quantity with KEDA to discuss product selection for your project or distribution business.
KEDA C110 Thin-Bed Tile Adhesive