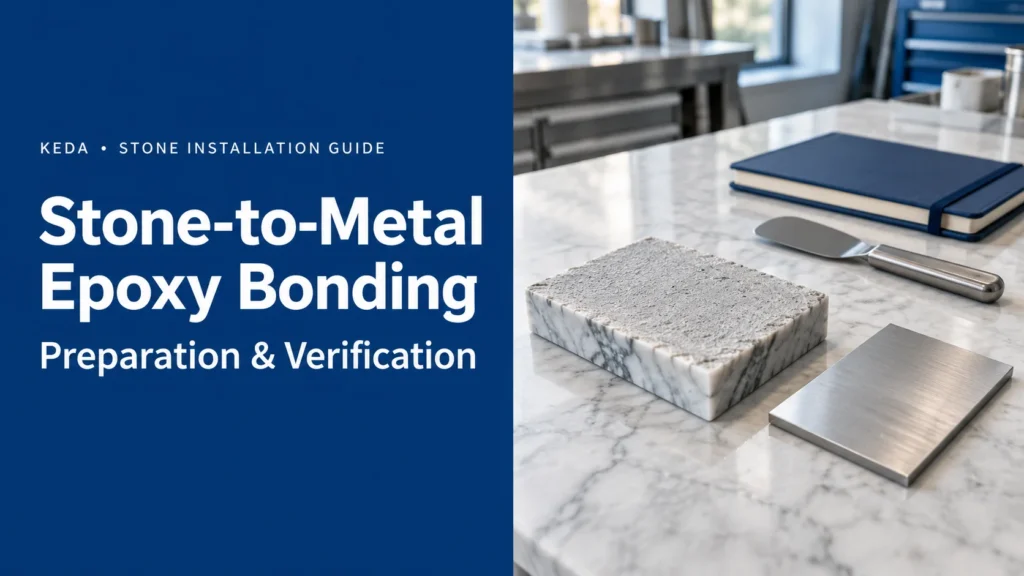
For a stone-to-metal epoxy joint, identify the surfaces first: bare steel, stainless steel, a zinc layer, paint or another coating on one side, and the actual stone backing on the other. The adhesive bonds to those contact faces, not to the material names on a drawing.
A practical process is to define the joint, identify retained surface layers, prepare both faces, make representative samples and reproduce the accepted method during installation. Record the preparation and curing conditions so the result can be traced to a specific process.
This guide focuses on adhesive interfaces within stone-support assemblies. The installation design establishes the supports, anchors and load path; epoxy selection and preparation follow that design.
Define the Adhesive’s Role in the Assembly
Start with a detail showing where the stone contacts the metal and what the adhesive is expected to do. Include the stone type and backing, support material and finish, joint geometry, bonding area, exposure and required holding arrangement.
Keep installation interfaces distinct from connections between structural steel members. A stone-installation epoxy is not a general specification for beam connections, pipe repairs, handrails or changes to welded and bolted joints.
The vertical marble installation guide explains the relationship between panel support, mechanical fixing and adhesive placement. Use it to frame the assembly discussion before choosing the bonding material.
Identify What Is Actually on the Metal
Record the metal and its finish separately. “Steel bracket” may describe a bare component, a galvanized part or a painted assembly. A trial on one does not represent all three.
| Metal surface presented for bonding | Information to record | Main preparation decision |
|---|---|---|
| Bare carbon steel | Rust, scale, oil, previous storage and surface condition | Establish sound prepared metal and a controlled interval before bonding |
| Stainless steel | Grade where known, finish and contamination | Select preparation for the actual surface rather than relying on its appearance |
| Bare or anodized aluminum | Alloy where known and the presence of anodizing or other treatment | Distinguish bare metal from a treated interface in the trial |
| Galvanized or zinc-coated steel | Coating type, condition and additional treatments | Agree a method that accounts for the protective coating |
| Painted or powder-coated metal | Coating identity, condition and attachment | Decide whether the coating remains part of the bonded assembly |
For painted metal, evaluate both the adhesive-to-coating interface and the coating’s attachment to the metal. Good adhesion to a weak paint layer can still leave a weak assembly. If coating removal is proposed, coordinate the resulting surface and corrosion-protection requirements before proceeding.
Avoid treating every metallic-looking surface as bare metal. In particular, aggressive abrasion can change a protective treatment. Record what remains after preparation and use that same condition in the sample.
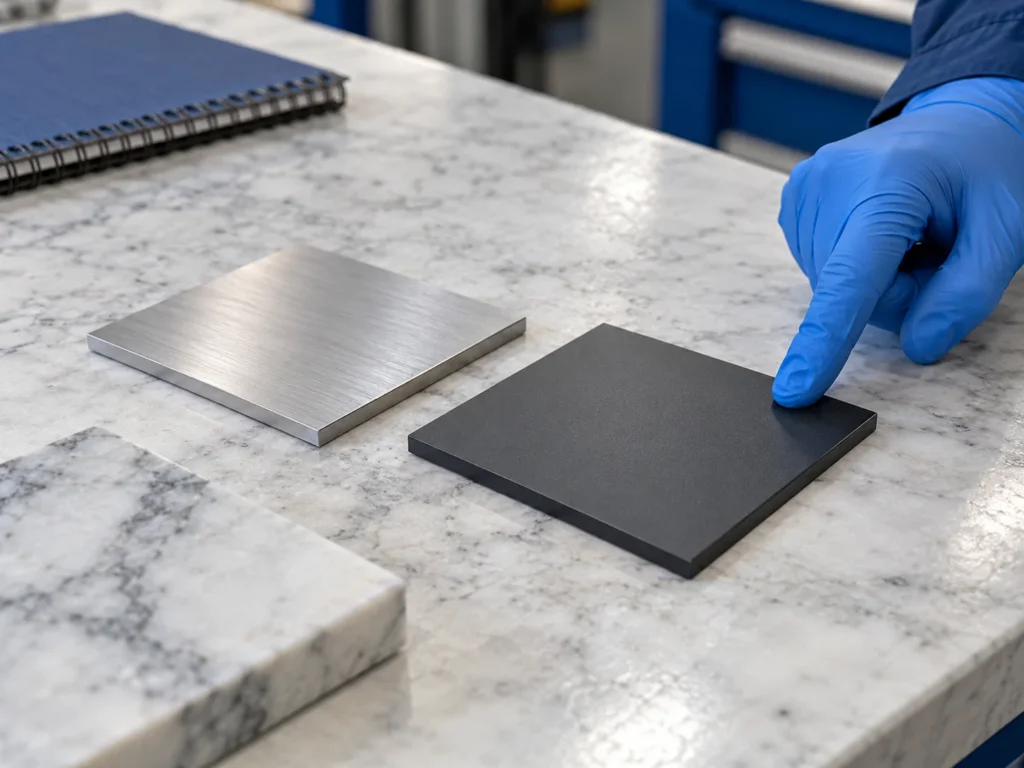
Use a Defined Metal-Preparation Sequence
Remove Contamination Before Abrasion
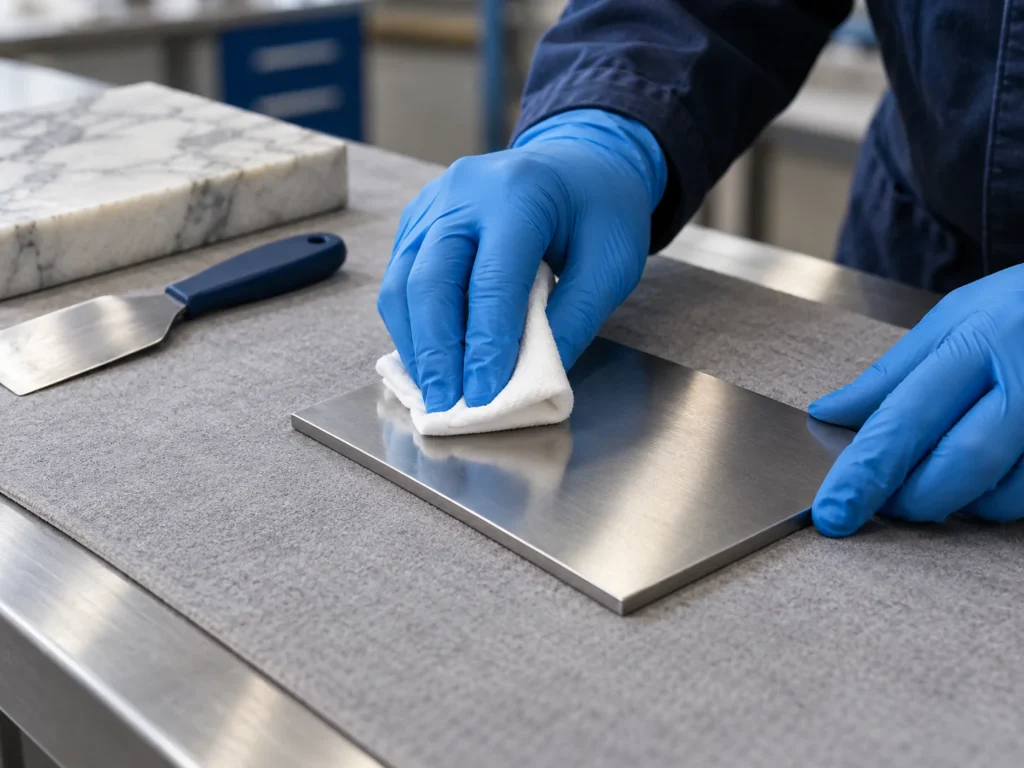
Identify oil, grease, handling marks and processing residues. Clean using a method compatible with the metal, any retained coating and the selected adhesive. Initial cleaning helps avoid spreading contamination during the next preparation step.
Use clean wiping materials and keep dirty cloths away from prepared faces. A strong-smelling solvent is not automatically an effective cleaner, and a visually clean surface can still carry contamination. Put the chosen cleaner and wiping method in the trial record.
Prepare the Surface Without Changing the Part
Use the agreed abrasion or other preparation method to address the actual surface condition. The objective is a reproducible bonding face, not the deepest possible scratches. Tool choice and preparation intensity must suit the component and its finish.
A universal sandpaper grade cannot represent bare steel, anodized aluminum and coated supports. Likewise, a primer is a separate material in the interface: select and evaluate it with the adhesive system rather than adding an unidentified coating as a general precaution.
Remove Preparation Residue and Protect the Face
Remove loose particles and residues using the defined final-cleaning method. Allow the face to reach the required dry condition before bonding. Protect it from fingerprints, dirty gloves, dust and contaminated handling surfaces.
Prepare manageable quantities of metal close to the bonding operation. A batch cleaned early in the day and left exposed through later fabrication work may need reassessment. The preparation record should include the interval and storage conditions before adhesive application.
Check Metal Temperature and Condensation
A cold metal component brought into warmer humid air can collect condensation. Measure relevant site and substrate conditions, including dew-point risk where applicable, instead of relying only on room temperature or the absence of visible droplets.
Use the selected product’s application limits and project procedure to decide when bonding can proceed. Record conditions at the joint and during curing. Where conditions cannot be maintained, revise the work sequence or environment before applying adhesive; improvised heating is not a substitute for product-specific instructions.
Prepare the Stone Side With Equal Care
Photograph the reverse face and identify resin, mesh, sealers, old adhesive and weak material. The stone sample must reproduce the actual backing. A clean cut edge is a different contact face from a factory-treated slab back.
Use a preparation method that produces sound, clean, dry contact material without damaging the stone or required backing. Protect the decorative face while preparing the reverse. Adding a stone sealer to the bonding area introduces a new layer and needs its own compatibility assessment.
For damaged stone, distinguish a stable local defect from a crack or weak layer that affects handling and installation. More adhesive does not resolve an unstable substrate. The marble adhesive selection guide helps separate installation bonding from cosmetic filling and slab-processing repair.
Make a Sample That Represents the Intended Interface
Use stone and metal from the proposed supply, including the intended finish. Record the whole process rather than testing only the adhesive brand. Prepare comparison samples with one variable changed at a time when investigating a problem.
| Sample record | What to include | Why it matters |
|---|---|---|
| Contact materials | Stone batch and backing; metal and retained finish | Defines what was actually bonded |
| Preparation | Cleaner, tools, abrasion or pretreatment, drying and handling | Makes the method reproducible |
| Joint | Geometry, contact area, thickness control and holding | Connects the sample to the proposed detail |
| Adhesive batch | Exact grade, matched components, measured quantities and ratio basis | Separates material identity from mixing errors |
| Conditions | Substrate and ambient conditions, preparation and application times | Records the environment and sequence |
| Curing and next operation | Support, curing conditions and release criteria | Shows what happened before inspection or testing |
| Evaluation | Appearance, relevant performance method and separation location | Keeps observations linked to the question being assessed |
For example, a sample made on bare metal does not cover a later order delivered with powder coating. A different stone backing or preparation cleaner also changes the process. Review the affected evidence before treating the new material as the same interface.
Separate Process Review From Performance Evidence
A small workshop sample can reveal placement, alignment, cleanup and appearance problems. A performance evaluation needs a defined method, specimen, conditioning and acceptance criteria relevant to the joint.
Record the location of separation alongside any measured result. Do not turn an informal hand pull or a satisfactory-looking sample into an installed load rating. The stone bond-strength testing guide explains how to request evidence with a useful scope.
Include the Service Environment in Evaluation
State whether the interface is indoors or outdoors, its expected water exposure, sunlight, heat and temperature cycling. Include how the assembly manages movement and protects vulnerable metal surfaces.
An early dry-condition result answers a narrower question than long-term service performance. Define the evidence needed for the intended exposure. The outdoor marble installation guide covers related support, water-management and movement considerations.
Reproduce the Accepted Method During Installation
Measure and Mix the Selected Grade
KEDA 2-Component Epoxy Structural Adhesive is the relevant starting point for designated stone-to-metal installation interfaces. Its current product page specifies A:B = 1:1 by volume. Use the matched components and the instructions supplied with the actual grade; equal volume is not an assumed equal-weight ratio.
Keep dispensing tools separate and mix in a clean container, bringing material from the walls and bottom into the batch. Prepare a quantity the crew can place within the working window. Additional hardener or solvent changes the formulation and should not be used to solve a scheduling problem.
Position, Support and Protect the Joint
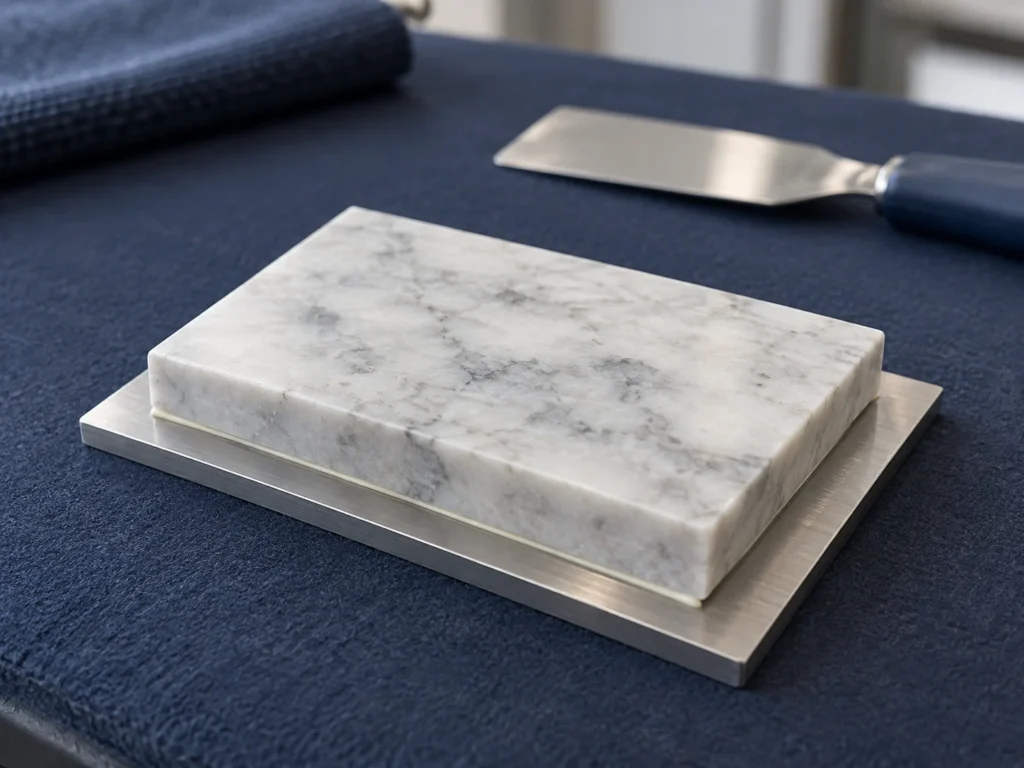
Complete the dry fit and holding arrangement before mixing. Place adhesive at the specified interfaces, contact area and thickness, then position the parts within the usable window. Preserve the design’s supports and mechanical fixings.
Keep the joint undisturbed through the required curing stages. Handling, machining, support removal and service loading are separate release decisions. Surface hardness alone does not establish readiness for each operation. The stone epoxy bonding methods guide gives the fuller mixing and curing sequence.
Inspect cleanup on representative stone too. Residue, altered finish or a visible dark line requires a different investigation from a weak interface. Use the marble staining and glue-line guide to structure that appearance review.
Read Problems by Their Location
| Observation | Investigation direction | Useful next record or action |
|---|---|---|
| Adhesive separates from metal | Contamination, finish, preparation, moisture or contact | Preserve the metal face and compare it with the trial procedure |
| Coating leaves the metal with adhesive attached | Coating attachment or condition | Review the retained coating and complete interface |
| Stone or backing separates with adhesive attached | Stone weakness or backing attachment | Assess that layer and the stone condition |
| Adhesive is soft or uneven | Component identity, measurement, mixing and curing conditions | Isolate the batch and review its records |
| Parts move or the joint opens | Fit, holding, movement, sequence or early loading | Review the assembly and positioning process |
| Corrosion or staining appears near the interface | Water entry, metal protection, residues and material interaction | Record timing, exposure and exact location before choosing a remedy |
These are investigation directions, not diagnoses from appearance alone. Photograph both separated faces before cleaning or reworking them. Retain batch identification and note whether the issue is isolated or repeated across the installation.
Keep the Interface Traceable Through Handover
Retain the accepted detail, sample record, product instructions and batch references. Add installation photographs, preparation records and the curing release decisions for the completed work.
Identify changes that trigger review: a new paint system, different galvanizing treatment, another stone backing, changed cleaning method or a different adhesive grade. A short change record prevents the crew from applying an old sample result to a new interface.
For maintenance concerns, compare later observations with the baseline. Opening joints, loose stone or recurring movement call for an assembly assessment. A new layer of filler over a visible gap does not explain why the joint changed.
Discuss the Actual Interface With KEDA
Send the stone and reverse-face photographs, metal identification and finish, joint detail, support arrangement, exposure and proposed preparation sequence. Include any existing coating information and relevant sample results.
Entre em contato com a KEDA with that brief to discuss the adhesive grade and interface evaluation. For comparing product information and supply offers, use the two-part epoxy selection guide.
Frequently Asked Questions
1. Can epoxy bond stone to stainless steel or aluminum?
Assess the actual metal finish, stone backing, preparation and joint. A material name alone does not establish suitability. Use representative samples and relevant evidence for the intended interface and exposure.
2. Can I bond directly to painted metal?
Treat the paint as part of the interface. Evaluate adhesive compatibility and the coating’s attachment to the metal. If removal is proposed, review the resulting preparation and protective-finish requirements before proceeding.
3. Is a water-break check enough to approve the surface?
A water-film observation can be a limited cleaning indicator for some surfaces. It does not establish adhesive compatibility, coating attachment or joint capacity, and it is unreliable on some treated metals. Use the defined preparation and evaluation procedure.
4. Should I grind all galvanized metal before bonding?
Use a method selected for the actual zinc coating and adhesive. Uncontrolled grinding can change the protective layer. Represent the retained surface condition in the trial rather than applying a bare-steel method automatically.
5. Does epoxy replace brackets, bolts or welds?
The installation design defines the adhesive’s role and required fixings. Keep those supports and connections in place. A stone-to-metal bonding product does not by itself authorize changes to the assembly’s load path.