
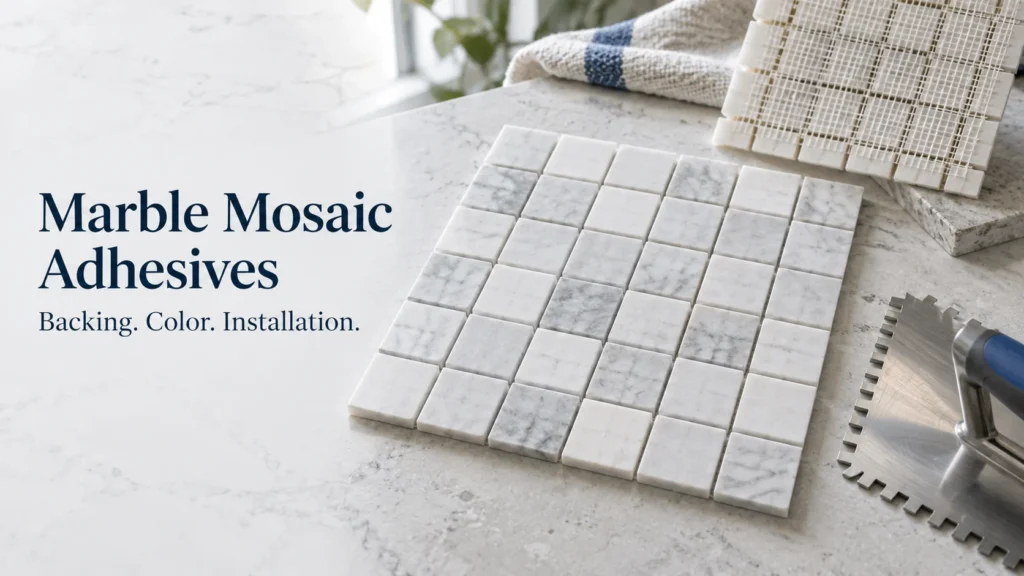
A marble mosaic sheet combines stone, mounting material and many small joints. Choosing an adhesive by the word “mosaic” misses important details: the stone may change appearance when wet, the mounting glue may restrict the bonding surface, and excess setting material can fill joints intended for grout.
Start with the actual sheet and its intended location. Identify the mounting method, select a stone-compatible installation system, then build a sample that includes sheet boundaries and the final grout. Use that sample to establish a repeatable placement and cleaning process.
This guide focuses on conventional marble mosaics installed in a setting bed. Self-adhesive and proprietary groutless systems follow their own installation instructions.
Identify What Is Holding the Mosaic Together
Mesh Backing and Face Mounting Do Different Jobs
Turn over a spare sheet before planning installation. Record what covers the backs, what holds the pieces together and which side is intended to receive setting material.
| Mosaic format | What to identify | Installation implication |
|---|---|---|
| Rear mesh-mounted | Mesh, mounting adhesive, exposed stone and loose pieces | The retained backing is part of the bonding interface; assess its compatibility with the setting system and exposure |
| Paper face-mounted | Paper attached to the visible stone faces | Paper normally faces outward during setting and is removed using the mosaic supplier’s procedure |
| Film face-mounted | Removable film holding the visible faces | Follow the specified release process; do not assume paper-wetting instructions apply |
| Loose individual pieces | Bare backs, treatments and thickness variation | Plan handling, spacing and placement without relying on a factory sheet |
Rear mesh and face paper are not interchangeable descriptions. Paper on the face is a temporary placement aid. A rear mounting system usually remains between parts of the stone and the setting bed.
Inspect mesh adhesive as well as mesh openness. A strong setting material cannot correct a weak connection between mounting glue and stone. Check the complete mounted assembly for the intended location, particularly where repeated wetting is expected.
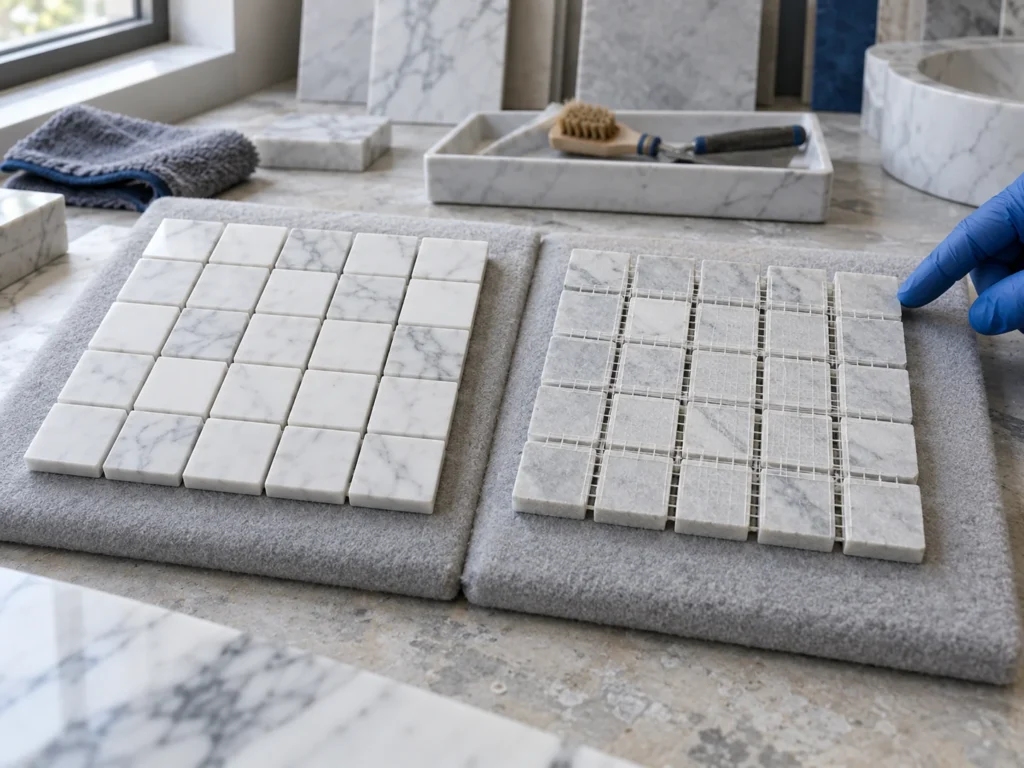
Preserve the Sheet Until the Mounting Method Is Understood
Avoid soaking, stripping or solvent-cleaning an unfamiliar backing to make it look more bondable. These actions may release pieces, leave residues or damage the assembly. Resolve an unsuitable backing through the supplier’s recommended method or select a different mounted product.
Keep a complete spare sheet and the carton identification. Photographs of both faces help an adhesive supplier assess the actual interface more effectively than a marble trade name alone.
Choose for the Stone, Backing and Exposure
Separate Natural Marble From Ceramic Mosaic
Small format does not make natural stone equivalent to absorbent ceramic tile. Stone composition, retained treatments and moisture sensitivity remain relevant even when individual pieces are small.
KEDA’s C110 description covers suitable interior ceramic tiles and ceramic mosaics. It does not establish a recommendation for natural-marble mosaics. Use the exact stone assembly and application details when discussing a setting product.
The marble adhesive selection guide explains the distinction between fabrication adhesives and installation materials.
Evaluate Color With the Complete Build-Up
For pale or translucent marble, the background can affect the finished appearance. Review the proposed adhesive color, substrate or membrane, bed uniformity and grout together.
A white setting material can be a useful appearance choice where specified for the stone, but color alone does not establish compatibility. Investigate moisture-related darkening, staining or distortion with the stone supplier and selected material system.
Include grout in the sample: it occupies many joints and can change the overall visual balance. Keep an uninstalled reference from the same batch, photograph both under consistent lighting, and record observations after the relevant materials have cured.
See the marble staining and visible glue-line guide for a more detailed appearance review.
Prepare the Surface and Plan the Layout
Correct the Substrate Before Setting Small Pieces
Check the substrate for soundness, cleanliness, flatness and compatibility with the installation system. Remove contaminants through the specified preparation process and complete required repairs before spreading adhesive.
Small pieces can follow local bumps and hollows. Correct those conditions with the designated preparation material rather than trying to level each sheet in an excessive setting bed. Use the project’s tolerances and product thickness limits.
Flatness and level are different requirements. A shower floor, for example, also needs the designed slope and drainage details. Confirm that the mosaic and all system components suit that location. Setting adhesive and grout do not replace required waterproofing.
Where a membrane or uncoupling layer is proposed, check its minimum permitted tile size and compatibility with the mosaic. The overall sheet dimensions do not describe the size of the individual pieces supported by the layer.
Dry-Lay Across Several Sheet Boundaries
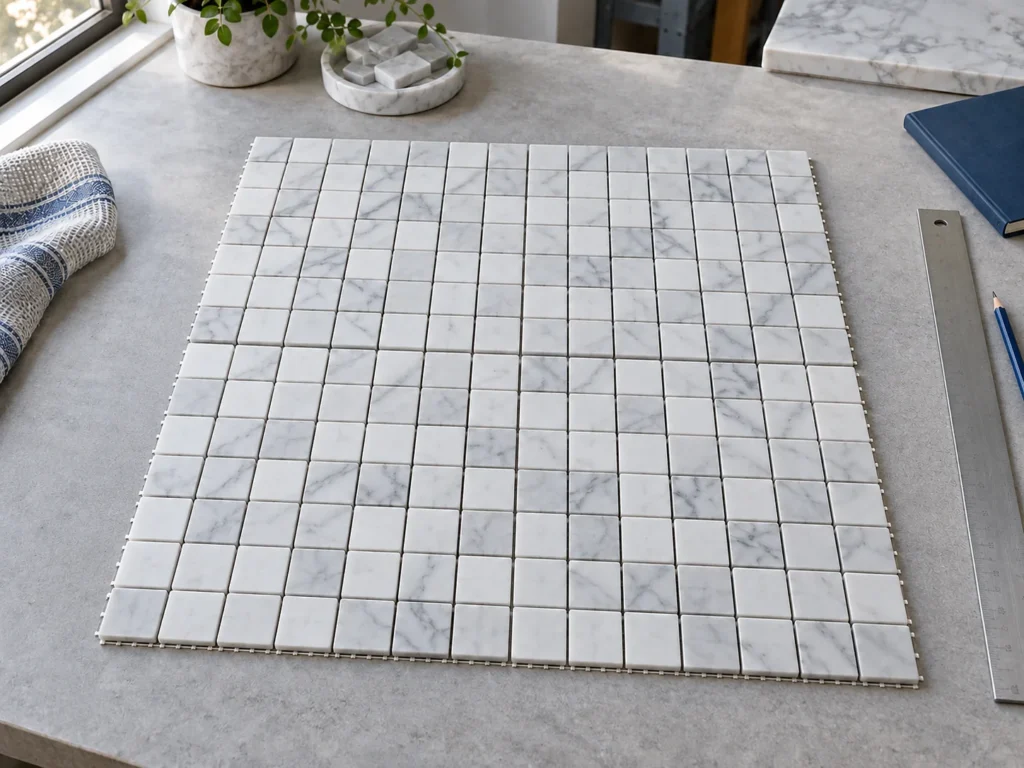
Arrange sheets from the supplied batch before mixing material. Review pattern direction, shade distribution, edge cuts and the joint where one sheet meets the next.
The visible goal is continuity: sheet boundaries should work with the joints inside the sheets. A repeated wide gap or compressed row can reveal the sheet outline after grouting.
Mark reference lines and record the layout sequence. Reserve suitable pieces for borders and penetrations. If the supplier permits cutting the mesh for adjustments, rehearse that operation on a spare rather than discovering the handling difficulty in fresh adhesive.
Build a Sample That Rehearses the Whole Process
A useful sample includes the actual substrate build-up, marble batch, backing, setting material and grout. Include a sheet boundary, a cut edge and any trim or sealant transition important to the project.
| Sample stage | What to record | Decision it supports |
|---|---|---|
| التخطيط الجاف | Shade distribution, pattern direction, sheet joints and cuts | Layout sequence and material sorting |
| Trial placement | Tool, spreading method, embedding and contact observations | A practical setting method for the actual sheet |
| Facing removal | Release procedure, movement of pieces and residual mounting glue | Removal sequence and adjustment access |
| Grouting and cleanup | Joint preparation, grout, cleaning materials and surface response | Joint finish and a manageable cleaning area |
| Cured appearance | Color, visible patterns, residue and photographs | Appearance agreement and any further investigation |
Keep material names, batch references and conditions with the sample record. Change one significant variable at a time when troubleshooting; otherwise, it becomes difficult to identify why the outcome changed.
An appearance sample and placement observations serve different purposes from a cured bond-strength test. Use an appropriate test method and acceptance criteria where performance testing is specified. The stone adhesive testing guide explains that separation.
Control the Bed, Contact and Sheet Position
Match the Tool to the Actual Assembly
Start with the selected adhesive and mosaic instructions. Trial the trowel and placement process together, checking both effective contact and material rising into the joints.
Avoid choosing a universal notch solely from sheet size. The individual pieces, backs, substrate and application technique affect the result. A notch dimension also does not equal the final installed bed thickness.
Spread a manageable area and place sheets while the material remains suitable for bonding. Distinguish the life of mixed material in a container from the open time after spreading. Reduce the work area when conditions or the placement sequence make transfer difficult.
Follow the product’s prescribed mixing and handling process. Adding water or solvent to revive material that has lost workability can change its behavior and is not a substitute for preparing a fresh batch.
Embed Without Distorting the Pattern
Place sheets against the layout references and use the specified embedding method. Work across the sheet with controlled pressure rather than pressing individual pieces to different depths.
Check surface continuity, rows and sheet boundaries as work proceeds. Make adjustments while the setting material permits them. Do not stretch a flexible sheet until joints close or pieces rotate out of the pattern.
Lift representative trial pieces or sections at the appropriate stage to examine the backs and bed together. Assess the specified contact and support requirements, including areas obscured by backing. Material visible through mesh or squeezed into a joint is not sufficient proof of bedding contact.
The coverage and consumption guide explains why contact percentage and material use must be recorded separately.
Remove Facing and Prepare the Joints
Use the Correct Paper or Film Release Process
For a paper face-mounted mosaic, identify the facing side before placement. Follow the supplier’s wetting, release and removal procedure, including the required condition of the setting bed.
Removing facing too early can disturb the arrangement; leaving it too long may restrict access for adjustments. Rehearse the sequence on the sample and coordinate the amount of material spread with the removal work.
Film may require a different release method. Avoid transferring a soaking procedure from paper to film, or from a glass mosaic instruction to an unidentified marble assembly. Remove residual mounting adhesive from the faces as directed before grouting.
Clear Squeeze-Out While Access Is Available
Maintain the joint space and depth required by the selected grout. Remove excess setting material while it can be cleaned without dragging pieces out of position.
Use tools that suit the stone finish and joint geometry. Protect membranes beneath the mosaic from sharp tools. If the joints repeatedly fill during placement, review the bed and embedding process on the trial rather than treating extensive scraping as normal production.
Keep movement joints and designated perimeter gaps free of rigid setting material and grout. Their location and sealing detail belong to the installation design. See the rigid adhesives and flexible sealants guide for the different material roles.
Grout and Clean With the Marble Finish in Mind
Select grout for the actual joint width, stone finish and exposure. Trial its application and cleanup for scratching, staining, residue and the intended visual effect. A generic sanded-versus-unsanded width rule does not replace the grout’s instructions.
Where the stone supplier recommends a sealer or grout release, include it in the sample. Control application so it does not contaminate bonding surfaces. Stone protection is a separate operation from substrate priming and waterproofing.
Start grouting when the setting system permits it. Plan an area that the crew can fill and clean within the grout’s working process. Use the specified cleaner and water control; a stronger cleaner is not automatically safer or more effective on marble.
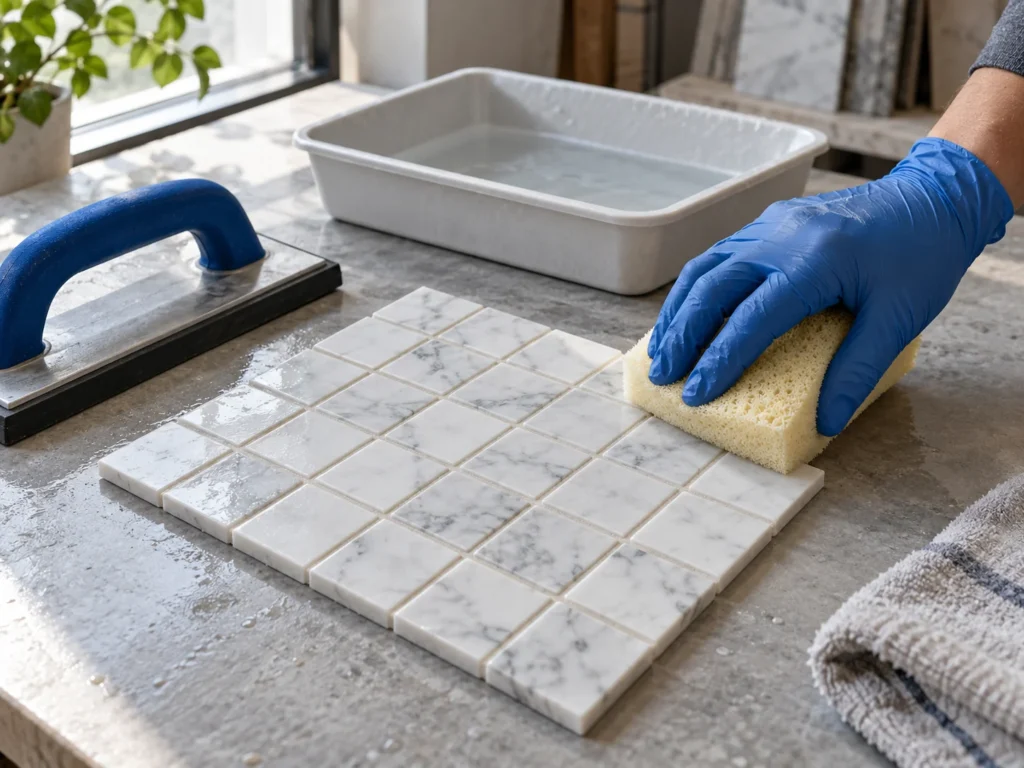
Investigate Problems Before Repeating the Process
The following are investigation prompts, not diagnoses based on appearance alone.
| Observation | Check first | Practical next step |
|---|---|---|
| Sheet outlines remain obvious | Sheet-edge spacing, alignment and shade grouping | Revisit the dry layout and correct the placement sequence |
| Setting material fills the joints | Tool, bed control, pressure and stone thickness | Adjust the trial while retaining required contact |
| Stone separates but mesh remains | Stone-to-mounting connection and retained backing | Preserve samples and review the assembly with the supplier |
| Pieces sit at different heights | Substrate, piece thickness and embedding | Correct preparation or sorting before further setting |
| Dark patches or visible patterns appear | Moisture, background, bed and surface residue | Compare with references and investigate before applying treatments |
| Grout residue is difficult to remove | Finish texture, cleaner and cleaning sequence | Rehearse the approved cleanup method on a spare sample |
Keep a Useful Handover Record
Save the approved layout photographs, material identification, sample record and cleaning instructions. Retain spare pieces from the installed batch for future matching.
Estimate setting material from a representative accepted trial, and calculate grout separately using the actual piece dimensions, joints and product information. Sheet area alone does not establish both quantities. Record cutting and sorting losses separately from adhesive consumption.
For a KEDA inquiry, send photographs of both sheet faces, individual piece dimensions, stone finish, substrate, location and expected order quantity. Explore the KEDA product range and contact KEDA with those application details to discuss the relevant material category.
Frequently Asked Questions
1. Can I use ceramic mosaic adhesive for marble mosaics?
Use a product whose scope covers the actual natural stone, backing and exposure. A ceramic-mosaic description alone does not establish marble suitability, even when the pieces are the same size.
2. Should I remove mesh before installation?
Follow the mosaic supplier’s instructions. Rear mesh usually remains part of the assembly. Unplanned stripping or soaking can damage the sheet; an unsuitable backing requires a defined alternative method or different product.
3. Does white adhesive prevent all marble staining?
White may suit the appearance requirements of a particular stone, but it does not resolve every moisture, backing or compatibility issue. Evaluate the complete build-up and cured sample.
4. When should paper facing be removed?
Use the mosaic supplier’s release procedure and the setting material’s required condition. Rehearse removal and adjustment on the sample; one fixed time cannot cover different papers, adhesives and site conditions.
5. How can I stop adhesive squeezing into mosaic joints?
Trial the tool, bed and embedding method together, and clean excess promptly without disturbing pieces. Retain the required bedding contact. Reducing material until squeeze-out disappears is not a sufficient installation check.