

Marble adhesive coverage can describe two different things: how much of a stone’s back has effective mortar contact, or how much floor area a bag can install. Keep those measurements separate. Contact coverage is an installation check; consumption is a material-planning measure.
First establish a bedding method that meets the project’s contact and support requirements. Then measure material use on a representative trial and use that rate to plan purchasing. Stretching a bag across more area is useful only when the installation still achieves the required bedding.
This guide explains the measurements, the factors that change them and a practical way to connect inspection records with a quantity estimate.
Define the Measurement Before Comparing Numbers
Read the units beside every coverage claim. A percentage, kilograms per square meter and square meters per bag answer different questions.
| Measurement | Typical unit | What it describes |
|---|---|---|
| Contact coverage | % | The proportion of the inspected stone back with effective bedding contact |
| Material consumption | kg/m² | Material consumed for an installed area, on a stated mass basis |
| Package yield | m²/bag or m²/set | Area installed from a defined package under stated conditions |
| Bed thickness | mm | The installed adhesive layer, within the selected product’s limits |
For contact coverage, the basic relationship is contact area ÷ inspected back area × 100. The inspection method must distinguish effective contact from material merely present on a surface.
For consumption, use material consumed ÷ accepted installed area. Define whether the mass means dry powder, mixed components or another quoted supply basis. The units must remain consistent throughout the estimate.
Start With the Stone and Installation System
Inspect the Actual Marble Back
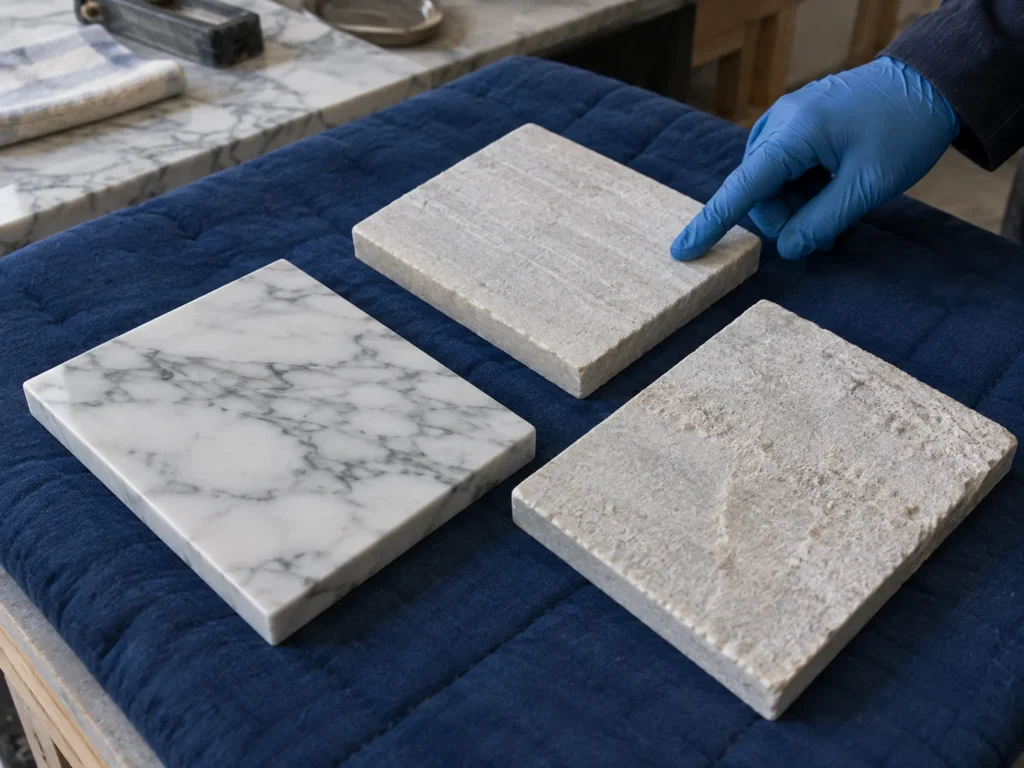
Record stone dimensions, thickness, back profile and any resin, mesh or other treatment. A trade name such as Carrara or Calacatta does not describe every backing or production finish sold under that name.
Thickness variation, uneven backs and substrate condition can affect the bedding operation. Stone sensitivity and appearance also influence product selection. Choose the adhesive for the actual stone and exposure before using its consumption information.
The large-format marble adhesive guide covers those selection questions in more detail.
Confirm the Method Behind the Estimate
Full-bed tile setting, fabrication joints and designated panel-bonding interfaces have different material geometries. A square-meter yield from a tile-setting product cannot be transferred directly to an edge joint or panel paste.
For a marble floor, use a stone-compatible setting system. KEDA’s current C99, C110 and C210 descriptions do not establish a natural-marble full-bed recommendation, so their ceramic-tile figures are not used as marble consumption rates here.
For the broader material distinction, see the epoxy tile adhesive, grout and slab paste guide.
Establish Contact Before Measuring Economy
Set the required contact, edge and corner support criteria from the current project specification and selected installation method. Record the requirement beside the inspection procedure instead of treating a general percentage from another application as approval.
During trial placement, lift representative pieces while the material is still at the appropriate stage for inspection. Review the stone back and the bed together. Identify where transfer and embedding occurred, including edges, corners and unsupported regions.
An even coating on the back before placement is not proof of contact with the substrate. Likewise, a photograph showing mortar over the whole substrate does not establish what happened when the stone was embedded. Inspect the assembled bedding process.
This is a placement check. It does not supply a cured bond-strength result. The stone adhesive testing guide explains how performance evidence is assessed separately.
Understand What Changes Contact and Consumption
| Factor | What to investigate in the trial | Effect on quantity planning |
|---|---|---|
| Substrate flatness | Whether the prepared surface suits the setting method | Local bed variation can change use; correct preparation before fixing the rate |
| Stone-back profile | Relief, unevenness and retained treatments | Include the actual back and any required back coating in the trial |
| Trowel and technique | Notch condition, angle, spreading and embedding | A tool label alone cannot establish contact or installed layer thickness |
| Working conditions | Material condition, spread area and placement sequence | Rejected or unusable material affects practical consumption |
| Намазывание сзади | Its role in the selected bedding process and observed transfer | Count the material used on both faces rather than only on the substrate |
| Layout and work sequence | Cuts, small areas, interruptions and cleanup | Record losses and distinguish a small trial from steady production |
Prepare the Substrate Before Increasing the Bed
Check flatness using the method and tolerances for the installation. Correct significant unevenness through the specified preparation or leveling process. Increasing setting adhesive thickness beyond its stated limits is not a quantity-planning solution.
Keep leveling, patching, priming and setting materials in separate estimate lines. Otherwise, a high recorded “adhesive consumption” may conceal preparation work rather than describe the bedding rate.
Trial the Tool and Placement Method Together
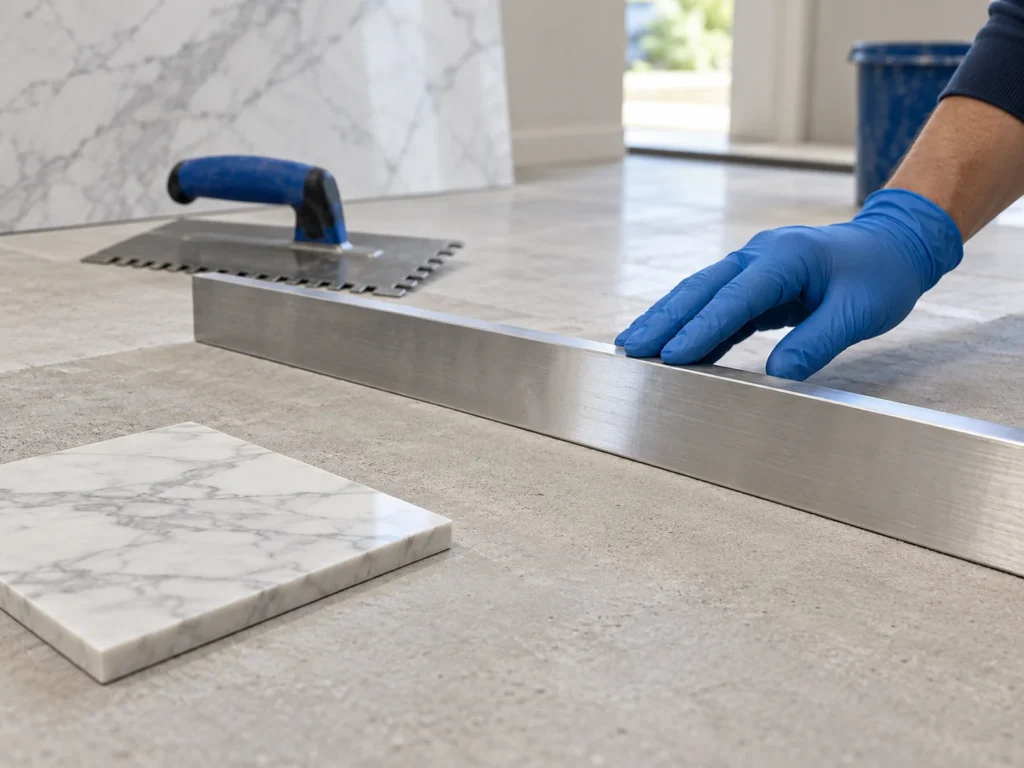
Use the selected product’s application process as the starting point. Review the trowel, spreading and embedding method together, then adjust the trial where contact is inadequate. A larger notch can change material use without resolving every placement problem.
Keep tool condition and operator technique consistent when recording a rate. Notch height is not the final bed thickness: the installed layer results from the material, tool and placement process.
Include back-buttering where the method requires it. Count its material use, but evaluate the resulting bedding rather than assuming that an extra coating has automatically solved contact problems.
Run a Trial With a Clear Material Boundary
Choose a representative area with the actual stone, substrate and crew sequence. Complete the preparation and establish acceptable bedding before using the trial to forecast purchasing.
Record the following in one job sheet:
- Materials and location: exact product, package basis, stone batch, backing, substrate and trial area.
- Preparation: leveling or patching work, retained treatments and surface condition.
- Application: tool, spreading, back-buttering, embedding and working conditions.
- Contact observations: inspection locations, photographs, acceptance decision and any changes made.
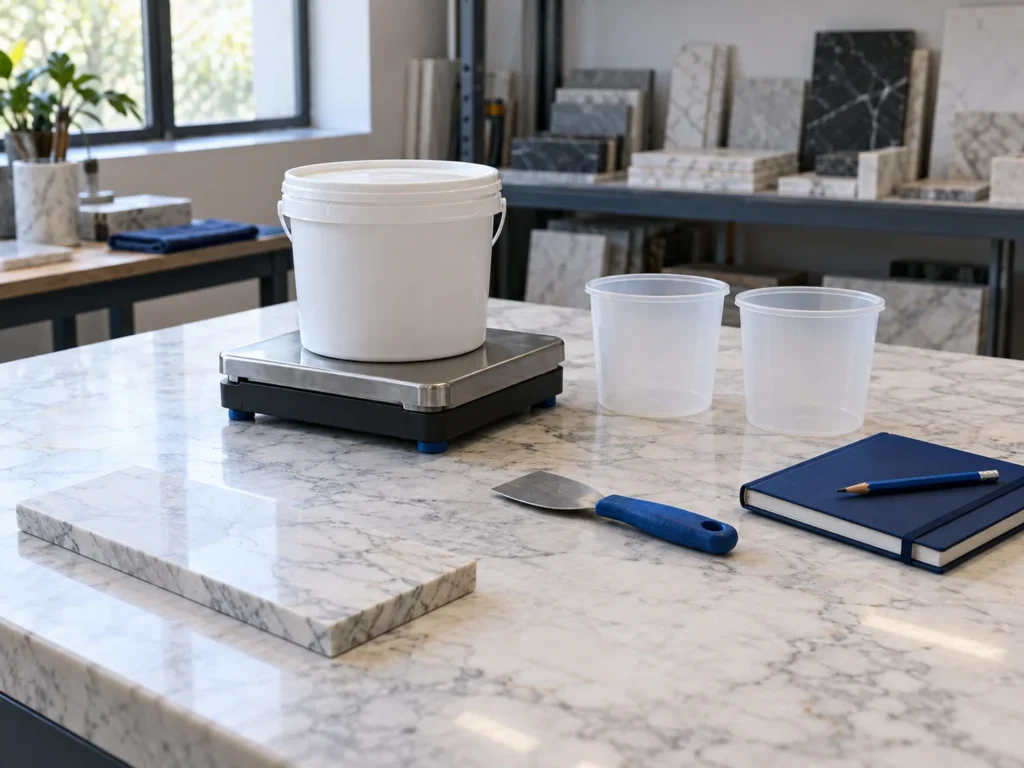
- Material accounting: quantity issued, usable unmixed balance, discarded material and what is included in the rate.
- Installed area: accepted completed area measured on the same basis as the project takeoff.
Separate the setup trial from a longer representative production run where possible. Repeated lifting, adjustments and small batches can make a short trial’s losses unusually high. Keep those observations rather than presenting the first number as a permanent product yield.
Keep Powder, Water and Component Masses Consistent
For a water-mixed powder sold by dry mass, record the dry powder issued before adding water. Added water is not extra packaged adhesive. Do not subtract a wet leftover mass directly from dry powder issued; those quantities have different bases.
For a multicomponent product, follow its supply and mixing basis and account for all required components. A set containing resin, hardener and filler is different from a bag of powder. Liters and kilograms also require a verified conversion before they can be compared.
Keep usable unmixed material distinct from mixed waste. Once material has been mixed, its permitted working window and handling follow the product instructions; it is not an unopened-stock return.
Convert the Trial Into a Purchasing Estimate
Use a rate based on accepted work and a clearly defined material boundary. If the rate already includes ordinary mixing and application losses, keep those losses included once rather than adding the same allowance again.
The following values are hypothetical arithmetic inputs, not a KEDA product specification, recommended rate or measured installation result.
| Calculation step | Example input or calculation | Result |
|---|---|---|
| Trial material charged | 12.5 kg of dry powder, including the trial’s recorded losses | 12.5 kg |
| Accepted trial area | Measured area after the bedding method was accepted | 2.5 m² |
| Recorded consumption | 12.5 kg ÷ 2.5 m² | 5 kg/m² |
| Project requirement on the same basis | 42 m² × 5 kg/m² | 210 kg |
| Package count for a hypothetical 25 kg bag | 210 kg ÷ 25 kg, rounded upward | 9 bags = 225 kg |
The package rounding leaves 15 kg above the calculated requirement. If a separate project reserve is needed, define what it covers and add it before the final package calculation. Do not assume that rounding or a generic waste percentage covers every site risk.
The inverse calculation also helps when reading quotations: at the hypothetical 5 kg/m² rate, a 25 kg package represents 5 m². That is a package yield, not a contact percentage.
For several zones, calculate total material = sum of each zone’s area × its representative consumption rate. Use separate rates where stone backs, substrates, layouts or methods differ substantially. Round quantities for the actual grade and package configuration being ordered.
Compare Supplier Yield Claims on Matching Conditions
Ask what supports a published m²/bag figure: the package mass, trowel, substrate, stone or tile back, application method and treatment of waste. A range from one product is not a conversion factor for another formulation.
Compare the same quantity basis. A dry-powder figure and a mixed-resin figure should not be placed in one ranking without explaining the difference. Product density or mixed yield must come from the relevant instructions, not from another material’s data.
Use the two-part epoxy purchasing guide for related questions about component sets, quotation units and supply descriptions.
Keep Checking After the First Accepted Trial
Repeat representative contact checks during the work and when materials, tools or conditions change. Track material use by zone so a deviation can be investigated while the process is still visible.
If consumption rises, review substrate variation, stone backs, layer control, batch losses and work interruptions. If consumption falls, confirm that the same bedding and support criteria are still being met. Neither direction alone proves improved or reduced quality.
Record appearance separately too. Shadows, residue or visible adhesive patterns need an appearance investigation; they cannot be explained from kilograms per square meter alone. The marble staining and glue-line guide helps structure that review.
Discuss the Application Before Requesting a Rate
Send KEDA the stone type, dimensions, reverse-face photographs, substrate, location, proposed method and required quantity basis. Include the project area, preparation condition and any trial records.
Use the KEDA product range to identify the material family, then contact KEDA about the relevant product scope. A requested area-per-bag figure should stay connected to an identified product and installation method.
Frequently Asked Questions
1. Is adhesive coverage percentage the same as m² per bag?
No. Percentage describes inspected bedding contact. Square meters per bag describes package yield under stated conditions. One is an installation check; the other helps estimate material quantities.
2. How many kilograms of adhesive does marble need per square meter?
Use the selected product’s information and a representative trial. Record the stone back, substrate, method and material basis. A marble trade name alone does not establish one reliable kg/m² figure.
3. Does a larger trowel guarantee better contact?
Evaluate the resulting bedding. Trowel condition, substrate, stone back, material condition and placement all matter. Inspect transfer during trial placement rather than accepting the tool size as proof.
4. Should I always add the same waste percentage?
Identify what the recorded rate already includes. Add only separately justified losses or reserve, then round to available packs. Applying a blanket allowance to a loss-inclusive rate can count the same waste twice.
5. Can I estimate consumption from trowel-notch height alone?
Not reliably. The notch is a tool dimension, not the final installed bed. Use product-specific planning information and measured use from an accepted bedding process, including any material applied to the stone back.