
Thin-set and thick-bed marble installation describe different ways to build an installation system. The decision involves the prepared substrate, available floor height, stone characteristics and construction sequence. It cannot be made by increasing or reducing one adhesive layer.
A thin-bed setting material bonds stone to a suitable surface. A mortar bed establishes a receiving plane or elevation as part of a specified assembly. The two can also work together: marble may be bonded with a thin setting layer over a previously prepared mortar bed.
For a useful comparison, identify every layer, its function and its material. Then compare preparation, quantity, installation and access requirements for the complete alternatives.
Define the Layers Before Selecting a Method
Several materials may be called “mortar” on a jobsite. Their functions and permitted application depths differ.
| Material or system | Main function | Planning distinction |
|---|---|---|
| Thin-bed setting material | Bond marble to a suitable receiving surface | Work within its stated installed-thickness range; prepare the receiving plane first |
| Mortar bed or screed assembly | Establish a receiving plane, elevation or specified slope | Select the assembly, bonding or separation details and placement method together |
| Patching or leveling material | Correct defined substrate conditions before setting | Use its own depth limits, preparation and readiness requirements |
| Large-and-heavy-tile setting mortar | Bond suitable tile or stone within its specified application range | It remains a setting material; the name does not authorize general floor leveling |
Use product names alongside these roles in the estimate. A line that says only “marble mortar” leaves room for a purchasing or site substitution error.
This guide concerns marble floor-setting systems. Fabrication seams and wall-panel fixing interfaces involve different geometries and support requirements. The marble adhesive selection guide provides the broader application overview.
Survey the Site Before Choosing the Build-Up
Record Flatness, Elevation and Slope Separately
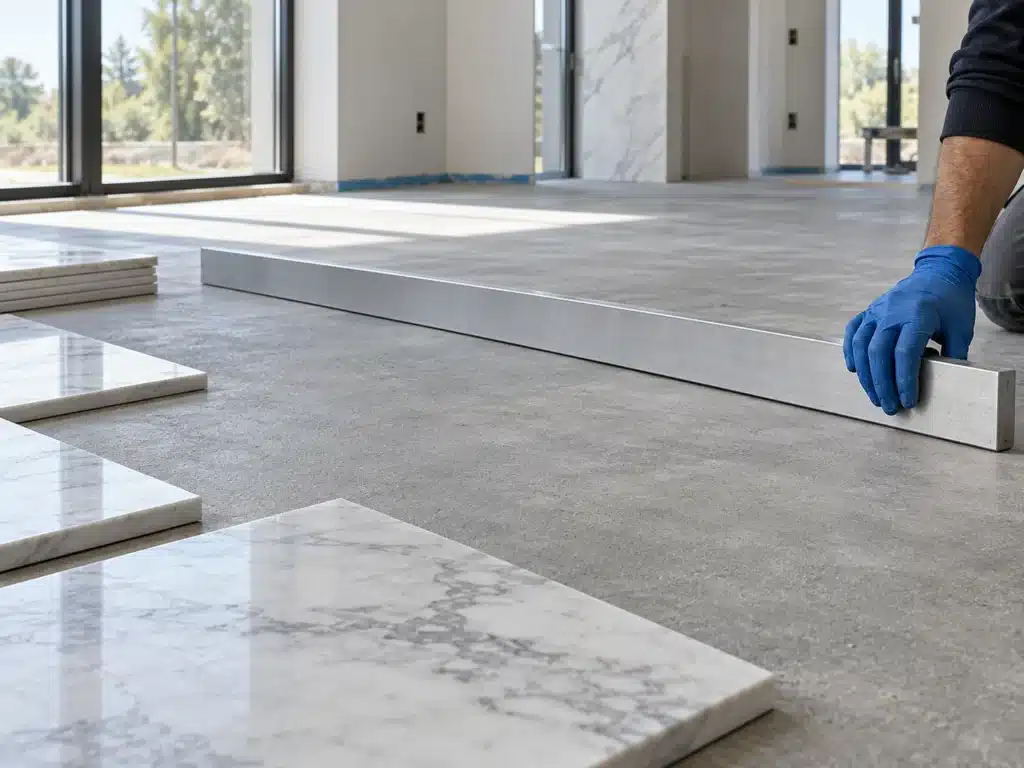
Establish a project reference elevation and record the existing surface against it. Check local flatness using the specified survey method and tolerances. Keep those observations separate: a surface can be flat while sloping, or generally level while containing local hollows.
Map high and low areas, doorways, transitions and drain locations. Record what must be removed or corrected before setting. A single reading from the center of a room will not describe every interface.
For drainage areas, preserve the designed slope through the relevant assembly. A self-leveling product and a slope-forming mortar are different choices; identify which surface needs which geometry.
Check Support and Existing Layers
Identify the structural substrate and any retained coatings, old bedding, boards or membranes. Record cracks, loose areas, contamination and moisture conditions for investigation.
A thicker bed is not a remedy for an inadequately supported floor. Added material also changes the assembly’s weight. Establish the substrate’s suitability and the permitted build-up through the project design before treating bed depth as an available adjustment.
In renovation work, include removal and disposal in the comparison. Retaining a weak layer beneath new material may preserve the original failure mechanism even when the new surface looks satisfactory.
Understand What Thin-Set Requires
Prepare the Receiving Plane First
Thin-set installation uses a controlled bonding layer over a surface already suitable for the stone-setting operation. Significant corrections belong to the specified preparation process.
Plan grinding, patching or leveling as separate work where needed. Check the preparation material’s compatibility with the subsequent primer, membrane and adhesive. A surface ready for one product is not automatically ready for every other material.
Use the setting product’s actual installed-thickness limits. Tool-notch dimensions describe the tool; they do not independently establish the final bed thickness after embedding.
Include Necessary Preparation in the Height Calculation
A thin setting layer can be useful where the available build-up is limited. Its practical fit depends on the whole system, including preparation and any required membrane.
Do not compare a nominal adhesive thickness for one option with the complete assembly depth of another. Write both alternatives from the same structural reference to the same finished surface.
Thin-set is also not inherently restricted to dry rooms or small residential projects. Exposure and service suitability depend on the stone, selected products and installation assembly. Evaluate those conditions directly.
Understand What a Mortar-Bed System Changes
Bonded and Unbonded Beds Have Different Details
A bonded mortar bed connects to its supporting substrate through the specified bond arrangement. An unbonded or floating mortar bed uses a separation arrangement and is designed as a different assembly.
Identify which method the project requires. Bed depth, reinforcement, perimeter details and transitions belong to that method. Adding a sheet beneath a proposed bonded bed changes the interface; it is not a routine material substitution.
A cleavage or separation sheet also serves a different role from a bonded crack-isolation membrane. Specify each layer by its intended function and system instructions. Avoid treating every membrane as interchangeable waterproofing or movement protection.
Distinguish Cured-Bed and Fresh-Bed Sequences
One approach allows the mortar bed to harden before subsequent preparation, membrane work where specified, and stone bonding. Another installs stone onto a fresh bed using the designated bonding process while that bed remains workable.
Choose the sequence before procurement and scheduling. A fresh-bed process coordinates bed placement, bond-coat work and stone setting. A cured-bed process creates a separate readiness point before the next stage.
Neither sequence supplies a universal waiting time. Record the requirements for the actual bed material, bonding material, conditions and subsequent layers. Replacing one component may change the sequence even when the finished height remains the same.
Let the Actual Marble Influence the Choice
Review Dimensions, Backs and Thickness Variation
Inspect pieces from the supplied batch. Record dimensions, thickness variation, back profile and any resin or mesh treatment. These details influence material selection and the practical placement process.
Sort material where needed rather than forcing substantial piece-to-piece differences into an uncontrolled adhesive layer. Check whether the planned system can accommodate the actual stone within its permitted range.
Large size or weight alone does not prescribe a traditional thick bed. Review the receiving surface, handling, support and chosen material together. The large-format marble guide covers those selection questions.

Include Moisture and Appearance in the Sample
The choice of installation geometry does not resolve every stone-sensitivity issue. Investigate moisture-related distortion, darkening, retained backing and the proposed setting material with the stone supplier.
Use an actual-stone sample incorporating the intended background and materials. Review cured appearance alongside an uninstalled reference. A thicker layer, a white color or an epoxy label alone does not establish the result.
See the marble staining and visible glue-line guide for a structured appearance review.
Match Site Findings to a Practical Next Step
Use the following table to organize the method discussion. It identifies work to resolve rather than prescribing an assembly from one observation.
| Site finding | What it affects | Practical next step |
|---|---|---|
| Local high spots or hollows | Receiving-plane preparation | Map corrections and choose compatible preparation materials |
| Significant elevation build-up | Assembly geometry and quantities | Compare a specified mortar bed with other designed preparation options |
| Limited doorway clearance | Finished-height coordination | Calculate all layers and resolve transitions before ordering |
| Drainage slope required | Surface geometry and waterproofing detail | Establish the slope-forming layer and drain interfaces in the design |
| Variable stone backs or thickness | Setting method and allowable adjustment | Inspect the batch, sort if necessary and trial placement |
| Moisture-sensitive stone or retained backing | Product and system compatibility | Identify a suitable stone-setting system before fixing the sequence |
| Weak or uncertain support | Structural suitability | Resolve support conditions before choosing the bed construction |
Coordinate Finished Height and Adjacent Work
Calculate finished elevation = reference substrate elevation + the installed build-up of all included layers. List preparation, bed, membranes with their bonding layers, stone-setting material and stone as applicable. Account for every layer once.
Use local minimum and maximum conditions to check the proposal. An average thickness may support purchasing calculations but can conceal an unacceptable high spot or a bed below its minimum permitted depth.
Review door operation, thresholds, adjacent finishes, drain heights and stair interfaces before placement. Identify who owns each adjustment. Leaving these decisions to the stone setter after delivery can create avoidable rework.

Compare Complete Quantities and Costs
A bag price comparison omits preparation, bed materials, bonding layers and labor. Request quotations against the same surveyed area, finished elevation and scope.
| Estimate line | Basis to record | Keep separate from |
|---|---|---|
| Removal and preparation | Area, condition, correction depth and disposal | New setting material |
| Mortar bed or leveling material | Zones, depth distribution and verified product yield | Thin bonding-layer consumption |
| Primers and membranes | Product, area, interfaces and accessories | Assumed benefits of the setting mortar |
| Stone-setting material | Actual method and representative accepted trial | General bed volume |
| Placement and access | Crew sequence, handling, readiness stages and protection | Package price alone |
For bed-volume budgeting, area in m² × average depth in mm ÷ 1,000 = volume in m³. As a hypothetical arithmetic example, 40 m² at an average 15 mm gives 0.60 m³, or 600 liters. These inputs are not a recommended mortar-bed thickness or KEDA specification.
Convert volume into packages using the selected product’s verified yield and the estimate’s loss basis. Do not assume that one liter equals one kilogram. Check minimum depth separately; a valid volume calculation does not establish a suitable assembly.
Estimate the stone-setting layer independently. The coverage and consumption guide explains trial rates, mass units and avoiding duplicate loss allowances.
Establish Placement and Readiness Checks
Inspect the Bed and the Bonding Operation
For a cured-bed sequence, record surface condition and readiness before the next material is applied. For fresh-bed setting, coordinate the bed and bonding operation around their specified working conditions.
Trial the setting process with the actual stone. Inspect effective transfer and bedding contact using representative lifted pieces at the appropriate stage, including edges and corners. Back-buttering, where required, is part of that process rather than evidence of successful embedding by itself.
Record tool, method, thickness control and contact observations together. Increasing material use is useful only if the resulting installation remains within the product’s limits and meets the specified bedding requirements.
Separate Working Windows From Access Dates
Keep mixed-material life, open time after spreading, adjustment time and readiness for subsequent work distinct. Grouting, light access, equipment loading and wet exposure may have different requirements.
Build the schedule around the selected assembly and site conditions. Protect the work while it develops the required condition. A general promise that one method is always faster overlooks preparation, component changes and access restrictions.
Keep designated movement joints and perimeter details clear through the build-up. A mortar bed or polymer-modified adhesive does not remove the need for the project’s movement provisions. The rigid adhesives and flexible sealants guide explains the material roles.
Discuss the Material Role With KEDA
KEDA’s current C110 description concerns suitable interior ceramic tiles and ceramic mosaics. Its thin-bed designation does not establish natural-marble suitability. Likewise, a fabrication adhesive or designated slab-interface paste should not be selected as a general floor-setting mortar from its name.
For a material discussion, send the stone dimensions and back photographs, substrate survey, intended location, proposed assembly, depth range and quantity basis. Use the KEDA product range to identify the material category, then contact KEDA with the application details.
Frequently Asked Questions
1. Is thick-bed installation just a thicker layer of thin-set adhesive?
No. A mortar bed establishes part of the assembly and has its own material and construction requirements. The stone may still need a separate bonding layer. Ordinary thin-set cannot be made into a mortar bed by exceeding its application limits.
2. Can thin-set be used over a cured mortar bed?
Yes, where the specified assembly and products allow it. Establish the bed’s readiness, surface preparation and any intermediate layers before applying the stone-setting material.
3. Does large or heavy marble always require thick-bed installation?
Size and weight are part of the selection. Also review substrate, finished height, stone backs, handling and product range. Choose the complete installation system from those conditions.
4. What thickness should I specify?
Use the selected assembly and each product’s minimum and maximum installed depths. Record the local depth range as well as the average for estimating. One generic thickness table cannot cover thin bonding layers, bonded beds and unbonded beds.
5. Which method costs less?
Compare the complete scope at the same finished elevation. Include preparation, materials, handling, labor, readiness stages and protection. A lower adhesive price does not establish a lower installed project cost.