A dark line beside a marble joint, a shadow visible through the stone and a dull patch left after cleanup can all be described as “adhesive bleed-through.” They may need different investigations. Changing the glue color or applying a stronger cleaner before identifying the effect can leave the cause unresolved.
Preventing adhesive staining in marble starts with the actual stone, the material combination and a representative sample. Record the original appearance, reproduce the proposed joint and assess the finished result through the relevant curing and observation stages.
This guide covers fabrication joints, local repairs and the separate appearance questions around sealant joints. It also explains when a visible pattern belongs to a bonded setting-bed assessment rather than a simple color-matching exercise.
Describe the Appearance Before Naming the Cause
Use the visible condition as a starting description. The observations below guide the first checks; they are not a diagnosis from appearance alone.
| Observed appearance | Possible issue to investigate | Useful first record |
|---|---|---|
| A distinct visible glue line | Color, opacity, joint geometry or finishing contrast | Cured joint, local stone pattern and lighting |
| A shadow or pattern beneath the face | Stone translucency and the material or bed behind it | Stone thickness, reverse face and assembly geometry |
| An area that looks darker or wet | Moisture, material interaction or contamination | When it appeared, wetting history and changes over time |
| A margin extending from a joint | Possible migration, moisture or another joint-related interaction | Width and development of the affected area, contact materials |
| A film, smear or dull patch on the surface | Residue, finish change or cleaning damage | Surface reflections and the cleanup products and method used |
Photograph the area before treatment. Keep the original files and include a wider view showing its location as well as close views of the joint and surrounding stone.
Keep Color Matching and Staining Prevention Separate
A Good Color Match Can Still Need Compatibility Assessment
Matching the local marble background or vein helps control the visible joint. It does not establish how the adhesive, hardener, pigment or preparation materials interact with that stone.
Use a compatible coloring accessory and keep its recipe within the selected system’s limits. More pigment is not a general remedy for a poor base color, visible subsurface material or a darkening margin.
Our stone adhesive color-matching guide explains how to compare cured shades and retain a repeatable recipe.
White, Clear and Neutral Are Different Descriptions
White and clear describe appearance; neutral cure describes a curing category used for some sealants. None of these labels, alone, establishes non-staining behavior for every marble.
Compare the actual cured joint with the surrounding stone. A pale opaque fill can remain visible beside translucent material, while a clear material can still produce an unwanted visual effect in a particular joint. Assess the proposed combination rather than selecting by a color name alone.
Start with Production-Representative Stone
Record the stone identity, supplier or batch, dimensions, thickness, finish and any treatment. Choose samples that represent the production material and the location where the joint will be made.
Include the reverse face and cut edges in the review. Resin treatments, mesh, sealers or previous repairs may affect the immediate contact surface. A clean display offcut can differ from the piece that reaches the workshop or installation site.
Retain an unbonded reference from the same material group. Photograph it before assembly and keep its handling and observation conditions recorded. The reference helps distinguish existing variation from changes associated with the trial.
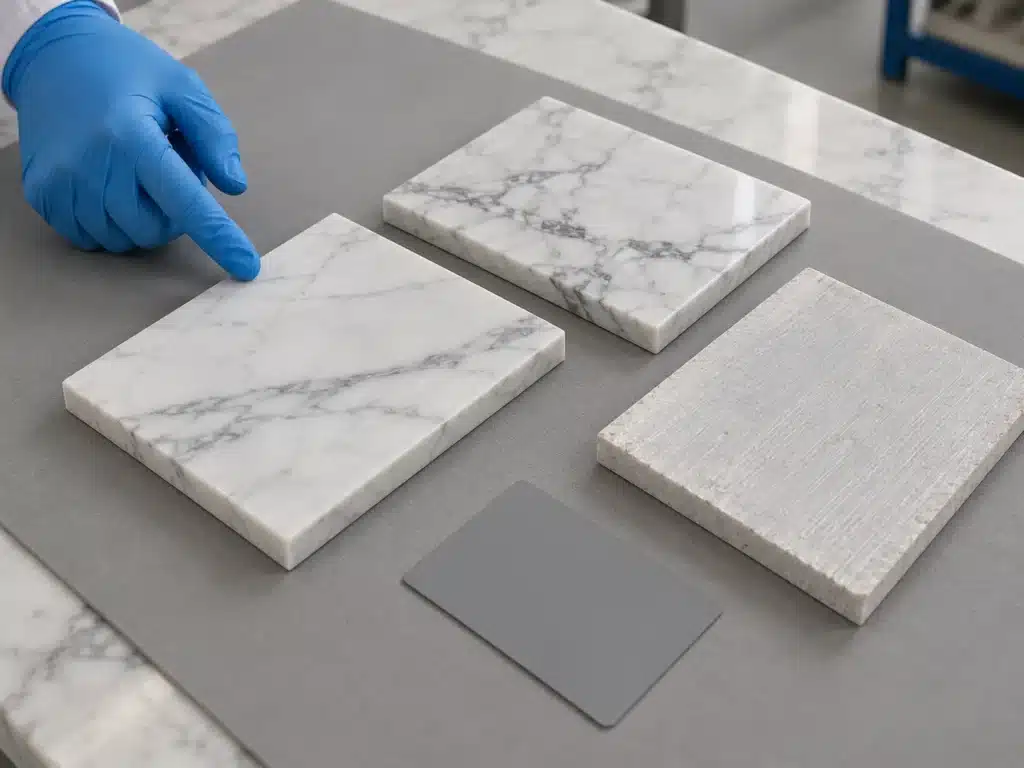
A reference card and consistent camera setup can make photographs easier to compare, but the physical sample remains important for color and finish decisions.
Reproduce the Proposed Assembly
Fabrication Joints and Local Repairs
Use the intended adhesive grade, matched curing components, preparation method and joint geometry. Include the actual pigment recipe if tinting forms part of the process.
Measure the components on their stated basis and mix thoroughly. Record the quantities and sequence. Changing the curing-component dose to alter speed or appearance creates a different mixture and can compromise the trial’s usefulness.
Reproduce the planned positioning and support, then finish the sample as intended. A joint observed before shaping or polishing does not necessarily represent the final exposed bond line.
Bonded Setting Beds
For natural marble installed over a bed, include the stone’s moisture response, the substrate, any membrane and the actual setting system. Visible bed patterns and appearance changes need assessment within that assembly.
Changing to white mortar, adding a backing treatment or reducing material beneath individual pieces is not a complete selection method. Contact and support requirements still matter. The large-format marble adhesive selection guide explains these connected decisions.
Sealant Joints
Evaluate the actual stone and the proposed sealant together with the primer, backing, adjacent materials and preparation or tooling method where relevant. Inspect the exposed face and the joint margins.
Nonstructural sealants have a different function from fabrication adhesives. Use the rigid stone adhesives vs. flexible sealants guide to identify the joint’s role before selecting an appearance trial.
Build an Observation Plan Before Mixing
Assign sample identities and write down what will be assessed at each stage. Define the observation conditions and timing with the material suppliers or testing organization where the application requires it.
| Observation stage | What to inspect | What to retain |
|---|---|---|
| Before assembly | Existing color, veins, finish, treatments and surface condition | Sample identity, reference photographs and material details |
| After application or positioning | Material distribution, visible excess and process departures | Mixing, application and condition records |
| At the defined curing stage | Joint appearance and any developing surrounding change | Actual cure history and corresponding photographs |
| After finishing and cleanup | Color, sheen, exposed line and the surrounding surface | Finishing and cleanup sequence with the accepted sample |
| At agreed later observations | Persistence, growth or other change under recorded conditions | Dated comparisons and the assessment decision |
Separate surface hardness, readiness for finishing and the selected observation period. The marble adhesive properties guide explains why these stages need their own criteria.
An early appearance check is useful, but it should not be stretched into a guarantee about all later exposure. Keep the acceptance decision within the scope of the trial or test evidence.
Inspect the Joint and the Surrounding Stone
Use More Than One View
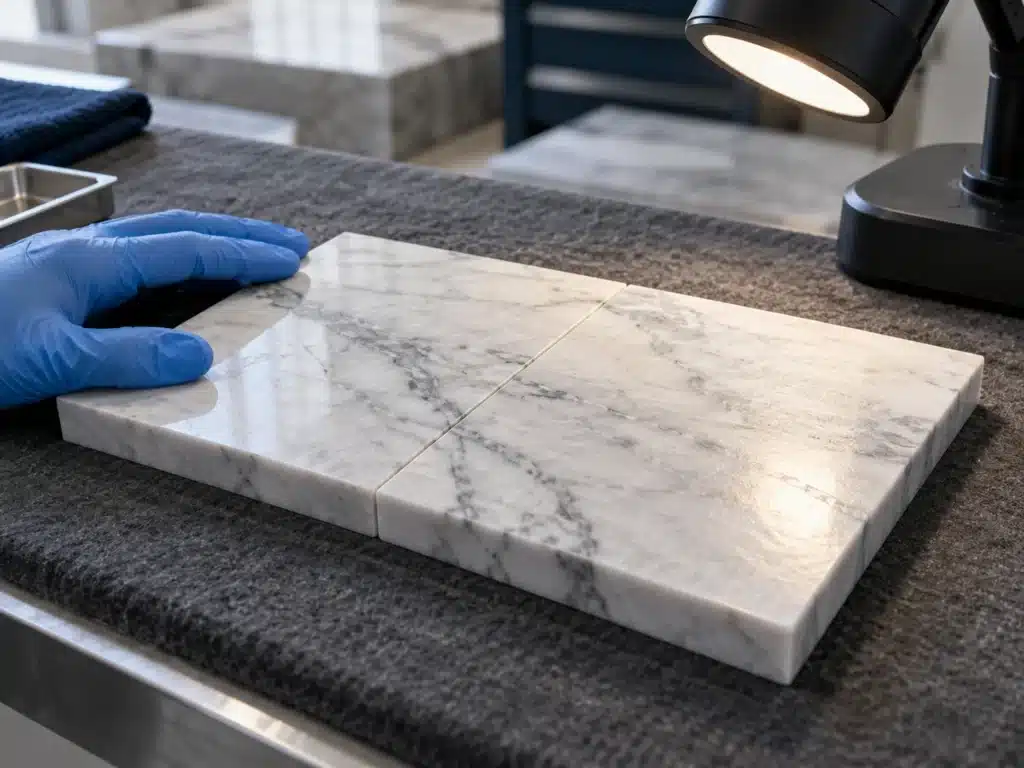
Compare the sample under lighting relevant to the finished work. Look directly at the surface and use an appropriate side-light view to inspect reflections and any film or sheen difference.
Keep comparable photographs of the same area. Record changes in lighting, wetting, treatments or finishing so a photographic difference is not automatically attributed to the adhesive.
Track Location and Development
Record whether the effect is confined to the glue line, follows a broader margin, appears over the material behind the stone or sits on the exposed surface. Note when it first appeared and whether its extent changes.
A dark area that changes during the observation period needs its moisture and process history reviewed. A persistent margin also needs the contact-material history. Neither observation alone identifies the chemistry or proves that the same treatment will work in another location.
For formal assessments, request the actual materials, conditions, method and observation criteria in the report. Our stone adhesive testing guide explains the difference between a useful record and an unsupported performance claim.
Make Cleanup Part of the Trial
Plan how excess material will be controlled and removed before production. Test the proposed masking, tools, cleaner and cleanup timing on representative spare stone with the selected adhesive or sealant.
Use clean applicators and a defined sequence so a method can be repeated. Review the surface after the relevant drying and observation stage, including sheen and surrounding margins. Merely removing the visible excess does not show that the finish is unaffected.
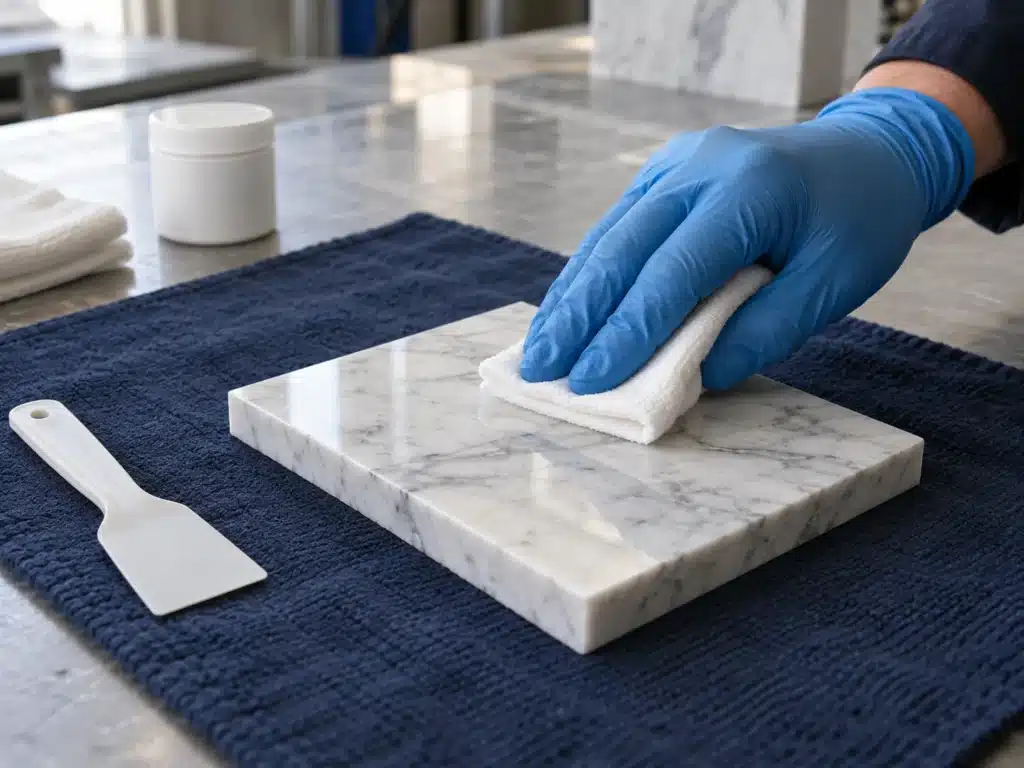
Avoid treating an unidentified defect with a general acid wash, aggressive solvent or abrasive polishing step. Marble can be affected by acidic cleaners, and a cleaning attempt can create a separate finish problem. Follow the selected products’ instructions and safety information for the actual materials.
A plastic tool is not automatically harmless on every finish. Assess the tool, trapped debris, pressure and method as part of the trial, especially on polished stone.
Treat Sealers and Barrier Coatings as Separate Materials
A stone-face protective treatment is not a universal solution to adhesive staining. A water-repellent treatment does not make the stone stain-proof or establish compatibility with the bonding material.
Identify where a proposed treatment will be applied and whether it enters the bond area. Coating a reverse face or cut edge changes the surface the adhesive touches and needs to be included in the installation assessment.
Keep the accepted sequence clear: which surfaces are treated, which remain prepared for bonding and when each operation occurs. Include an existing factory treatment in the record rather than assuming every sample starts with bare stone.
Respond to a Visible Problem in a Controlled Sequence
| Observation or change | First investigation or action |
|---|---|
| Visible cured glue line with unchanged margins | Review local color, opacity, geometry and finishing against the sample |
| Dark area changes as conditions change | Record the trend and investigate moisture and assembly history |
| Margin develops beside adhesive or sealant | Identify all contact materials and compare with retained trial records |
| Surface smear or film follows cleanup | Review the material, cleanup method and timing before further treatment |
| Dull patch appears after cleaning or polishing | Assess residue versus finish alteration with a stone professional |
| Similar effects occur in several pieces | Map the affected work by stone group, material batch and process |
First preserve the evidence and avoid extending an unassessed process to more production. Identify the affected area and retain the product, pigment, primer and cleaning records that may explain it.
For existing work, have the material supplier and an appropriate stone specialist assess the likely cause before selecting removal, restoration or replacement. Surface residue, a subsurface interaction and a changed finish can require different responses. A cleaner cannot be assumed to reverse all of them.
Keep the Accepted Sample Connected to Production
Retain the approved sample, recipe, material batches, preparation and finishing sequence. Record who accepted the appearance and under which viewing conditions.
Review the trial when the stone group, adhesive grade, pigment, treatment, primer or cleanup method changes. If the purpose is to compare a change, identify that variable and keep other relevant conditions consistent.
At handover, preserve the original appearance record and agreed care information. That history helps distinguish an installation-related change from later wetting, cleaning or use.
Discussing the Relevant KEDA Products
KEDA Knife Grade Polyester Marble Adhesive is the related starting point for suitable nonstructural fabrication and local-repair trials. Provide the stone and joint details, including appearance and finishing requirements.
KEDA Stone Adhesive Color Paste adjusts the color of compatible bonding or repair systems. It is not a stone stain treatment, a hardener or a remedy for material incompatibility. Keep the permitted combination, addition and mixing sequence tied to the exact adhesive.
KEDA S500 Stone & Concrete Silicone Sealant addresses nonstructural joint-sealing inquiries. Its intended stone-joint positioning does not establish non-staining behavior on every marble; provide the actual stone, treatments and joint materials for assessment.
For a useful inquiry, send clear photographs, the timing of the effect and the product identities, or describe the proposed trial before work begins. Add quantity, packaging and destination requirements when discussing supply.
Conclusion
Preventing adhesive staining and visible glue lines in marble requires more than selecting a white or clear material. Identify the appearance being controlled, reproduce the actual assembly and observe a recorded sample through curing, finishing and later checks. Keep cleanup and surface treatments within that same process, and investigate the cause before choosing a remedy.
Frequently Asked Questions
1. Does every dark area beside a marble joint mean adhesive migration?
No. Moisture, optical effects, contamination and surface condition can also affect appearance. Record the location, timing and development, then review the actual material and assembly history.
2. Will white adhesive prevent staining or glue shadows?
White color is one selection variable. Stone translucency, geometry, the material behind the face and compatibility still matter. Assess the actual finished assembly on a representative sample.
3. Can more pigment hide a darkening margin?
Pigment adjusts the compatible adhesive’s color; it does not establish the cause of a margin or reverse a material interaction. Keep tinting within the selected system’s limits and investigate the effect separately.
4. Should the marble back always be sealed before bonding?
A backing treatment changes the bonding face. Use it only as part of an assessed installation system with the actual stone, treatment and adhesive. Face protection and bond-interface preparation are separate decisions.
5. Can an early clean-looking sample guarantee long-term non-staining?
It records the appearance under those observation conditions. Longer-term or exposure-specific claims need an appropriate evidence basis. Retain the sample and the defined observation plan rather than extending one early check into a blanket guarantee.
Planning an appearance trial or investigating a visible glue line? Contact KEDA with the stone, joint, product identities and photographs so the application and supply requirements can be reviewed together.