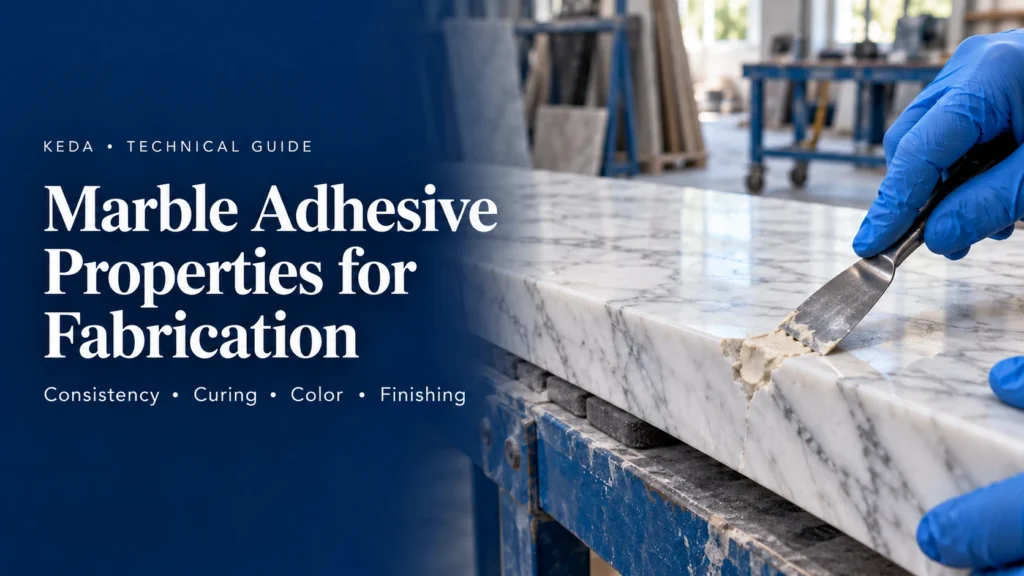
A marble repair can look acceptable when the paste is first applied and still disappoint after finishing. The color stands out, the filler pulls away during grinding, or a bonded edge shifts when its supports are removed. Each problem points to a different part of the process.
The marble adhesive properties that matter in a workshop are consistency, working time, cure development, adhesion, color and finishability. Evaluating them together helps you select a material that fits both the stone and the production sequence.
This guide covers knife-grade polyester marble adhesive for nonstructural fabrication and local repair: chips, small cavities, decorative edges and compatible stone joints.
What Is Knife-Grade Polyester Marble Adhesive?
Knife-grade polyester marble adhesive is a paste supplied with a matching hardener. The paste spreads with a putty knife, holds a shaped profile and cures into a rigid material that can be finished using an appropriate stone-working process.
That consistency is useful for filling a small edge defect or assembling a decorative stone detail. Tile bedding, flexible movement joints and structural cladding belong to separate product selections. Identify the task before comparing products sold under the broad name “marble glue.”
Explore KEDA’s Stone Fabrication & Repair solutions for related applications.
Marble Adhesive Properties: A Workshop Checklist
| Property | What a useful result looks like | What to check if it fails |
|---|---|---|
| Consistency | Paste fills the intended area and holds its shape | Grade selection, temperature and application method |
| Working time | Parts are positioned before the mixture gels | Batch size, preparation time and material temperature |
| Cure development | Handling and finishing fit the production sequence | Hardener measurement, mixing and curing conditions |
| Adhesion | The prepared stone and adhesive form a sound interface | Dust, moisture, surface treatments and compatibility |
| Color and translucency | The finished joint meets the agreed appearance | Base color, tint recipe, joint width and lighting |
| Finishability | The repair finishes flush without smearing or pull-out | Cure stage, abrasive sequence and bonding-face preparation |
Consistency and Resistance to Sagging
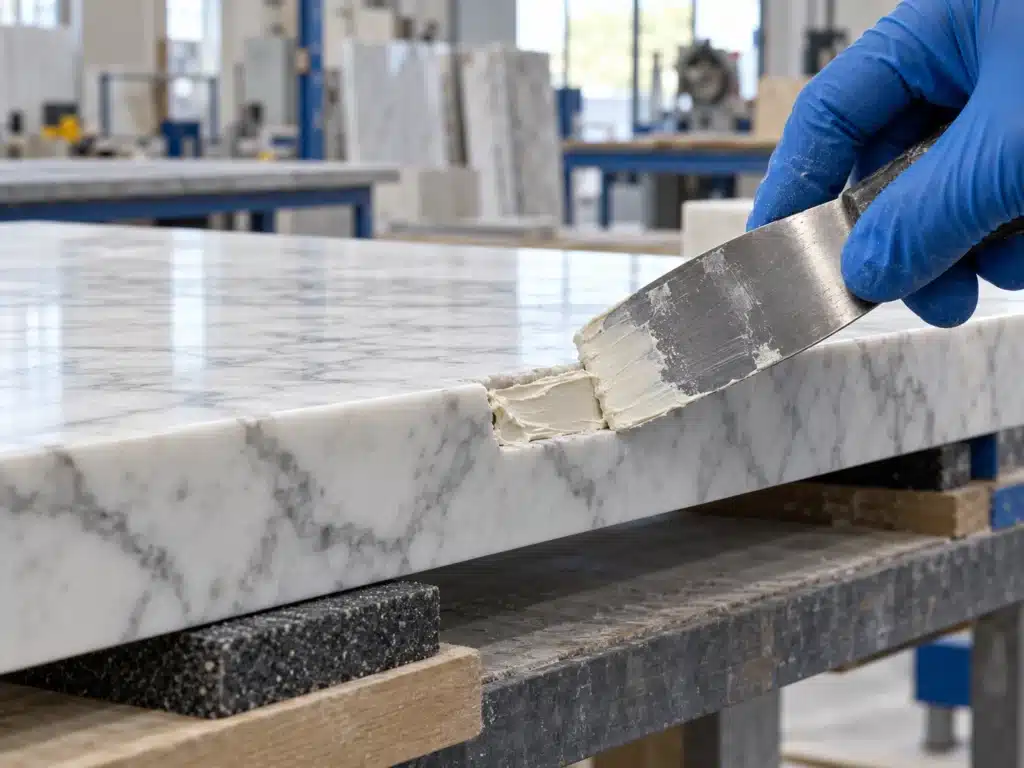
For a local chip repair, press the paste into the prepared defect and check that it fills the edges without leaving obvious pockets. On a vertical edge, it should stay in the intended position during application.
Knife-grade paste and thin penetrating resin serve different purposes. A paste that holds its shape at an edge may be unsuitable for reaching deep into a fine crack. Match the consistency to the defect rather than forcing one grade into every repair.
Working Time and Assembly Speed
Working time is the period available to mix, spread and position the adhesive before it becomes unusable for that operation. A short cycle can suit repeated small repairs while leaving too little time for a long, awkward edge assembly.
Dry-fit the parts and arrange clamps before adding hardener. If the mix begins to gel before positioning is complete, stop using that batch. For the next batch, reduce the amount mixed and simplify handling while keeping the specified component ratio.
Four Curing Stages to Separate
| Stage | What it means in practice | Production decision |
|---|---|---|
| Working time | The mixture remains usable for spreading and positioning | Complete application and alignment within this window |
| Handling readiness | The assembly has developed enough strength for a defined handling operation | Assess support removal or movement separately |
| Finishing readiness | The repair can withstand the intended grinding or polishing operation | Trial the actual tool, pressure and abrasive sequence |
| Full cure | The adhesive reaches the cure condition specified for the product | Release for service according to the documented schedule |
A hard surface alone cannot establish handling or finishing readiness. A sample that tolerates light sanding may still be unsuitable for heavier machining. Establish the schedule for the actual grade, joint and workshop conditions.
Temperature: Check the Stone as Well as the Room
Warmer conditions generally shorten polyester working time; colder conditions slow the reaction. Stone brought in from a cold storage area can remain colder than the workshop air, so record both material and ambient conditions.
In warm weather, mix smaller batches and position everything before mixing. In cold weather, bring materials into the product’s allowed processing range and allow the required curing time. Treat temperature as a process variable rather than compensating with an improvised hardener dose.
Measuring and Mixing the Hardener
Start with the ratio on the supplied adhesive’s instructions and identify its basis: weight or volume. A measured mass of paste and the same numerical volume are different quantities; visual estimates of a hardener ribbon are also difficult to repeat.
A Worked Calculation
Calculation example only: if the supplied instructions specify 100 parts adhesive to 2 parts hardener by weight, the amounts scale as follows:
| Adhesive mass | Hardener mass at this example ratio |
|---|---|
| 50 g | 1 g |
| 100 g | 2 g |
| 200 g | 4 g |
Formula: hardener mass = adhesive mass × hardener parts ÷ adhesive parts. This illustrates the calculation, not a recommended KEDA mixing ratio. Substitute the ratio specified for your supplied grade.
Mixing Quality Matters Alongside the Ratio
Use a clean mixing surface and tools. Blend thoroughly, working material from the edges and bottom into the mixture until it is uniform. Follow the specified addition sequence when tinting.
Too little hardener or incomplete blending can leave slow-curing or unevenly cured areas. Excess hardener can impair bond quality or surface curing. Correct measurement and thorough mixing give a more repeatable result than adding extra hardener to speed up production.
Adhesion Starts at the Bonding Faces
An adhesive bonds to the surface it touches. Cutting dust, wax, moisture, sealer and resin treatments can therefore matter as much as the stone’s name.
Inspect both bonding faces before mixing. Remove loose material and contamination, use a stone-compatible preparation method and let the surfaces dry. Where roughening is required, keep it within the bonding area and protect the visible finish.
Use production offcuts for the trial, including their actual treatment or backing. A successful bond on an untreated sample does not assess a resin-coated production face.
Color Matching and Staining
Choose the closest suitable base color before adding tint. A narrow line, a deep chip and a translucent marble edge can show the same adhesive differently because their geometry and light transmission differ.
KEDA Stone Adhesive Color Paste provides a coloring accessory for compatible adhesives. Establish the allowed addition amount for the combination and record the recipe by measured quantities.
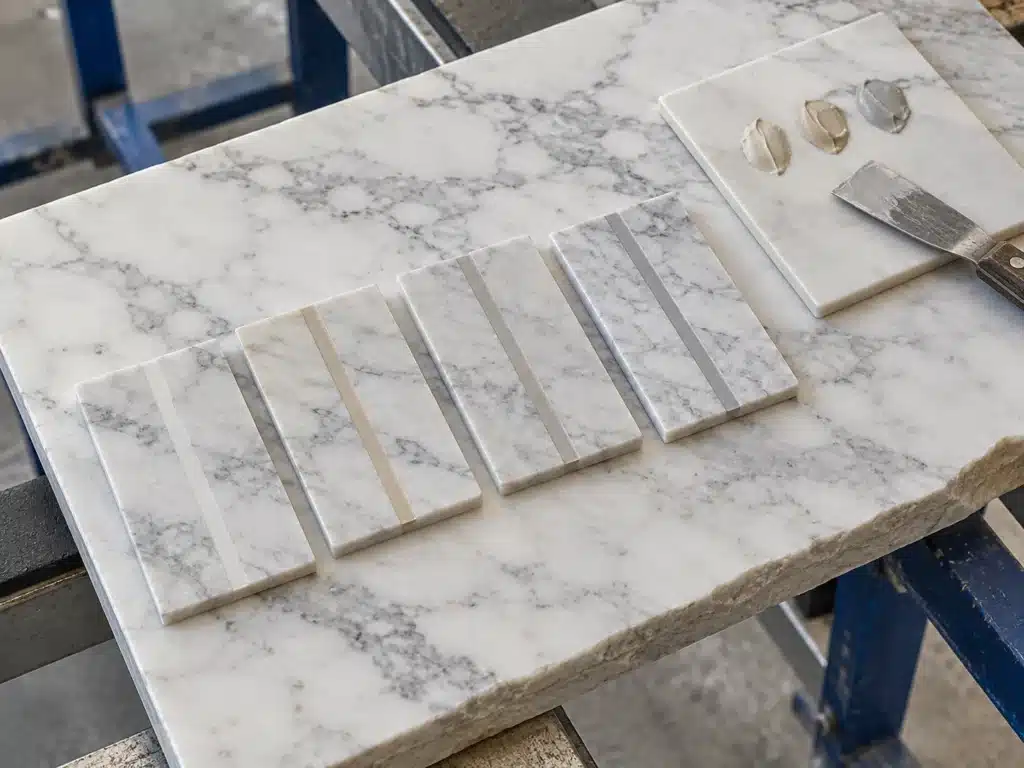
Compare After Curing and Finishing
Evaluate the sample after the intended finishing sequence. Check it under lighting relevant to the installation, including an oblique view that makes changes in sheen easier to see.
Inspect the perimeter as well as the center of the repair. A dark halo, bleed or oily-looking border is a reason to stop and investigate the adhesive–stone combination. Changing the pigment alone may leave the underlying staining problem unresolved.
Keep the accepted sample as the appearance reference for repeat work.
Sanding and Polishing Performance
On the trial piece, inspect whether the filled area stays flush, the edge remains intact and the final sheen meets expectations.
Smearing can indicate that the material is being worked too early or that curing is defective. Pull-out calls for checking both cure and the bonding interface. Stop and investigate instead of trying to hide the defect with a finer abrasive.
Follow the stone’s appropriate abrasive sequence and control tool pressure and heat. A thick blob of cured adhesive is a poor substitute for testing the actual thin joint or local repair.
Edge Assembly and Service Conditions
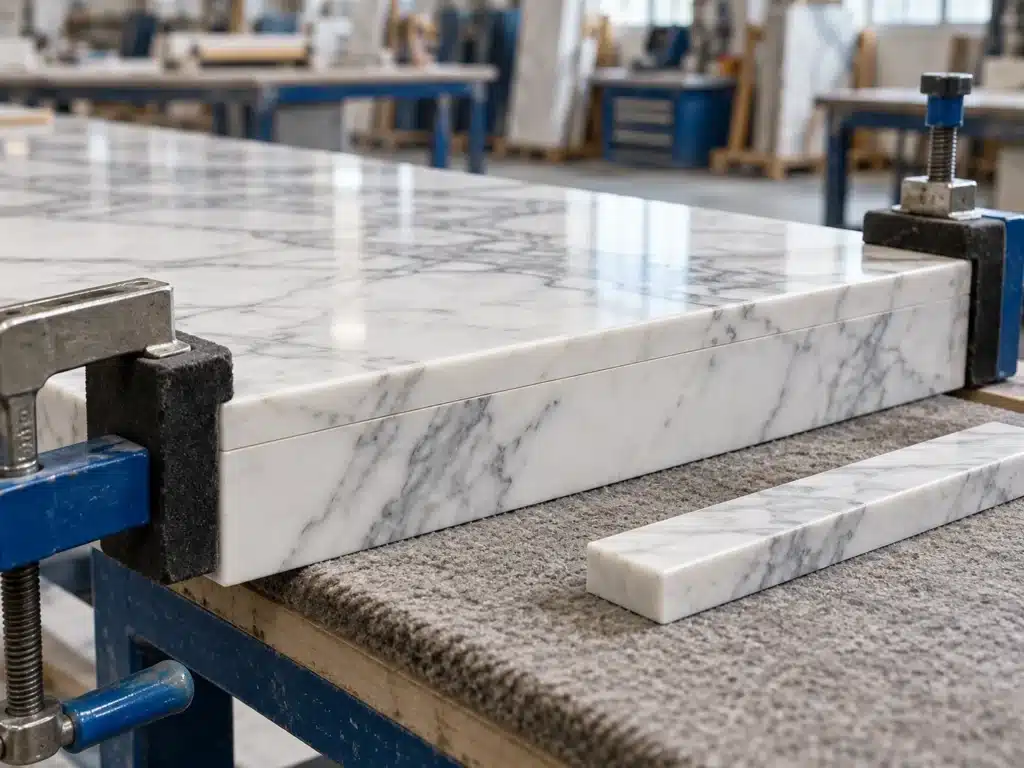
Dry-fit an edge strip before mixing: check alignment, contact, joint appearance and clamp access. Hold the parts securely while curing and maintain the required independent support afterward.
Water, Sunlight and Movement
For routine interior fabrication, assess the expected cleaning and incidental moisture exposure. For repeated wetting, immersion, exterior weather or freezing conditions, select a product specifically supported for that exposure. A water-resistant cured material and a durable wet-service bond are different performance questions.
Use a suitable flexible sealant for movement joints. Structural stone cladding requires its specified bonding and fixing system. Porcelain and sintered slabs also need a material-specific adhesive selection. These are selection boundaries for the polyester fabrication adhesive discussed here.
Common Marble Adhesive Problems and First Checks
The following are diagnostic starting points, not proof of a single cause. Compare each problem with the mixing record and a representative sample.
| Problem | Possible causes to investigate | First practical check |
|---|---|---|
| Paste gels before assembly | Warm materials, oversized batch or delays in positioning | Record temperature and elapsed time; prepare a smaller batch at the specified ratio |
| Soft or unevenly cured areas | Incorrect dosing, incomplete mixing, cold conditions or material condition | Recheck measurements, component identity, storage history and mixing uniformity |
| Filler smears during finishing | Early machining or inadequate cure | Stop finishing and check cure against the product schedule |
| Repair pulls out | Contamination, weak stone at the interface or insufficient cure | Inspect the separated surfaces and reproduce the preparation on an offcut |
| Color looks wrong after polishing | Wet-only color approval, unsuitable base or different finishing response | Compare cured and finished samples under the intended lighting |
| Dark border appears | Stone sensitivity, contamination or an incompatible combination | Investigate on an offcut before proceeding with the visible work |
A Practical Trial Before Production
1. Reproduce the Real Joint
Use an offcut from the intended stone batch. Match the bonding faces, joint geometry or defect, and final profile. Agree the appearance reference and the finishing result you need to achieve.
2. Record One Complete Mixing Cycle
Record adhesive and hardener identities, measured quantities, tint additions and material temperature. Time mixing, application and positioning from a consistent starting point. Keep a labeled sample alongside the assembly to help compare cure behavior.
Follow the labels and safety data sheets for ventilation, protective equipment and handling. Keep mixed material out of the original containers.
3. Assess Handling and Finishing Separately
At the product’s stated stages, test the planned handling and machining operations on the supported trial assembly. Inspect alignment, smearing, pull-out, staining, surface level and sheen.
This trial establishes process and appearance suitability. Required load or exposure performance needs the corresponding test method and acceptance criteria.
4. Keep a Repeatable Production Record
Save the accepted sample with the recipe and schedule. When the stone treatment, adhesive grade or workshop conditions change, revisit the affected checks. A usable record explains how the result was produced, not simply that a sample “passed.”
Choosing a KEDA Marble Adhesive
KEDA Knife Grade Polyester Marble Adhesive is intended for nonstructural stone fabrication and local repair. Start your inquiry with the stone, joint or defect, finishing method and service conditions.
For an order, add your destination market, preferred base color, pack size and expected quantity. These details connect the product selection to both the workshop process and the supply requirement.
Conclusion
Choose marble adhesive by the result you need to produce: controlled placement, enough working time, a sound interface, an acceptable color and a clean finished profile. A representative trial connects those properties to a repeatable workshop process.
Frequently Asked Questions
1. Is polyester marble adhesive flexible after curing?
It cures into a rigid material. Use it for suitable fixed fabrication details and repairs; choose a compatible flexible sealant for a joint designed to move.
2. How do I calculate the hardener quantity?
For a weight-based ratio, multiply the adhesive mass by the hardener parts and divide by the adhesive parts. Use the ratio for the supplied grade and a scale suitable for the required quantity. The worked example above shows the arithmetic.
3. How can I tell a repair is being polished too early?
Smearing, dragging or material coming away during a trial are reasons to stop. Check elapsed time, temperature and mixing accuracy. Begin at the product’s stated finishing stage and verify the actual abrasive process on a sample; surface hardness alone is insufficient.
4. Why does transparent adhesive still show on white marble?
Transparency does not guarantee an invisible repair. The adhesive’s tone, the stone’s translucency, joint width and surface sheen affect visibility. Compare suitable base colors in a cured, finished sample instead of assuming transparent is always the closest match.
5. What should I do if mixed adhesive remains soft?
Keep the assembly supported and stop further work. Check the component identities, dosing, mixing, temperature and storage history. Follow the supplier’s corrective guidance; adding fresh hardener to an existing joint is not a reliable repair method.
Need help selecting a marble adhesive? Send KEDA a photo of the joint or defect, the stone type and your order requirements. Discuss your application with our team to review a product for your fabrication process.