
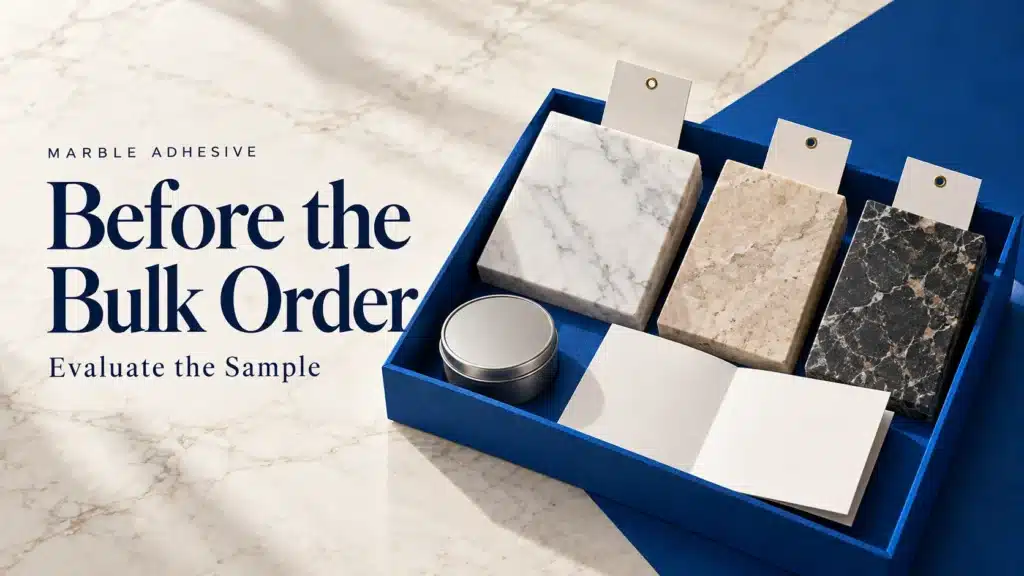
A marble adhesive sample should help answer a purchasing question: can this supplied product produce an acceptable result in your workshop, on the stone and details your customers actually use?
Build the evaluation around a repeatable job. Identify the sample and its matched hardener, prepare representative stone, record mixing and curing conditions, and inspect the finished result. Then write a purchase decision that states the accepted application, any unresolved issues and the checks required when bulk material arrives.
This guide focuses on knife-grade polyester marble adhesive for nonstructural interior fabrication and local repair. It connects a workshop trial to a distributor’s or fabricator’s order decision.
Define the Job Before Requesting Samples
Choose a Representative Workshop Detail
Start with the work that will use most of the proposed stock: filling small chips, assembling decorative edges or making suitable fabrication joints. Describe the stone, bonding faces, joint geometry and finishing process.
A distributor serving several customer groups should identify those groups separately. A sample accepted for a local repair in beige marble leaves other stones and applications to be assessed. Use our marble adhesive selection guide to separate fabrication, repair and installation inquiries.
Agree on the Decision Criteria
Ask the workshop operator and purchasing contact to define an acceptable result before opening the sample. Include application control, enough time to position the detail, the required processing stages, appearance and the supply information needed for an order.
Where a customer or project requires measured bond properties, agree on the test method, specimens, conditioning and acceptance criteria with a competent testing provider. Keep that requirement separate from routine appearance and processing observations.
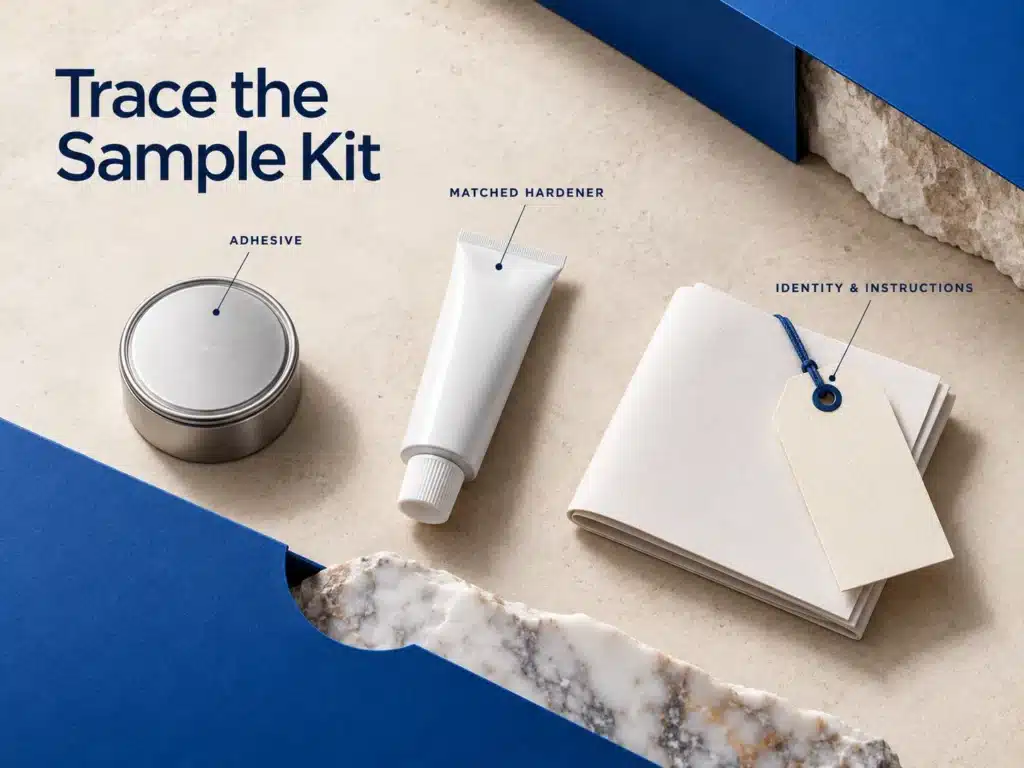
Request a Traceable Sample Kit
Give the supplier a short brief that ties the sample to your intended order. This makes follow-up questions more precise and helps prevent a sample description from changing between the workshop and purchasing office.
| Information to confirm | What to request or record | Why it matters |
|---|---|---|
| Adhesive identity | Product name, grade, base color and sample identifier | Links results to the material evaluated |
| Matching components | Hardener identity, batch details and required accessories | Defines the supplied combination |
| Trial application | Stone, actual contact surfaces, detail and service conditions | Keeps the trial connected to the intended work |
| Operating instructions | Component ratio and basis, mixing, curing and finishing guidance | Establishes the allowed trial method |
| Safety and storage | Current labels and safety information for each component | Supports correct handling and storage |
| Sample status | Production-batch sample, development sample or other stated source | Clarifies its relationship to future supply |
| Order configuration | Requested colors, pack sizes, quantities and destination | Connects technical selection with the quotation |
Inspect the Kit on Arrival
Photograph the containers, labels and any shipping damage before use. Record receipt date, batch or lot references, stated production or expiry information, and the condition of the seals. Keep the packaging information with the trial record.
If a component is unidentified, damaged or missing, resolve it with the supplier before mixing. Arrange ventilation, protective equipment, tools and waste handling using the supplied safety information. Use separate clean tools for the original components and keep mixed material out of their containers.
Prepare Stone That Represents the Order
Use Actual Production Offcuts
Select offcuts with the same stone, finish and bonding-face treatment as the intended work. Include resin treatment, backing or sealer information where relevant. Keep the specimen location and preparation method identifiable.
Prepare enough material to repeat a check and retain a reference. Choose sample quantity from the trial plan and expected handling losses. A single attractive showroom piece provides little information about variation across a customer’s production stone.
Include the Conditions That Matter
For a mixed customer base, organize separate checks for the relevant stones or details. Give extra attention to light-colored, translucent, porous or treated stone. Use a clean untreated offcut as an appearance reference where appropriate, while reproducing the actual production surface in the application trial.
For example, a distributor may need both a small chip-filling trial and a supported edge-assembly trial. Keep them separately identified because depth, contact and finishing access differ. Required independent support remains part of the edge detail throughout the evaluation.
Compare Products Without Confusing the Variables
Write One Trial Method for Each Candidate
When comparing a candidate with an established product, use comparable stone pieces, detail geometry and finishing goals. Record the preparation, operator, tools and workshop conditions. Identify any process differences each product requires.
Follow each product’s own mixing and application instructions. Two adhesives can require different hardeners or component ratios. The comparison should show whether each permitted process fits the job, rather than forcing both products through an arbitrary common recipe.
Record What Changed
If a result is poor, change one relevant variable at a time within the approved method and repeat the affected check. Keep the original result visible. Replacing the stone, changing the pigment and altering the mix together makes the cause difficult to identify.
Include a repeat mix when planning sample quantities. Consistent results across independently prepared mixes provide more useful purchasing evidence than selecting the best-looking piece from a single preparation.
Measure, Mix and Track the Processing Window
Confirm the Ratio and Its Measurement Basis
Copy the supplied ratio into the trial record and state whether it is by weight or volume. Use measuring equipment suitable for the quantities involved, especially the smaller hardener dose. Record the actual amounts used.
Add only the compatible tinting material within its permitted limit and sequence. Keep an untinted comparison when investigating color-related changes. KEDA Stone Adhesive Color Paste is an accessory for compatible systems; its addition must be recorded alongside the adhesive and hardener quantities.
Separate Working, Handling and Finishing Stages
Record the timing convention, such as the start of mixing, and use it consistently. Note batch size, mixing container and relevant material and room temperatures. Define what the operator must finish within the usable application period: filling the defect, spreading the joint, positioning or securing the parts.
Track handling readiness, grinding or polishing readiness, and the stated full-cure condition separately. Record the operation attempted and its result at each stage. Surface hardness alone is insufficient to release a bonded detail for handling or machining. Our marble adhesive properties guide explains these workshop stages in more detail.

Inspect the Result Through Finishing
The operator should record an observation against each agreed requirement. Use consistent photographs and a specimen identifier so the supplier can connect feedback with the correct mix and stone.
| Check | Useful observation | Reason to hold the purchase decision |
|---|---|---|
| Placement control | Paste fills the intended detail and stays where required | Gaps, loss of shape or unsuitable consistency |
| Usable application period | The defined positioning task is completed within the permitted window | Material becomes unusable before the task is complete |
| Cure consistency | Comparable regions and repeat mixes develop as expected | Persistent soft areas, tackiness or unexplained variation |
| Handling | The supported detail tolerates the planned handling stage | Movement or damage during the defined operation |
| Grinding and polishing | The repair stays intact and reaches the agreed finish | Smearing, pull-out, edge damage or unacceptable sheen |
| Color and adjacent stone | Cured, finished appearance matches the agreed reference | Unacceptable line, shadow, darkening or edge effect |
| Required bond verification | Results meet the pre-agreed method and criteria | Missing evidence or an unmet requirement |
Compare Cured and Finished Appearance
Photograph the original stone and finished specimen under consistent lighting, at comparable angles and in the same relevant dry or wet condition. Inspect the surrounding stone as well as the center of the repair. Keep the accepted physical sample as the reference.
Assess any visible change after the relevant curing and observation stages. A wet mixture or phone photograph alone cannot establish an acceptable finished color. Use our color-matching guide for recipe records and our staining guide to distinguish appearance problems.
Use the Intended Finishing Process
Trial the planned abrasive sequence and equipment on the specimen once the product permits that operation. Record the sequence and whether the material smears, pulls out, chips or finishes flush. A different finishing process may need another check.
If mechanical verification is required, retain specimen identity, preparation, cure conditions and failure observations with the report. Our stone adhesive bond-testing guide explains how those records differ from a casual attempt to break an offcut by hand.

Turn the Trial Record into a Purchase Decision
Resolve Important Gaps Before Release
Use a clear outcome for each evaluated application: accepted within a defined scope, hold for investigation, or unsuitable for the intended job. Record the reason and responsible contact. Appearance, processing and any required performance evidence each need their own conclusion.
A successful trial establishes useful evidence for the stone, combination and conditions evaluated. Extend approval to additional uses only after reviewing what changes. Exterior exposure, continuously wet service, structural attachment and movement joints need a different product and system assessment from the fabrication work discussed here.
| Purchase record | Minimum content | Action it supports |
|---|---|---|
| Accepted application | Stone, contact surfaces, detail and intended service | Defines what the selection covers |
| Accepted method | Preparation, mix, tint recipe and processing stages | Gives the workshop a repeatable starting method |
| Appearance reference | Identified finished specimen and agreed observations | Supports later comparison |
| Open issues | Unresolved item, next check and responsible person | Keeps a held decision visible |
| Order identity | Grade, color, matched components and agreed pack configuration | Connects the quotation with the accepted sample |
| Incoming check | Material identity, condition and agreed repeat checks | Links sample evaluation to bulk delivery |
Link the Quotation to the Accepted Material
Reference the sample identifier, product description and accepted scope when requesting the final quotation. Confirm the ordered colors, capacities, matched hardener, carton configuration and accompanying documents. Ask how product or component changes will be communicated.
For a distributor, retain the application limits with sales guidance so customer recommendations stay connected to the evaluated uses. Cost comparison should include preparation effort, usable material, finishing work and observed rework, alongside the quoted pack price. Quantify savings only when the trial and production records support them.
Check the First Bulk Delivery
Compare delivered identity, batch information, packaging condition and documents with the order. Establish whether the supply differs from the evaluated sample and resolve unexplained changes before release.
Repeat the agreed workshop checks on retained representative stone as appropriate to the order’s acceptance plan. Keep those results linked to the delivery batch. Review affected checks when the stone, grade, hardener, tint, process or workshop conditions change.
Plan a KEDA Marble Adhesive Sample Inquiry
KEDA Knife Grade Polyester Marble Adhesive is positioned for nonstructural stone fabrication, edge assembly and local repair with a matched hardener. Begin the inquiry with a stone photograph, the detail to be made, workshop conditions and the result you need to assess.
Add your destination, preferred base colors, pack sizes and expected order quantity. Ask which sample combination and current instructions match that inquiry, then send the completed trial feedback to KEDA with specimen photographs and mixing records. Specific feedback makes the next material or purchasing decision easier to resolve.
Frequently Asked Questions
1. How much marble adhesive should I request for evaluation?
Estimate enough for the planned stone combinations, repeat mixes, finishing checks and retained specimens. Share the trial plan with the supplier before dispatch. The required quantity depends on the details being assessed and the material needed for each one.
2. Should every adhesive sample be mixed at the same ratio?
Use the specified ratio and matching components for each product. Keep comparable stone, geometry and evaluation goals, while recording permitted process differences. A shared arbitrary ratio can make an otherwise useful comparison invalid.
3. Does an acceptable color match prove the adhesive is suitable?
It answers the appearance question for that specimen. Also review application control, curing, handling, finishing and any required bond evidence. Record the accepted stone and application so the result has a clear scope.
4. Can one successful sample approve every stone in a distributor’s range?
Group the proposed uses and select representative stones, treatments and details for each group. Review differences explicitly. A sample on one untreated marble cannot establish the behavior of every porous, translucent or resin-treated material.
5. What should I check when the bulk order arrives?
Check identity, matched components, batch details, condition and documents against the agreed order. Carry out the incoming trial checks defined during selection, link them to the delivered batch and investigate changes before releasing the material for the intended work.