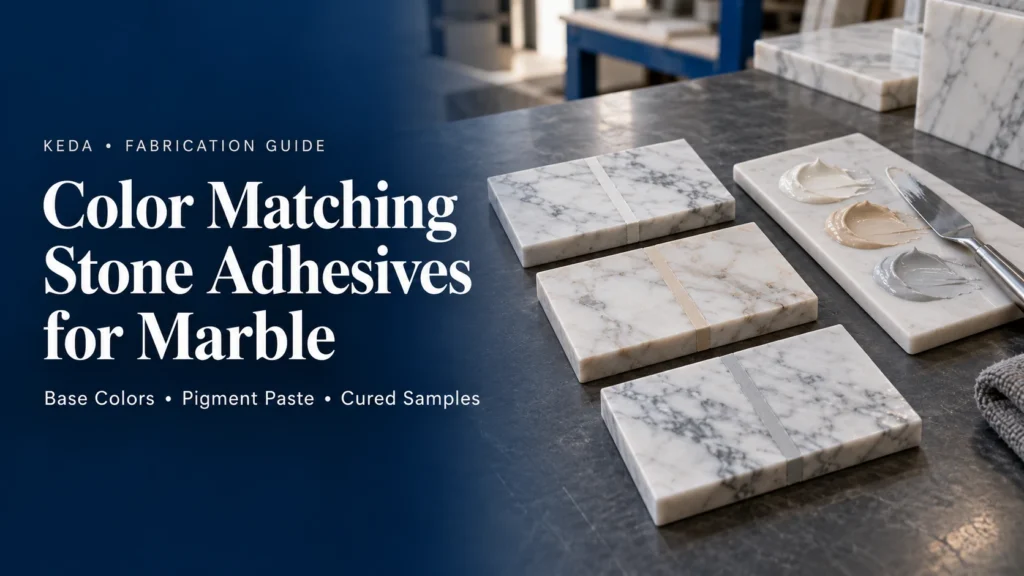
An adhesive can look close to marble on a mixing board and still form an obvious line after polishing. The shade may be right but too opaque, the joint may be wider than the trial, or a change in lighting may reveal a warm or gray cast.
Successful color matching of stone adhesives combines the right base adhesive, compatible pigment paste, measured trial batches and evaluation of the cured, finished joint. The result should be a recorded process that another person can repeat.
This guide focuses on visible joints and local repairs in marble fabrication. It explains how to choose a starting color, organize trials, diagnose mismatches and approve a sample before production.
Define the Appearance You Are Trying to Match
Start with the actual joint or repair location. A seam crossing a pale background, a chip inside a dark vein and an exposed laminated edge can require different visual decisions on the same slab.
Identify the local background, the surrounding veins and the intended finish. Agree whether the goal is to blend with the background, follow a particular vein or create a deliberately contrasting detail. A broad color name such as “white marble” leaves these choices unresolved.
A good approval target describes an acceptable finished appearance. It does not promise that every repair will disappear under every viewing condition.
Select the Adhesive Before Selecting the Pigment
The adhesive must first suit the fabrication task and the prepared stone. For a comparison of the main systems, read Polyester vs. Epoxy vs. Cement-Based Adhesives for Marble.
Then identify a color paste compatible with that exact adhesive grade. Resin-family names alone are insufficient: a paste offered for a particular polyester system should not automatically be used in an epoxy, sealant or tile-setting mortar.
Before the trial, establish the paste’s addition limit, dosing basis and mixing sequence. Color paste is a coloring accessory; the adhesive still needs its matched curing components and its own mixing ratio.
Choose a Base Color That Reduces the Adjustment Needed
The closest suitable base usually provides a more manageable starting point than trying to correct a large mismatch with progressively more pigment.
| Starting base | Useful trial direction | What to watch |
|---|---|---|
| White or off-white | Pale backgrounds requiring an opaque-looking fill | A bright solid line against more translucent stone |
| Beige or warm neutral | Cream-colored areas and warm backgrounds | A yellow or brown cast that becomes obvious after curing |
| Transparent or translucent | Joints where light transmission affects the appearance | The base’s own tint and the visual effect of joint depth |
| Dark or precolored base | Dark backgrounds or selected vein repairs | An overly dark outline or loss of surrounding pattern detail |
These are starting points for samples, not fixed recipes for named marble varieties. Slab variation, surface treatment and the repair position change the result.
A Step-by-Step Color-Matching Workflow
1. Use the Actual Stone and Joint Geometry
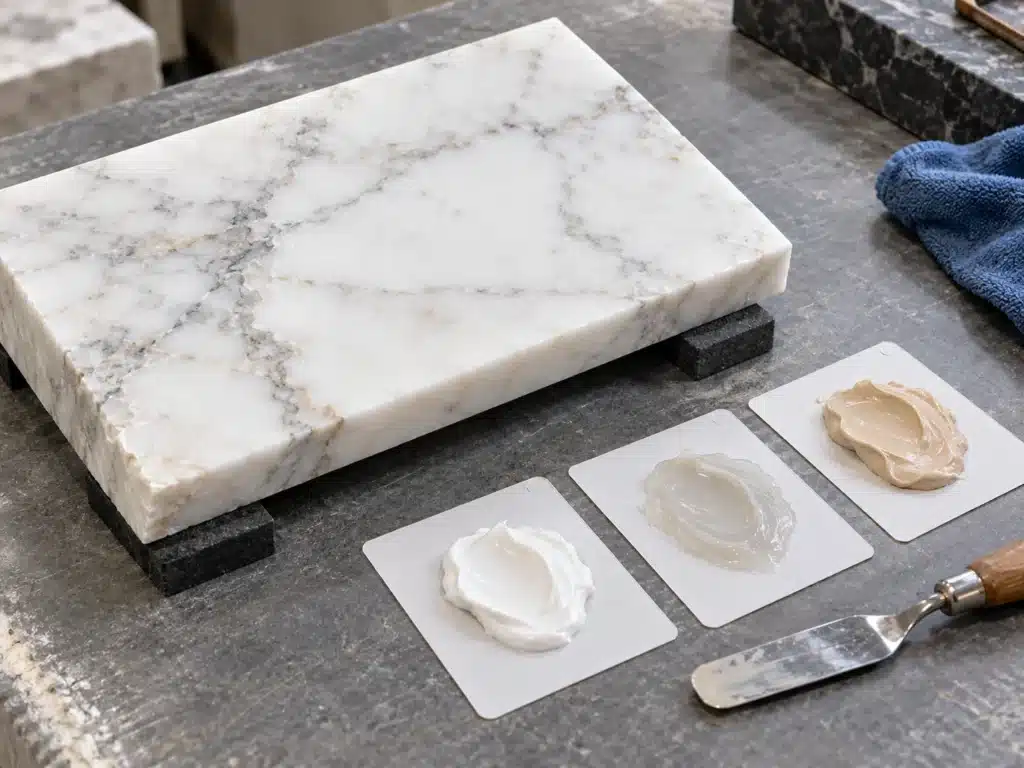
Use an offcut from the intended stone batch, including its treatment and finish. Reproduce the joint width, depth or repair shape closely enough to assess the visible result.
A thin smear on a mixing card helps screen colors. It cannot represent every deep chip, polished edge or translucent seam. Move promising mixtures onto representative stone samples before approval.
2. Prepare a Small, Organized Trial Set
Choose a few deliberate variants rather than repeatedly changing one mixture without records. For example, compare a neutral version with slightly warmer and cooler versions, all within the combination’s allowed tint addition.
Give each sample an identifier. Keep the adhesive grade, stone, joint geometry and finishing method consistent so that the color adjustment remains the main variable.
3. Weigh and Record the Additions
Record the uncolored adhesive quantity and each color paste separately. Small pigment additions can make noticeable changes, so a scale must measure the smallest planned dose reliably. A display with many decimal places is not, by itself, evidence of reliable measurement.
Avoid recording only “a small dab” or “two drops.” Different dispensing pressure, paste consistency and nozzle condition can change what those descriptions deliver.
4. Adjust One Color Direction at a Time
Decide what is wrong before adding another shade: too bright, too dark, too warm, too cool or too opaque. Use small measured changes and keep a record of each variant.
The direction and strength of a particular pigment depend on the paste and base. Test the adjustment in that combination instead of relying on a universal recipe. If the base remains far from the target as tint approaches its allowed limit, select a better base and start a fresh trial.

5. Complete Mixing and Curing as a Controlled Process
For systems that specify tinting before hardener addition, settle the trial color first, then add the matched hardener and mix thoroughly. Follow the specified sequence for other systems. Once the reactive components are mixed, work within the available application window.
Keep adhesive, hardener and pigment records separate. Do not count pigment as hardener or change the curing ratio to correct a color problem. Use clean dispensing tools, protect the original containers from mixed material, and follow the product safety instructions.
6. Finish the Sample Before Making the Decision
Allow the sample to reach the required curing and processing stages, then use the intended finishing sequence. Compare the joint after machining or polishing, not only when the paste is wet or first feels hard.
Check the fill level, edge integrity and sheen as well as color. A recessed or rough repair can cast a shadow that makes a good shade appear wrong. See Marble Adhesive Properties for Fabrication for the distinction between working, handling, finishing and full-cure stages.
7. Inspect Under Relevant Lighting
Use a consistent workshop light for comparing variants, then check the shortlisted sample under the intended installation lighting where practical. Include a normal viewing position and an oblique angle that reveals differences in sheen.
Daylight can provide another useful comparison, but it changes with conditions. Phone photographs support communication; automatic exposure and white balance make them a weak final color standard.

Scaling an Approved Recipe Without Guesswork
Once a compatible recipe has been approved, scale each recorded color addition by the same factor used for the adhesive base. Preserve the product’s defined dosing basis.
Arithmetic example only: assume an approved trial uses 100 g of uncolored base, 0.20 g of one paste and 0.04 g of a second paste. Scaling that base to 250 g gives a factor of 2.5:
| Recorded ingredient | Trial quantity | Scaled quantity |
|---|---|---|
| Uncolored adhesive base | 100 g | 250 g |
| Color paste A | 0.20 g | 0.50 g |
| Color paste B | 0.04 g | 0.10 g |
These quantities illustrate proportional calculation, not a KEDA tint recipe or recommended dose. Calculate the hardener separately on the adhesive’s specified basis, and include all tint additions when checking the combination’s permitted colorant limit.
A color recipe that scales mathematically may still need several manageable production batches. Mix quantities that fit the working window rather than one oversized batch solely to maintain color consistency.
Common Color-Matching Problems and What to Check
| Visible problem | Possible explanations | Useful next check |
|---|---|---|
| Joint is too bright or chalky | Opaque base or tint contrasts with translucent stone | Compare a more suitable base in the same joint geometry |
| Joint looks too dark | Base tint, pigment addition, joint depth or an unfilled recess | Inspect fill level and compare cured variants before adding more color |
| Match changes after polishing | Different sheen, surface level or cure condition | Reproduce the final abrasive sequence on a sample |
| Match changes under another light | Different responses of stone and adhesive to the light source | Compare under the intended lighting and agree the acceptable result |
| A dark or oily-looking halo forms around the repair | Migration, contamination, moisture or stone sensitivity | Stop visible production and investigate the actual combination on offcuts |
| Adjacent batches differ | Dosing, mixing, material batch or stone variation | Compare the recorded quantities, product identities and retained sample |
A halo is a different problem from a mismatched adhesive shade. Adding more pigment cannot establish that the surrounding stone will remain unstained. Keep the investigation focused on the interface and materials rather than masking the symptom with a darker recipe.
What to Include in the Sample Record
Keep enough information to reproduce the result:
- Materials: adhesive and matching hardener identities, pigment names or codes, and their batch references.
- Quantities: the base, each color addition and curing components, with the measurement basis.
- Stone and joint: stone batch, treatment, finish, repair location and joint geometry.
- Process: mixing sequence, material temperature, application, curing and finishing schedule.
- Approval: sample identifier, lighting and viewing conditions, accepted appearance and person approving it.
Retain the physical sample and clear photographs. Revisit the affected checks when the stone, base adhesive, tint batch or finishing process changes. A recipe labeled only with a marble trade name cannot capture all those differences.
Applying This Workflow with KEDA Products
KEDA Stone Adhesive Color Paste is an accessory to consider when tinting a compatible stone adhesive. Start the inquiry with the adhesive grade and actual stone, then discuss the target appearance and trial requirements.
For suitable nonstructural fabrication and local repair, KEDA Knife Grade Polyester Marble Adhesive provides the associated product-selection starting point. The adhesive and tint combination should be assessed together for the intended joint and finish.
Send KEDA a stone sample or clear photographs of the repair location, the desired shade, the finish and your expected order quantity. For supply discussions, include the destination market and packaging preference. More application context is available under Stone Fabrication & Repair.
Conclusion
Repeatable color matching comes from controlling the base, measured tint additions, joint geometry, curing, finishing and evaluation conditions. A retained sample and a clear recipe give the workshop a practical reference for production and repeat orders.
Frequently Asked Questions
1. Is transparent adhesive always the best choice for white marble?
No. A transparent base can still have a visible tint or behave differently from the stone in a deep joint. Compare suitable transparent, off-white and precolored options in cured, finished samples on the actual marble.
2. How much color paste should I add?
Start with the closest suitable base and use small measured trials within the limit for the exact paste–adhesive combination. Record all additions. If reaching the target requires too much tint, change the base instead of continuing past that limit.
3. Can I use the same color paste in polyester and epoxy adhesives?
Only where that paste is specified for the particular formulations. Some color systems cover several adhesive families; others are dedicated. Identify both products before mixing and assess the tinted adhesive’s cure and finished appearance.
4. Does a good color match mean the repair will be invisible?
It means the sample meets the agreed appearance under the checked conditions. Joint width, stone translucency, veining, surface level and lighting can still reveal a repair. Agree a physical reference rather than an absolute invisibility promise.
5. Can I keep changing the shade after adding hardener?
The reaction and working-time countdown continue while you adjust it. Where the instructions allow pre-tinting, establish the recipe before adding hardener. For a failed trial, prepare a fresh measured variant instead of repeatedly extending work on a batch that is curing.
Need help matching a stone joint or repair? Contact KEDA with the adhesive grade, stone sample or photos, target appearance and order requirements so the product combination can be reviewed.