

Commercial marble flooring needs a setting system matched to the stone, supporting construction and daily operation of the building. A shopping mall entrance, hotel reception area and service route can share the same marble while facing different loads, moisture and reopening requirements.
Start with a zone plan and a short project brief. Identify the stone and backing, record the substrate condition, list rolling equipment and define when each area must return to use. These details make adhesive selection more useful than comparing products by a single strength figure or the word “premium.”
This guide covers bonded marble floors. Wall panels, column facings and overhead stone require a separate support and fixing assessment.
Map the Floor by Use and Exposure
Record Rolling Equipment as Well as Foot Traffic
Ask operations staff which equipment will cross the floor: luggage carts, delivery trolleys, cleaning machines, movable displays and maintenance equipment. Record loaded operating weight, wheel details, turning locations and intended routes where relevant to the floor designer’s assessment.
A quiet corridor may carry concentrated delivery traffic before opening. A hotel lobby may face repeated luggage-cart turns beside reception. Include those operating patterns in the brief instead of using visitor numbers as the only measure of demand.
| Floor zone | Information to collect | Installation planning focus |
|---|---|---|
| Entrances and vestibules | Tracked water, grit, mat locations and doorway transitions | Moisture management, surface selection and transition details |
| Main mall circulation | Pedestrian flow, displays and cleaning equipment routes | Continuous support, movement provisions and phased access |
| Hotel reception and luggage routes | Loaded carts, turning points and operating hours | Rolling-use assessment and protected reopening stages |
| Food and beverage areas | Spill types, cleaning process and wet-service boundaries | Stone compatibility and the required waterproofing system |
| Service and delivery routes | Equipment, concentrated loads and access frequency | Suitability of the complete floor construction |
Include Building Operations Early
Agree work boundaries with the facility team before scheduling delivery and installation. Locate public routes, tenant access, guest circulation and material storage. Plan dust, noise and ventilation controls around the occupied building.
For a hotel renovation, identify which work can occur within the available closure and which stages need longer protection. A short night shift is a scheduling constraint; it does not establish that the floor can carry luggage carts the next morning.

Confirm the Marble Before Selecting the Setting Material
Identify Sensitivity, Size and Backing
Record the supplied stone, dimensions, thickness range and finish. Obtain information about resin treatment, reinforcing mesh and previous factory repairs. The adhesive may contact a backing layer rather than untreated marble, and that connection needs assessment with the actual material combination.
Some stones are sensitive to moisture introduced during installation. Light-colored or translucent marble also requires attention to appearance through the setting bed. Select representative production samples, including their real backs, rather than relying only on a showroom face sample.
Use our large-format marble selection guide for the related handling, substrate and contact questions.
Separate Appearance Approval from Bonding Approval
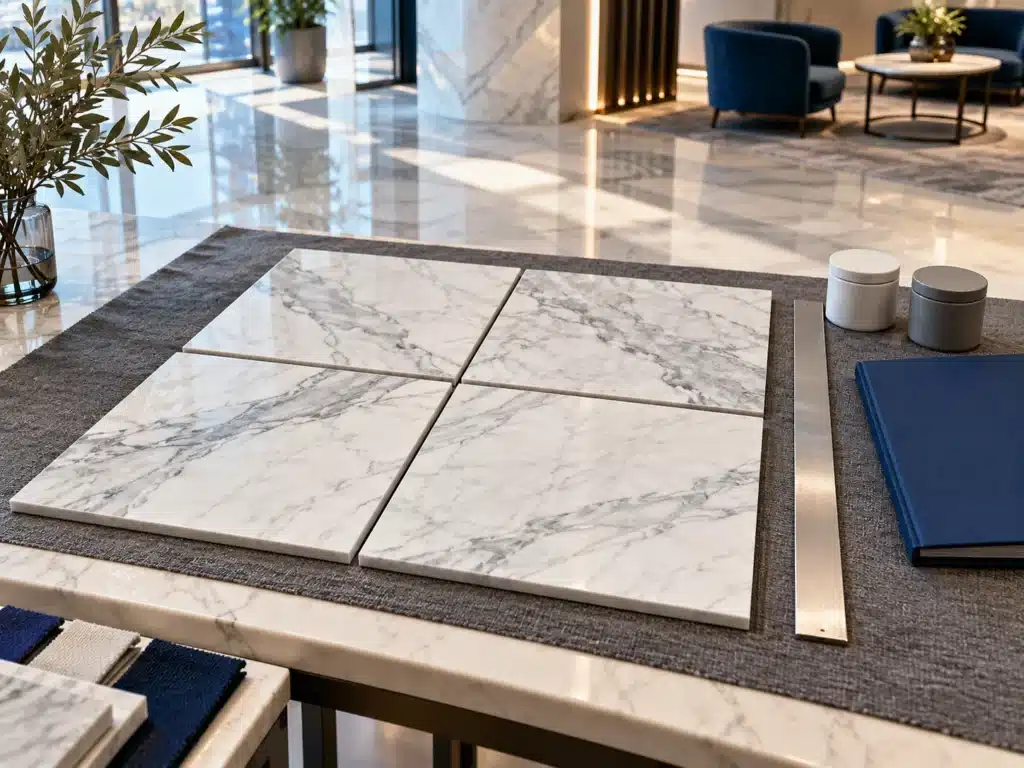
Dry-layout the pieces to agree vein direction, color distribution, borders and replacement stock. Number the sequence on a layout record so phased work can resume without losing the pattern.
Then prepare a separate installed sample using the proposed substrate preparation, setting material, grout and any treatment. Check the cured appearance under the intended lobby lighting, including an oblique view. Record darkening, visible bed patterns, edge staining and changes in flatness. Our marble staining guide explains why these observations need different investigations.
An accepted layout establishes appearance preferences. The installation sample adds information about the material combination and workmanship; formal performance verification remains a separate requirement where specified.
Resolve the Substrate and Floor Build-Up
Survey the Base Before Ordering Adhesive
Document the substrate type, surface condition, moisture assessment, flatness and available construction depth. Include existing repairs, cracks, coatings and movement joints. In refurbishment, establish the condition of retained layers before designing an overlay.
Check finished levels at doors, elevators, adjoining flooring and recessed mats. Determine where substrate correction is required so the selected adhesive stays within its permitted application thickness. Excess setting material is a poor substitute for a planned leveling layer.
The floor designer should assess structural support and movement for the proposed stone and service conditions. A high adhesive strength cannot compensate for unsuitable supporting construction.
Coordinate Membranes and Movement Joints
Identify where waterproofing or crack-management measures are required, and check compatibility across the complete build-up. Setting adhesive and grout do not automatically provide a waterproof floor. Wet-service details also involve transitions, penetrations and other connected surfaces.
Set out movement provisions with the design team before installation. Coordinate existing substrate joints, perimeters, field joints and changes of material. Select joint details for the expected movement and traffic, including protection of exposed stone edges where needed.
Keep these spaces free of rigid mortar and grout that would restrict their function. An adhesive described as deformable does not remove the need for the specified joints.
Compare Candidate Adhesive Systems by the Job They Must Do
Choose a Suitable Product Within a Defined System
A cement-based setting mortar may suit a documented combination of stone, backing and substrate. A moisture-sensitive stone or difficult backing may require a different installation material. Establish the exact product scope and supporting evidence before choosing between systems.
A rapid-setting product can help with a restricted closure, but its stone compatibility and working characteristics still matter. Check pot life, open time, adjustment time, grouting and return-to-service information separately. Plan the crew and work area around the available application window.
| Selection question | Evidence or information to request | Project decision it supports |
|---|---|---|
| Does it suit this marble and backing? | Documented material scope and representative compatibility assessment | Shortlisting the setting material |
| Does it suit the supporting layers? | Substrate preparation and membrane compatibility requirements | Confirming the floor build-up |
| Can it accommodate the required bed geometry? | Permitted thickness and application method | Planning base correction and finished levels |
| Does the floor suit the intended equipment? | Relevant assembly evidence and project load assessment | Defining permitted service use |
| Can the planned zone reopen on schedule? | Separate release conditions for the intended activities | Setting realistic closure periods |
| Will the installation meet the appearance brief? | Cured sample with the actual stone and finishing sequence | Agreeing the visible result |
Read Strength and Test Claims in Context
A tensile figure for cured adhesive does not describe every interface or the capacity of an installed marble floor. Ask what was tested, on which substrates, at what cure stage and with what failure mode.
Likewise, an assembly report applies to the construction tested and the scope of its method. Check whether the report uses ceramic tile or the proposed natural stone, and which supporting layers it includes. Changing the stone, backing or build-up may require further assessment.
Do not use “heavy duty,” “structural” or a product model number as a substitute for that evidence. A useful submission connects the chosen materials to the actual application.
Use the Mock-Up to Establish the Installation Method
Check Bedding Contact and Finished Geometry
Build a representative trial area before repeating the method across the floor. Use the planned preparation, tools, material batch size and placement sequence. Include a transition or joint detail when it is important to the project.
Lift representative pieces during fresh installation to inspect achieved contact and support against the project requirements. Adjust the method while correction is possible. Our coverage and consumption guide separates the contact check from the quantity of adhesive consumed.
Check alignment and height differences without forcing the setting material beyond its specified limits. Record the accepted tools and method, then revisit them if the stone format, substrate condition or working conditions change.
Keep Inspection Records Useful
Record the zone, product and batch, preparation, site conditions, placement time and contact observations. Photographs should identify the location and show what the inspector checked. Assign responsibility for correcting a failed check before work proceeds.
Retain the accepted appearance sample and enough matching stone for agreed maintenance needs. For a lobby pattern, keep the piece sequence and cutting information with the handover documents.
Plan Reopening as Separate Release Stages
Pedestrian access, rolling equipment and wet cleaning are different activities. Put each into the schedule, together with the release conditions supplied for the complete system. Include leveling materials, membranes, adhesive, grout and treatments where used.
| Release stage | What to confirm before access | Handover record |
|---|---|---|
| Grouting or follow-on work | Required readiness of the setting layer | Zone and permitted activity |
| Controlled pedestrian access | Applicable cure conditions and completed surface checks | Release time, conditions and responsible person |
| Luggage carts and delivery equipment | Suitability for the defined rolling use and required cure | Equipment or route restrictions |
| Cleaning-machine operation | Readiness for machine load, water and cleaning process | Accepted process and start conditions |
| Full public service | Completed joints, transitions, cleaning and outstanding-item review | Signed zone release and maintenance instructions |
Protect Completed Areas During Phased Work
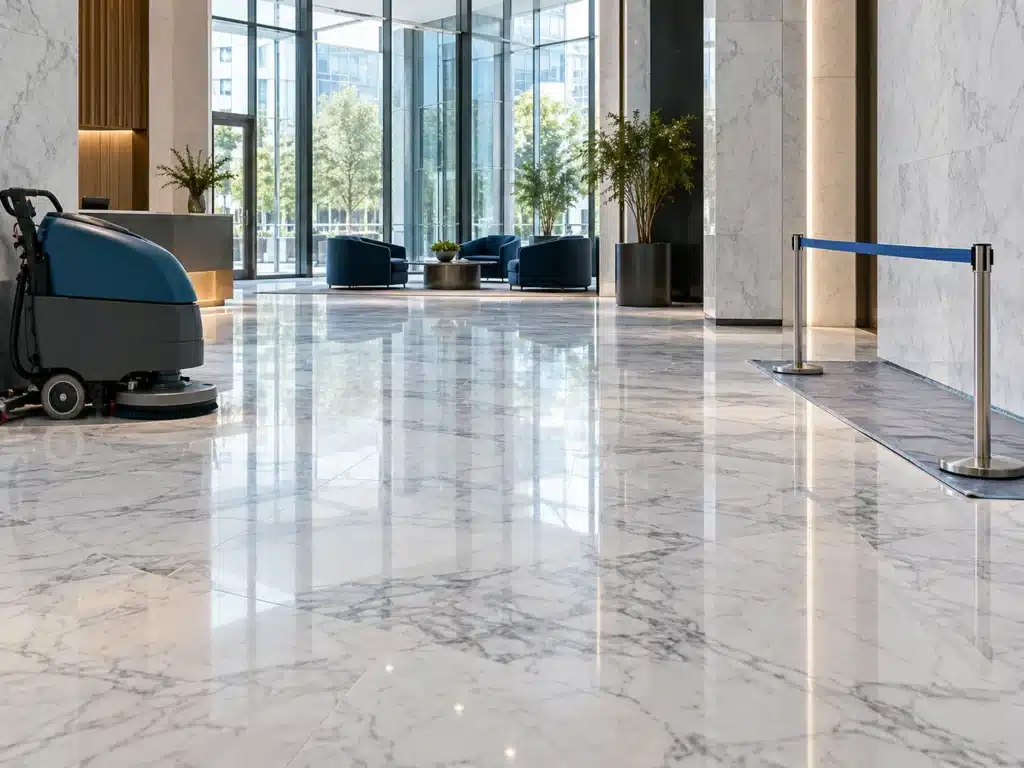
Keep barriers and temporary routes aligned with the current release map. Coordinate protection materials with the stone and treatment suppliers, including moisture and staining considerations. Protect edges at temporary boundaries and prevent equipment from cutting through unreleased areas.
Protection boards do not automatically authorize heavy traffic over curing work. Review access requirements before installing the next zone, including emergency routes with the responsible facility team. If site conditions delay curing, revise the opening plan instead of changing the adhesive mix to recover time.
Hand Over a Stone-Compatible Maintenance Plan
Match Cleaning to the Marble and Finish
Include entrance grit control, spill response and routine soil removal. Select products and equipment for the actual marble and finish. Acidic cleaners can etch calcareous stone; stronger adhesive beneath the floor does not protect the exposed marble from that damage.
Record the cleaner, dilution, pads or brushes, rinse and drying process. Review the proposed method on a representative area. Set inspection frequency around actual use and observations rather than an automatic calendar for polishing or sealer renewal.
Treat gloss maintenance and pedestrian slip resistance as separate questions. A polished appearance cannot establish floor traction, and an adhesive’s resistance to tile sliding during installation does not describe walking conditions. See our non-sag and floor slip-resistance guide for that distinction.
Define the Response to Emerging Defects
Give facility staff a simple way to report location, photographs and changes in joints, height, moisture or movement. Restrict access where the condition warrants it and investigate recurring defects before specifying a patch.
Preserve the original floor build-up and material records for repairs. Use our loose marble inspection guide when symptoms require diagnosis.
Prepare a Focused Inquiry for KEDA
Send the stone and backing, substrate build-up, floor zones, equipment use, planned closure and order requirements. Include sample photographs and the relevant installation specification. These details help distinguish a flooring inquiry from fabrication, wall attachment or maintenance work.
The supplied KEDA information does not establish C99, C110 or C210 as a general recommendation for high-traffic natural marble floors. Polyester fabrication adhesive and wall-panel bonding paste also serve different functions. Start with the KEDA product catalog and discuss the actual application before naming a model in the floor specification.
Frequently Asked Questions
1. Is epoxy always the best adhesive for a hotel marble floor?
No. Selection depends on the marble, backing, substrate and service conditions. Certain materials may require a specialist system; other documented combinations may suit a cement-based mortar. Compare exact products and complete installation requirements rather than ranking resin families.
2. Does a high tensile-strength number prove suitability for shopping malls?
No. Identify the test method, specimen, interfaces and cure conditions. Commercial floor assessment also includes the supporting construction, stone, bedding, joints and intended loads. One adhesive figure cannot establish the capacity of the installed assembly.
3. Can a rapid-setting floor reopen to luggage carts overnight?
Only when the selected system’s release requirements cover that use under the actual site conditions. Readiness for grouting or light foot traffic does not automatically cover loaded carts. Agree the rolling-equipment release separately and keep unreleased routes closed.
4. Should the lobby have fewer joints for a cleaner appearance?
Coordinate the appearance brief with the required movement and transition details. Plan joints early so they fit the layout and traffic routes. Omitting required joints or filling them rigidly can undermine the intended floor system.
5. Can better adhesive prevent marble etching and surface wear?
Adhesive selection addresses the setting system. Etching and surface wear also depend on the stone, finish, exposure and maintenance. Use an appropriate surface and cleaning plan, with separate assessment of pedestrian slip resistance where required.