
Start with where the material will go. A tile-setting adhesive forms the bonding bed beneath a tile. Grout fills the joints between tiles. A slab bonding paste serves designated interfaces within a panel installation system. Sharing epoxy chemistry does not make those functions interchangeable.
Choose the product for its stated application, then match the substrate, tile or panel backing, exposure and installation sequence. This is more useful than selecting the container with the highest strength claim or the word “waterproof” on its description.
The guide below separates the material roles, explains how their workflows differ and shows where KEDA’s interior slab and stone-interface adhesives fit.
Identify the Material’s Job First
Write a short description of the operation: “set porcelain floor tiles in an adhesive bed,” “fill the joints after setting,” or “bond an indoor sintered-stone wall panel at specified interfaces.” Include whether the area is dry, wet, submerged or exposed to cleaning chemicals.
| Material role | Where it works | What the selection must address |
|---|---|---|
| Epoxy tile-setting adhesive or mortar | Beneath tiles in the specified setting bed | Tile and substrate compatibility, bedding, layer limits and service exposure |
| Epoxy grout | In the joints between installed tiles | Joint dimensions, surface compatibility, filling, cleanup and exposure |
| Slab bonding paste | At designated panel-to-support interfaces | Panel backing, contact materials, joint detail, fixings and support |
| Flexible joint sealant | In joints designed to accommodate movement | Joint geometry, movement and contact-material compatibility |
| Waterproofing material | In the installation’s specified water-management layer and details | Substrate, continuity, transitions, penetrations and system requirements |
A product expressly listed for both setting and grouting must be evaluated under its instructions for each use. Dual-purpose suitability comes from the particular product scope; it cannot be inferred from epoxy chemistry or appearance.
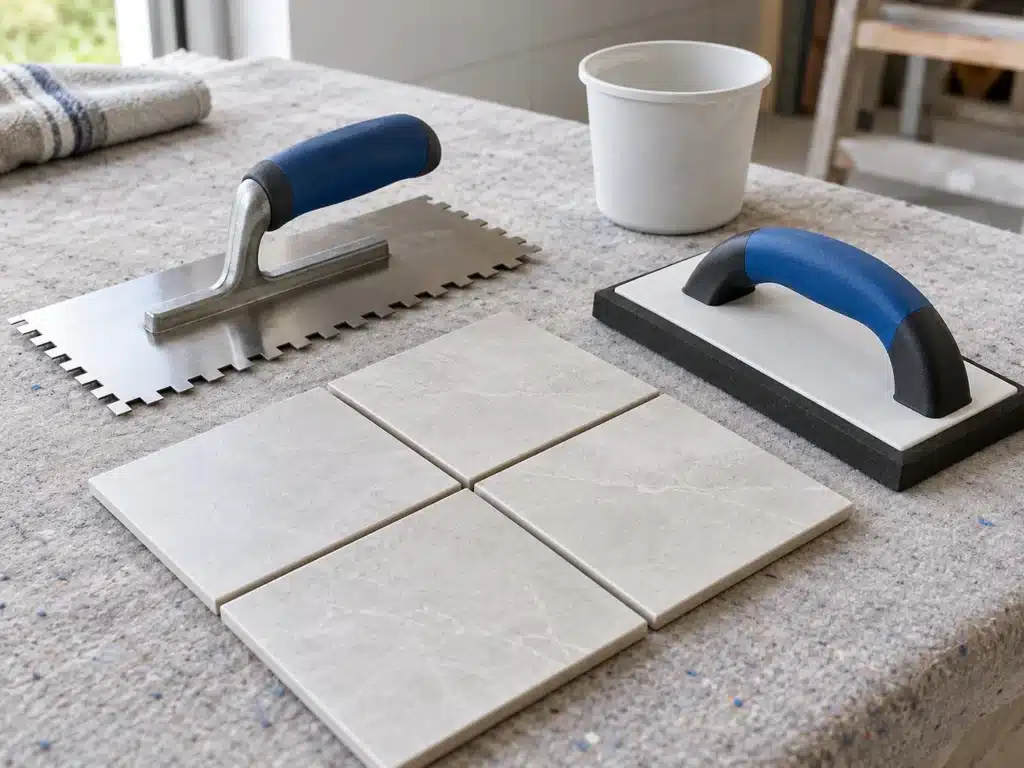
Understand the Three Main Product Categories
Epoxy Tile-Setting Adhesive: Build the Intended Bedding
A setting product needs to spread and transfer to the tile back within its working conditions. Its instructions define the suitable materials, preparation, layer thickness and placement process.
Plan the trowel and bedding method on representative tile and substrate. Inspect transfer during trial placement by lifting a freshly placed tile as the method allows. A trowel-notch description alone does not prove the bedding achieved behind the tile.
Keep substrate correction distinct from setting. Significant unevenness should be addressed by the installation’s preparation or leveling method rather than by improvising an excessively thick adhesive bed. For natural stone, also assess moisture sensitivity, backing and appearance; see the large-format marble tile adhesive guide.
Epoxy Grout: Fill and Finish the Joints
Grout selection starts with joint dimensions, tile finish and exposure. The chosen material must fill the intended joint and allow a controlled finishing and cleanup process.
Include the tile face in the trial. Textured, porous or delicate finishes may retain residue or show changes after cleaning. Complete the proposed wash sequence and inspect the dry sample under the expected lighting. A color chip alone cannot show the finished result on the actual tile.
Keep movement joints assigned to their specified flexible material. Filling them with rigid grout changes their function. The flexible versus rigid joint-material guide explains that distinction.
Slab Bonding Paste: Work Within the Panel System
A slab paste is selected for designated contact interfaces, placement and support within a panel installation. Panel dimensions, backing, substrate and fixing arrangement belong in that decision.
It is not selected by applying a floor-mortar coverage table to an unrelated wall detail. Conversely, adhesive placement used for a particular wall-panel system does not establish suitable bedding beneath floor tiles. The contact area and thickness follow the selected system’s detail.
Where KEDA’s Epoxy Products Fit
Interior Porcelain and Sintered-Stone Wall Panels
KEDA Low-Odor Epoxy Slab Adhesive is a white two-component product for indoor porcelain slabs and sintered-stone wall panels. Begin with the actual panel, backing and substrate, then identify the required fixings, bonding interfaces and temporary supports.
The described dry-fixing method is not recommended for bathroom or shower installation. Floors, ceilings, exterior façades and continuously wet projects need their own product and system selection. A name containing “slab” does not establish suitability for all slab materials and locations.
Low odor also does not establish zero VOC or suitability for unventilated work. Use the component safety information when planning application conditions.

Designated Stone-Installation Interfaces
KEDA 2-Component Epoxy Structural Adhesive is the related discussion for specified rigid stone-to-support and other designated installation interfaces. Provide both contact faces and the proposed detail when selecting the grade.
These two KEDA routes concern installation interfaces. This article assigns neither product as a general full-bed epoxy tile mortar, grout or pool-installation system. For those tasks, identify a separate product whose documents cover the intended role.
For panel assemblies, the vertical marble installation guide explains how adhesive, support and mechanical fixing relate to one another.
Choose by Project Conditions, Not a Single Performance Word
| Project condition | Selection route | Details to include early |
|---|---|---|
| Dry interior porcelain or sintered-stone feature wall | Review the panel installation system and relevant slab adhesive | Panel backing, substrate, height, dimensions and fixings |
| Marble or other natural-stone floor | Select a stone-compatible setting system and separate joint materials | Stone sensitivity, backing, substrate, bedding and traffic |
| Shower, wet room or pool | Select the complete wet-area assembly | Waterproofing, drains and transitions, exposure, setting, joints and release schedule |
| Commercial kitchen or chemical exposure | Select products for the actual exposure and cleaning regime | Chemical identity, concentration, temperature, contact duration and cleaning method |
Water Resistance and Waterproofing Have Different Roles
A cured resin’s resistance to water does not describe the continuity of a waterproofing layer around corners, drains and penetrations. Select the water-management system and coordinate its interfaces with the setting and joint materials.
Similarly, a product intended for occasional wetting is not automatically suitable for sustained immersion. Identify the exposure precisely rather than describing every wet project as “waterproof tiling.”
Chemical Resistance Needs Specific Exposure Information
Ask which chemicals the installation will encounter, at what concentration and temperature, and for how long. Include cleaning agents and methods, not just the process material present in the room.
An epoxy grout suitable for routine residential cleaning may have different limits from a product for aggressive industrial cleaning. A broad “chemical resistant” label is insufficient for that comparison. Request relevant product information against the actual exposure; do not turn a generic epoxy description into a food-contact or hygiene certification.
Plan Separate Workflows for Setting, Grouting and Panel Bonding
Confirm the Substrate and Contact Materials
Identify the tile or panel, reverse-face treatments, substrate and any membrane or retained coating. Record defects, contamination and movement before selecting preparation. Bonding to a mesh or resin backing is a different interface from bonding to bare ceramic or stone.
Prepare the substrate using the chosen installation method. A new adhesive layer does not correct unstable old tiles or an unsound support. Likewise, introducing a primer or sealer changes the interface and needs to be included in the material selection.
Use the Complete Component System
Epoxy products can have different component arrangements. A setting or grouting kit may include resin, hardener and a specified filler; a panel paste may be supplied as matched A and B components. Check the complete kit and its mixing sequence.
Measure on the stated weight or volume basis. Keep components and dispensing tools identified, and use the supplied filler rather than adding a convenient powder to change consistency. Do not copy one product’s ratio, wash method or batch size into another product’s instructions.
For a fuller process discussion, use the two-part epoxy selection guide and the stone epoxy mixing and curing guide.
Schedule the Next Operation Explicitly
Build the sequence around the actual operations: placement, alignment, support, grouting, cleanup, traffic and exposure. Establish the release requirement for each step from the selected product and system documents.
“Dry to touch,” “ready to grout,” “ready for traffic” and “ready for immersion” answer different questions. A single general cure time should not release every operation. Record actual conditions and any change to the planned sequence.
Make the Sample Answer the Right Questions
A useful sample reproduces the materials and operation being assessed. An attractive grout board cannot prove a panel fixing arrangement, and a panel-paste sample cannot establish tile bedding beneath a floor.
| Operation being evaluated | What the trial should reproduce | What to record |
|---|---|---|
| Tile setting | Actual substrate and backing, preparation, spreading and placement | Bedding transfer, alignment, material use and processing conditions |
| Grouting | Actual tile finish, joint dimensions, filling and cleanup | Joint finish, residue, dry appearance and cleaning effort |
| Panel bonding | Actual contact materials, detail, holding and curing | Placement control, interface preparation and support sequence |
| Appearance review | Production tile or stone, agreed tint and complete finishing process | Reference sample, lighting, photographs and later changes |
| Performance assessment | Defined specimen, preparation, conditioning and relevant method | Results, acceptance criteria and the limits of the evaluation |
Agree the evaluation criteria before making several samples. Keep an untreated reference where appearance matters and identify the exact products and component lots used. Change one variable at a time when investigating an unexpected result.
For sensitive stone, separate visible grout or adhesive residue from possible material migration, moisture effects and optical shadows. The marble staining and glue-line guide provides a practical investigation sequence.

Keep Purchasing and Site Identification Clear
Write the intended role into the quotation and order description, followed by the exact grade and matched components. Distinguish tile-setting material, grout and panel bonding paste in stock labels and site allocation.
Compare consumption on the relevant geometry. Setting material use depends on the bed and substrate; grout use depends on tile dimensions and joint geometry; panel-paste use depends on the specified contact detail. One container-area figure cannot meaningfully describe all three.
Record mixing, preparation, cleanup and waste during the representative trial. Use those observations to plan quantities and crew capacity. Preserve the link between the accepted sample, product instructions and delivered grade when ordering again.
When a requested material changes, review its function before substituting stock. If the site needs grout, the availability of an epoxy installation paste does not answer that need. A correct product-family match comes before price and dispatch speed.
Send KEDA a Clear Application Brief
State whether the task is tile setting, joint filling or panel-interface bonding. Add the tile or panel type, dimensions, backing, substrate, location, water or chemical exposure, fixing detail where relevant and next-operation schedule.
Contact KEDA with the photographs and application brief to discuss the relevant panel or stone-interface product route. Include your market, quantity and packaging requirements so the supply discussion stays tied to the intended work.
Frequently Asked Questions
1. Is epoxy tile adhesive the same as epoxy grout?
They perform different operations: adhesive sets the tile and grout fills its joints. Use a product for both only when its instructions expressly cover both applications and the actual project conditions.
2. Can slab bonding paste be used under floor tiles?
Select a setting product and bedding method for the floor, tile and substrate. A paste intended for designated panel interfaces does not automatically provide that scope. Its wall-panel placement method is not a floor-bedding specification.
3. Does epoxy grout make a shower waterproof?
Select the waterproofing layer, transitions, penetrations and drainage as part of the wet-area assembly. Grout selection alone does not establish that system. Coordinate it with the setting and flexible joint materials.
4. Can every epoxy product handle pool or industrial exposure?
Match the exact product to immersion or the specified chemical and cleaning conditions. General epoxy chemistry, low odor or a high strength claim does not establish suitability for those environments.
5. Which KEDA product should I discuss for interior wall slabs?
Start with Low-Odor Epoxy Slab Adhesive for indoor porcelain and sintered-stone wall panels. Send the backing, substrate, dimensions and fixing arrangement. Review other stone-installation interfaces through the appropriate designated product route.