
Choose a two-part epoxy by the work it must perform, then compare the actual grade, processing instructions and supply terms. A stone-installation paste, an interior panel adhesive and a slab-repair resin can all contain epoxy while serving different jobs.
For KEDA inquiries, start with three routes: 2-Component Epoxy Structural Adhesive for designated rigid stone-installation interfaces; Low-Odor Epoxy Slab Adhesive for indoor porcelain and sintered-stone wall panels; and KD-015 Epoxy Resin for Stone Slab Repair for fabrication-stage resin treatment.
This guide helps buyers turn those routes into a shortlist, a representative trial and a quotation that describes the product being ordered.
Start With the Application, Then Select the Product Family
Write down what is being bonded or treated, where the material will be placed and what happens next. “Epoxy for slabs” is too broad: the slab may be receiving resin before polishing or being installed on a building substrate.
| Your customer’s task | KEDA starting point | Information that narrows the choice |
|---|---|---|
| Bond stone at a specified rigid installation interface | 2-Component Epoxy Structural Adhesive | Stone backing, adjoining material, joint detail, support and fixing arrangement |
| Install indoor porcelain or sintered-stone wall panels | Low-Odor Epoxy Slab Adhesive | Panel identification, dimensions, backing, substrate and installation area |
| Treat stone surface defects during slab processing | KD-015 Epoxy Resin for Stone Slab Repair | Defect photographs, previous treatments, repair process and finishing sequence |
| Discuss a mesh-backing process for fragile stone | KD-015 process assessment | Stone condition, mesh, resin process and handling requirements |
| Lay tiles in a continuous adhesive bed, grout joints or seal movement gaps | Separate product and installation-system selection | Tile or stone, substrate, water exposure and the material’s intended function |
Compare competing grades within the same task. Ranking an installation paste against a liquid processing resin by one strength number does not produce a useful purchasing decision.
For a broader overview of fabrication glue, setting products and flexible joint materials, see the marble adhesive selection guide.
Understand the Three KEDA Selection Routes
Rigid Stone-Installation Interfaces
KEDA 2-Component Epoxy Structural Adhesive is the relevant product discussion for designated stone-to-support and other specified rigid interfaces. Identify the exact stone face, metal finish or mineral substrate involved.
The joint’s role comes from the installation design. Bonding area, thickness, supports and fixings belong in that description. A product name does not establish the load capacity of an unidentified assembly. Include the proposed detail when requesting a grade or supporting performance information.
The vertical marble installation guide explains the relationship between stone support, fixing and adhesive placement.
Interior Porcelain and Sintered-Stone Wall Panels
KEDA Low-Odor Epoxy Slab Adhesive is a white two-component product for indoor porcelain-slab and sintered-stone wall-panel inquiries. Start with the actual panel backing, substrate and specified fixing system.
Its name describes a product route, not every installation involving a slab. A natural-marble floor, shower wall, ceiling or exterior façade requires a separate selection. The dry-fixing method described for this product is not recommended for bathroom or shower installation.
Low odor also does not establish zero VOC or a ventilation exemption. Obtain the component safety information and plan the working conditions with the crew.

Stone Slab Processing and Repair
KEDA KD-015 Epoxy Resin for Stone Slab Repair concerns resin treatment during stone processing. The selection discussion includes the defect condition, surface filling or backing process, supported curing and the planned finishing operation.
Send close photographs and an overall slab view. A small surface void, a through-crack and a fragile slab being considered for mesh backing are different conditions. Describe what the workshop needs to achieve rather than asking for “the strongest clear epoxy.”
Evaluate repaired appearance after the intended finishing sequence. Clear resin may change the look of the stone, and an attractive treated face does not establish safe handling or installation of a damaged slab.
Describe the Actual Interface and Exposure
Show Both Contact Faces
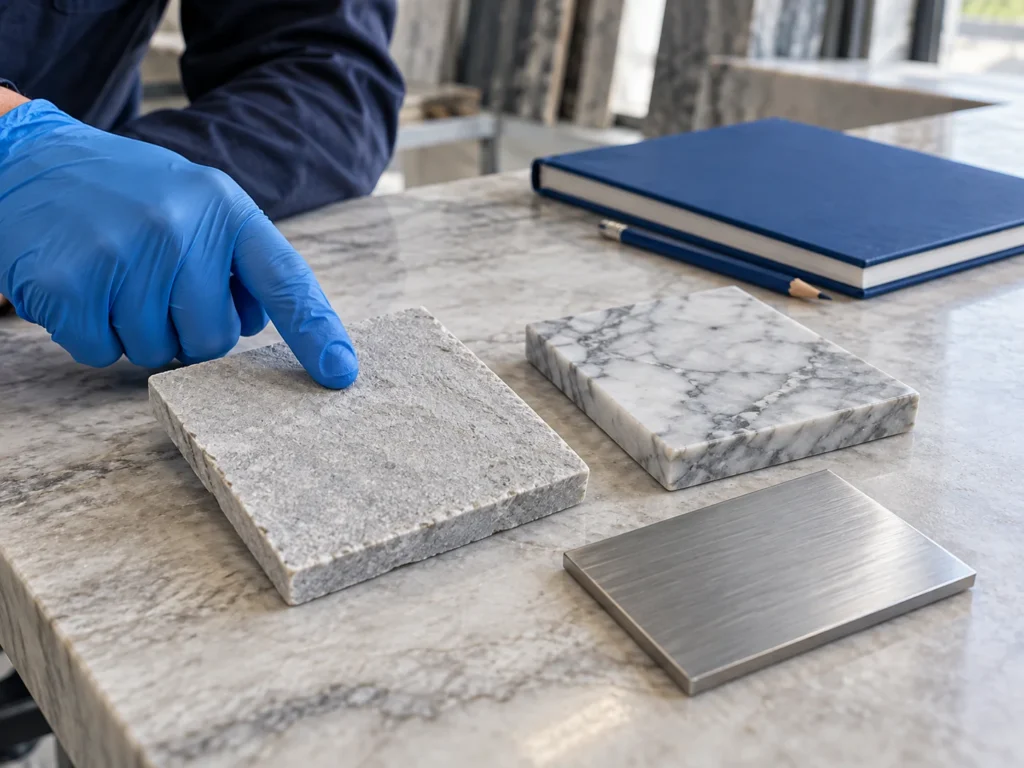
Photograph the reverse of the stone or panel, not just the decorative face. Record factory resin, mesh, sealers, paint, coatings and previous adhesive. On metal, identify the finish as well as the alloy where known.
The sample should reproduce the surfaces the adhesive will touch. A trial on freshly cut bare stone cannot answer a question about a resin-backed panel. Likewise, adhesion to clean steel does not automatically represent adhesion to a painted bracket.
Make the Service Conditions Specific
Separate a dry interior from occasional splashing, repeated wetting, sustained immersion and exterior exposure. Add sunlight, nearby heat, temperature changes and the cleaning materials expected in service.
Describe movement and support too. A rigid bonded interface and a movement joint have different functions. Select the joint material accordingly; the flexible versus rigid marble adhesive guide explains this distinction.
Send unusual conditions early. A short application description that omits water or heat exposure can produce a shortlist that must be rebuilt later.
Compare Technical Information on the Same Basis
Build one comparison sheet for candidates that address the same application. Put the product identity and document version beside each entry so a value stays connected to its grade and test conditions.
| Selection item | What to request | How it affects the decision |
|---|---|---|
| Product and component identity | Exact grade, matched A/B components and current instructions | Keeps the quoted, sampled and delivered products aligned |
| Ratio and measurement basis | Written A:B ratio by weight or volume | Determines measuring equipment and batch preparation |
| Working window | Time with temperature, batch quantity and other stated conditions | Shows whether the crew can mix, place and align the work |
| Curing stages | Handling, finishing, support-removal or loading criteria as relevant | Connects the product to the next production operation |
| Interface performance | Relevant method, contact materials, preparation and failure location | Indicates whether evidence represents the proposed joint |
| Appearance and exposure | Color, finishing trial and relevant service-condition information | Addresses visible changes and the intended environment |
| Safety and storage | Component SDS, storage conditions and shelf-life basis | Supports handling and inventory planning |
Keep Mixing Ratio Separate From Performance Ranking
KEDA’s current 2-Component Epoxy Structural Adhesive page specifies A:B = 1:1 by volume. That is not an assumed equal-weight instruction, and it should not be copied to the slab adhesive or KD-015. Use the written instructions for each supplied grade.
A ratio is part of the formulation, not a quality score. A 2:1 or 3:1 product is not inherently superior to a 1:1 product. Choose measuring tools that match the stated basis and can reliably handle the intended batch size.
Match Time Claims to the Production Sequence
Ask what a quoted “cure time” means. It may describe handling, a finishing operation or another stage rather than readiness for all service loads. Record the conditions attached to the time.
Map the crew’s sequence before choosing a faster grade. Access, positioning, alignment and cleanup all consume working time. A fast-setting product can increase waste if the crew repeatedly loses batches before placement is complete.
For the practical measuring, mixing and supported-curing sequence, use the stone epoxy bonding methods guide.
Read Strength Claims With Their Test Details
A tensile result from a cured resin specimen and a result from a bonded stone joint answer different questions. Contact materials, joint geometry, preparation, curing and exposure affect what a report can support.
Ask which requirement the evidence addresses. A large number without a relevant method and specimen description is difficult to apply. The stone bond-strength testing guide explains how to frame that request.
Run a Representative Trial Before a Bulk Order
Use a written trial brief so the supplier, buyer and workshop evaluate the same task. Include the actual materials, preparation, joint or repair condition, batch method and next operation.
- Set the acceptance criteria. Define appearance, placement, finishing and any separately required performance evidence before testing candidates.
- Identify the samples. Record product grade, component lots, stone or panel batch, backing and adjoining material. Keep an untreated reference where appearance matters.
- Reproduce the process. Use the intended preparation, measuring equipment, mixing method, holding arrangement and curing conditions.
- Complete the next operation. Assess the joint after planned cleanup, or the resin-treated sample after its finishing sequence. Record time and labor as well as material use.
- Review the result and limits. Keep photographs and observations. Repeat affected parts of the assessment when the product, backing, preparation or exposure changes.
Use the same viewing conditions when comparing appearance. Transparent or white material does not guarantee an invisible result on every stone. For visible lines, shadows or halos, follow the marble adhesive staining guide.
Compare Quotations as Complete Supply Offers
Give suppliers the same application brief and ask them to quote against the same quantity and delivery basis. A lower container price may reflect a different capacity, component arrangement or product grade.
| Quotation field | Detail to put in writing |
|---|---|
| Product | Exact grade, application and agreed color version |
| Components | Matched A and B, quantities of each and whether both are included |
| Pack basis | Capacity or net mass, unit of sale, carton and pallet arrangement |
| Order quantity | Minimum order, quantity per grade or color and proposed order mix |
| Price basis | Currency, quoted unit, delivery term and named destination or port |
| Samples | Grade, quantity, dispatch arrangements and freight responsibility |
| Production | Lead time, packaging approval and batch identification |
| Storage and transport | Storage instructions, remaining shelf life at dispatch and relevant component shipping information |
| Documents and changes | Available instructions, SDS, relevant evidence and handling of product or component changes |
Confirm what the quoted “set” contains. A pair of containers may be sold as one set, while another offer may price a single component. Record pack volumes and weights in their own fields rather than treating liters and kilograms as interchangeable.
Use the representative run to compare material efficiency:
Material cost per accepted unit = material cost consumed during the run ÷ number of accepted units.
Include discarded mixed material in the run’s consumption. Track preparation, application, finishing labor and consumables separately to understand the process cost. For joint work, consumption depends on the actual geometry; for resin treatment, defect condition and the application process also matter. A universal yield table would hide those differences.
Build a Distributor Range Around Customer Tasks
A useful range makes the application clear at the first inquiry. Separate rigid stone-interface bonding, indoor porcelain or sintered-panel installation, and stone-processing resin treatment in product cards, training notes and stock records.
Record the common substrates, panel backings and processing equipment in your market. Start sample discussions with those recurring jobs. Broaden the range when customer applications justify it, rather than offering every epoxy as a substitute for the others.
Keep the accepted sample record linked to the purchase specification. When a repeat order changes grade, component, color or packaging identification, review the affected instructions and trial requirements before treating it as the same supply.
Send KEDA a Clear Selection Request
Include the application, stone or panel type, dimensions, contact-face photographs, backing treatment, support or fixing detail, exposure and production sequence. Add your destination market, expected quantity, required packaging and the documents needed for evaluation.
Contact KEDA with that brief to discuss the relevant product route, representative samples and a quotation for the intended work.
Frequently Asked Questions
1. Which two-part epoxy should I choose for stone work?
Start with the task: installation-interface bonding, indoor porcelain or sintered-stone wall panels, or slab-processing repair. Then compare grades using the actual contact faces, service conditions and production sequence.
2. Is a 1:1 epoxy better than a 2:1 epoxy?
The ratio does not rank quality. It belongs to the formulation and must be measured on its stated weight or volume basis. Compare performance and process suitability for the same application.
3. Can slab-repair resin replace an installation adhesive?
Choose the material for its defined role. Surface resining during fabrication and bonding a panel to a building substrate are different processes. A satisfactory repair appearance does not establish an installation bond’s capacity.
4. Does low odor mean no ventilation is needed?
Follow the safety information for both components. Low odor does not establish zero VOC or suitability for an unventilated workspace. Include the actual working conditions in the selection discussion.
5. What should I send when requesting a quotation?
Send the application, actual materials and backing, joint or repair details, exposure, production sequence, market and quantity. State packaging needs and request the component arrangement, measuring instructions, delivery basis and available documents in writing.