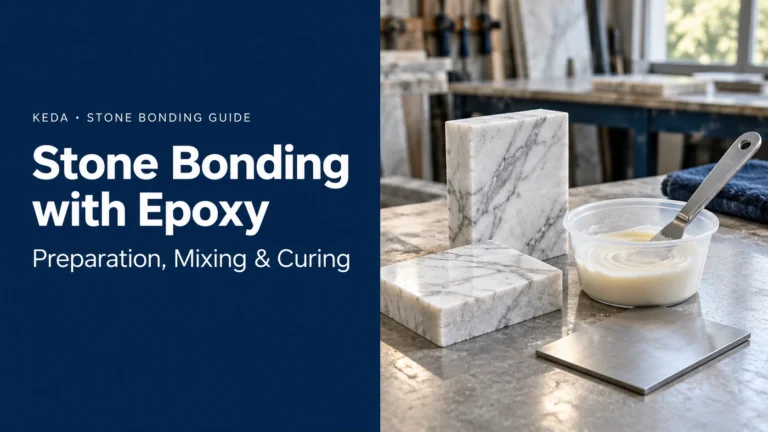

An exterior marble joint may look sound in the workshop yet face a different situation on site: sun-heated stone, a coated metal support, rain before curing or movement between adjoining panels. A useful adhesive selection starts with those conditions and the joint’s actual job.
Outdoor marble bonding involves several connected decisions: the suitability of the stone, the installation and fixing system, the prepared bonding interface, and the exposed joints. Addressing them in order gives the fabricator, installer and supplier a clearer basis for selecting materials and planning the work.
This guide focuses on exterior bonding interfaces and weathersealing. Exterior paving, bonded tile beds, pools and permanent immersion require their own installation-system selection.
Identify the Job Before Comparing Adhesives
Describe what is being joined, what carries the loads and which material remains exposed. These questions separate applications that are often grouped under “outdoor stone glue.”
| Application | Primary decision | Useful information to provide |
|---|---|---|
| Fabricated stone component or local repair | Suitability of the adhesive for the actual exterior joint and appearance | Stone, joint geometry, visible bond line, exposure and support |
| Stone-to-support bonding interface | Role of the adhesive within the designed fixing assembly | Panel details, substrate or metal finish, contact area and fixing drawing |
| Exposed weatherseal or movement joint | Sealant compatibility and capacity for the designed movement | Joint geometry, adjoining materials, backing and exposure |
| Exterior marble paving or tile bed | Complete stone-setting and water-management system | Stone sensitivity, substrate, bedding method, drainage and traffic |
For panel assemblies, begin with KEDA’s Stone Cladding & Panel Installation application page. Describe the installation interface before requesting a product grade.
Map the Exposure at the Joint
A climate label such as “hot,” “coastal” or “cold” is useful background, but it leaves important questions unanswered. Record what reaches the bond and when it reaches it.
| Condition | What to establish | Planning consequence |
|---|---|---|
| Direct sun | Whether the adhesive is exposed; likely stone and support temperatures | Review appearance stability, service conditions and application timing separately |
| Rain or retained moisture | Water routes, wetting frequency and opportunities to drain | Resolve water-management details and protect fresh work |
| Freezing conditions | Whether the stone and assembly can become wet before freezing | Assess the stone and installation system for that exposure |
| Coastal spray or deposits | Materials exposed to salts, including support components | Include surface cleaning, metal selection and maintenance in the review |
| Daily or seasonal movement | Relative movement between stone, support and adjoining construction | Identify where rigid bonding belongs and where movement must remain available |
Take photographs of the actual location, including corners, ledges and the back of the assembly where accessible. A sheltered entrance return and an exposed parapet can need different details on the same building.
Review the Marble Itself
Identify the stone variety, source, thickness, finish and factory treatments. Ask the stone supplier about its suitability for the proposed exterior use and any relevant project evidence. Adhesive selection cannot correct an unsuitable stone or a weakened panel.
Inspect fissures, repairs, resin treatments and backing materials. If the supplied stone differs from the trial material, update the assessment before production.
Separate Appearance from Bond Performance
An adhesive can serve an exterior bonding role while having limited color stability in a visible joint. Evaluate those requirements separately, especially beside white or translucent marble.
A protected bond behind a panel and an exposed repair on its face are different appearance questions. Record which surfaces will remain visible after installation, cleanup and finishing.
Establish the Fixing and Water-Management Details
For cladding, identify the route by which the panel’s weight and other design loads reach the building structure. The fixing drawing should define the support components, their connections and any adhesive interfaces.
Adhesive contact area, bond-line thickness and temporary restraint follow that assembly design. Additional paste does not establish the capacity of a missing bracket or an altered connection. Likewise, non-sag consistency describes placement behavior; it does not establish the load a panel can carry.
Coordinate openings, corners, movement joints and transitions to other materials. Keep the designed drainage and ventilation paths clear. Some facade systems use open joints as part of their water-management strategy, so sealing every visible gap can change how the assembly works.
Before ordering, resolve discrepancies between the drawing and the site: a different metal coating, an uneven support plane or an inaccessible bonding face changes the proposed interface.
Inspect the Actual Bonding Faces
Stone Faces and Backing Treatments
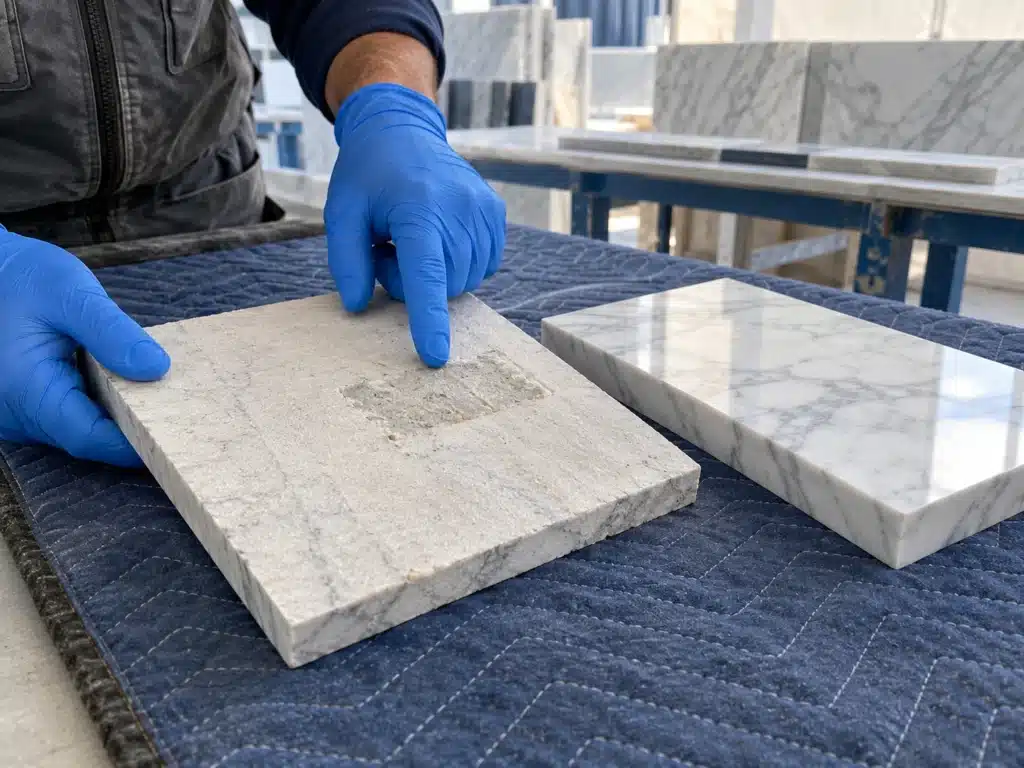
Inspect the intended contact zone for dust, loose particles, old adhesive, release agents, sealers and factory-applied layers. A polished display sample does not represent every sawn, resin-coated or mesh-backed production surface.
Identify the purpose of a backing treatment before removing it. Resolve whether the joint is intended to bond to that layer or to prepared stone, and whether the proposed preparation affects the panel. Keep the accepted preparation sample available for the installation team.
Metal and Concrete Interfaces
Record the actual metal and finish, including coatings or galvanizing. “Steel” alone does not describe the surface the adhesive will touch. Review the preparation route and preserve any corrosion protection required by the assembly.
For concrete, inspect soundness and the intended contact surface. Record coatings, loose material, contamination and moisture conditions. A strong adhesive bonded to a weak surface layer still leaves that layer within the connection.
Set a preparation acceptance point: inspect the contact faces before they become hidden. Photograph the prepared areas and record any departure from the trial method.
Build a Representative Trial
Use production-representative stone and the actual adjoining material. Reproduce the proposed preparation, adhesive grade, joint geometry and curing conditions as closely as the trial requires.
Record four groups of information:
- Materials: stone identity, treatment, support finish, adhesive and component batches.
- Assembly: preparation method, component measurement, mixing, contact geometry and positioning.
- Conditions: material and surface temperatures, relevant moisture observations and curing protection.
- Assessment: appearance, cure observations, required tests and the stated acceptance criteria.
A hand-held sample helps communicate the interface and appearance. Project-required performance testing needs a defined method, conditioning and interpretation; the sample’s neat appearance alone does not establish suitability for cladding loads.
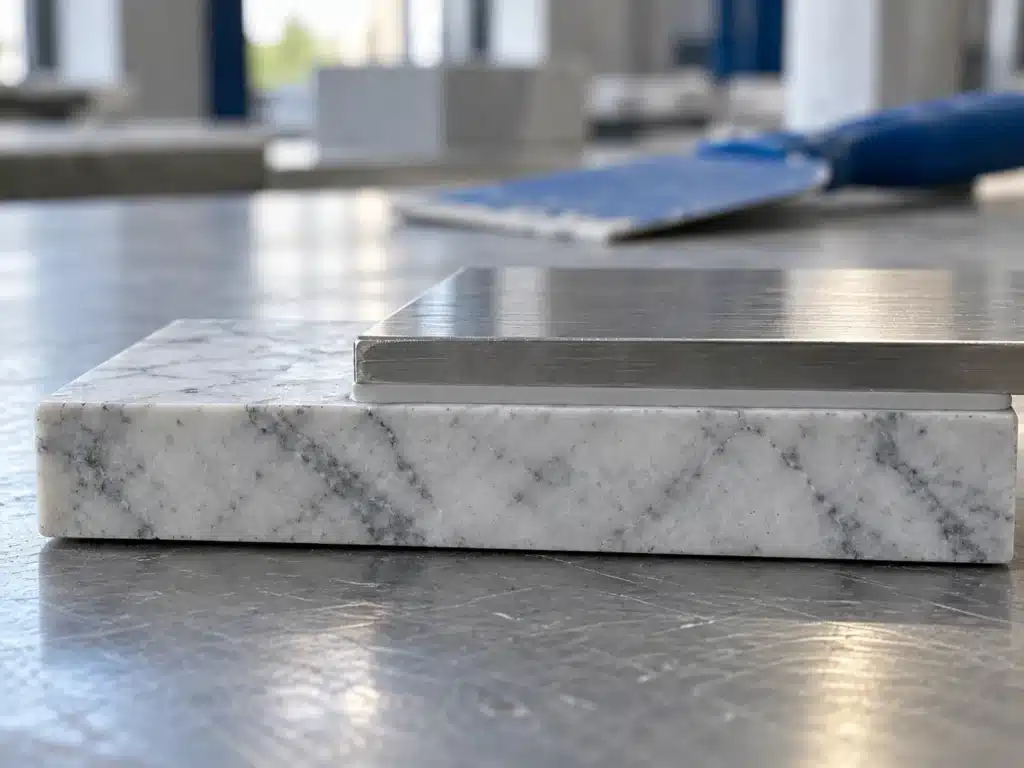
For visible joints, inspect cured color and the surrounding stone as well as the joint itself. The stone adhesive color-matching guide covers sample comparison and recipe records. Exterior exposure adds a separate appearance requirement.
Plan the Site Work in Five Stages
1. Check the Weather Window and Work Area
Compare the actual product’s application conditions with the expected site conditions through the relevant curing period. Check materials and bonding surfaces, not only the weather forecast’s air temperature.
Arrange suitable shelter, access and material storage. After rain or overnight cooling, inspect the contact faces again for moisture or condensation. Establish who decides whether the work can proceed when conditions change.
2. Dry-Fit and Resolve Access
Rehearse positioning, support and access to the bonding zones. Check that the assembly fits without forcing it into place and that the specified adhesive geometry can be achieved.
Prepare the required fixtures before mixing. Record changes to supports or contact areas so they can be resolved while the interfaces remain accessible.
3. Measure and Mix the Matched Components
Use the supplied component identities, ratio and stated weight or volume basis. Equal-sized containers do not establish equal component quantities. Use clean tools and follow the mixing method for the selected grade.
Prepare a batch matched to the installation pace. Record the mixing start and application sequence. Discard material that has passed its working stage; extra hardener, water or solvent is not a remedy for lost workability.
4. Apply, Position and Protect
Place adhesive at the defined interfaces, maintain the intended contact and hold the assembly in position. Keep movement zones and drainage paths clear of squeeze-out.
Protect fresh work from the exposure conditions identified in the work plan. Follow the labels and safety data sheets for handling, ventilation and protective equipment, including any preparation products.
5. Release by the Required Stage
Separate fixture removal, further processing, handling and service loading. Record the conditions and criteria used for each decision. Surface hardness alone does not establish that a connection is ready for its design load.
Our marble adhesive properties guide explains these curing-stage distinctions. Outdoor scheduling should allow for the actual conditions, including changes during the cure.
Detail the Exposed Weatherseal Separately
A weatherseal has its own joint dimensions, backing and movement requirements. Use the selected sealant’s verified movement capability when developing the joint; elongation at break is a different property.
Arrange adhesion and staining assessments on the actual stone and adjoining materials, including relevant primers, backing, tapes and neighboring sealants. Neutral cure alone does not establish a non-staining result on marble.
Prepare the joint faces, install the specified backing or bond breaker, and avoid three-sided adhesion where it would restrict movement. Apply a continuous bead and complete tooling using the selected product’s method. Keep designed drainage openings clear.

KEDA’s Joint Sealing & Weatherproofing page covers this separate application discussion.
Investigate Problems at the Right Interface
| Observation | First area to investigate |
|---|---|
| Dark margin around a joint | Adhesive or sealant interaction, moisture, contamination and the actual stone treatment |
| Soft or unevenly cured material | Component identity, measurement, mixing, conditions and elapsed curing stage |
| Separation from a metal support | Actual finish, preparation, contamination and the documented interface assessment |
| Repeated sealant tearing or detachment | Joint movement, geometry, backing, adhesion and nearby panel movement |
| Water staining below a joint | Water routes, transitions, flashings, drainage and joint condition |
| Cracked or moving panel | Panel condition, support and fixing assembly before any cosmetic repair |
Record the location and timing, with photographs and available batch records. Loose or moving cladding needs assessment of the installation and safe access arrangements before repair. Adding adhesive or resealing the face can conceal the area needed to understand the cause.
At handover, retain the accepted sample, product records, preparation photographs, site-condition log and inspection results. Agree an inspection and maintenance plan suited to the building and exposure rather than relying on a universal interval.
Discuss the Appropriate KEDA Product
KEDA 2-Component Epoxy Structural Adhesive is the relevant starting point for discussing specified stone-to-support bonding interfaces. Provide the fixing drawing and actual contact materials so the grade can be assessed within the complete installation.
KEDA S300 Weatherproof Facade Silicone Sealant addresses nonstructural exterior weathersealing inquiries. Marble joints require their own compatibility, staining and movement assessment; this sealant is a separate selection from the material used to attach stone.
For a useful first inquiry, send the project location, application, stone and adjoining materials, photographs or a joint drawing, and expected quantity. Add exposure conditions and required technical evidence as the selection develops.
Conclusion
Start outdoor marble bonding with the stone, exposure and installation details. Define the adhesive interface, reproduce it in a representative trial, control the site sequence and record curing and release decisions. Coordinate exposed weatherseals and water management with the fixing system so each material performs its intended role.
Frequently Asked Questions
1. Can indoor marble adhesive be used outdoors?
Choose against the exact product’s stated use, actual joint and exposure. An indoor decorative-fabrication application does not establish suitability for an exterior repair or cladding interface. Provide the location and contact materials for selection.
2. Is epoxy automatically UV-stable and waterproof?
These are product-specific requirements. Review exposed color stability, the intended wetting conditions and the complete assembly separately. An exterior bonding application does not automatically include a visible white repair or permanent immersion.
3. Can silicone replace the fixings holding marble panels?
A nonstructural weatherseal closes a designed joint; panel attachment follows the fixing-system design. Select and assess those functions separately rather than using weatherseal flexibility as evidence of load capacity.
4. What is the correct curing time for outdoor marble bonding?
Use the actual grade’s instructions and the recorded application conditions. Identify the next operation—handling, processing, fixture removal or loading—and apply its relevant release criteria. A general resin name cannot supply one universal time.
5. Does a neat sample prove the installation is suitable?
A sample can establish appearance and demonstrate the proposed preparation and assembly process. Required performance evidence must address the specified interface, conditioning, test method and acceptance criteria. Keep those records alongside the visual sample.
Reviewing an outdoor stone-bonding or weathersealing application? Contact KEDA with the stone, joint details, exposure and supply requirements to begin product selection.