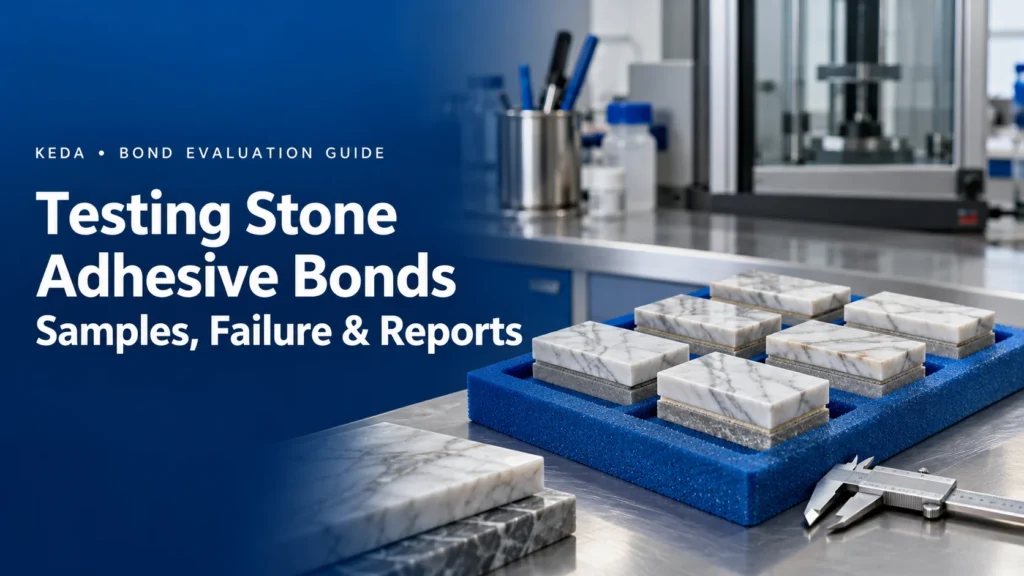
Two stone adhesives are listed with different strength values. One report describes a metal lap joint; another gives the tensile strength of cured resin. Neither number, on its own, tells a fabricator how a marble edge joint or a stone-to-support interface will perform.
Testing stone adhesive bonds starts with a defined question and a representative specimen. Identify what is being evaluated, reproduce the relevant materials and process, then report both the measured result and where separation occurred.
This guide explains how to plan useful samples, distinguish test families and request a report that supports a practical decision. It focuses on test planning and interpretation rather than a universal loading procedure for finished installations.
Define the Decision Before Preparing Samples
Write the question in terms of the actual work. Useful examples include comparing two preparation methods on a resin-treated marble back, checking a decorative-edge process or investigating separation from a coated metal support.
Identify the decision the result will support: an appearance approval, a process comparison, product characterization or project-specific qualification. These purposes may need different specimens and evidence.
For fabrication and installation context, the marble adhesive properties guide explains how application behavior, curing stages and final properties relate to different operations.
Distinguish the Test Families
| Evaluation | What is evaluated | What the result needs alongside it |
|---|---|---|
| Cured-material tensile test | A specimen made from the cured material | Material preparation, specimen geometry and test conditions; it is not a stone-interface test |
| Bonded-joint test | An adhesive assembly loaded in a defined configuration | Adherends, preparation, geometry, loading and failure location |
| Pull-off assessment | A defined local surface system under perpendicular loading | Method scope, fixture attachment, layers involved and separation plane |
| Appearance or process trial | Color, staining, cure, positioning or finishing response | Representative materials, process record and observation stages |
A neat appearance sample can help approve a visible joint. A strength specimen answers a mechanical question under its test conditions. Keep both records when both decisions matter.
Check the Scope of a Named Method
A method designation describes a particular evaluation. For example, ASTM D1002 concerns metal-to-metal single-lap joints under tension loading. Replacing the metal adherends with stone changes the specimen and needs to be identified in the method description.
ASTM D4541 concerns pull-off testing of coatings using portable testers. Its name is not a universal specification for every marble installation. Ask the testing organization to identify the applicable method, edition, apparatus and any modification for the proposed evaluation.
The report should distinguish testing to a method from using selected features of a method. That distinction makes results easier to assess and avoids an unsupported compliance claim.
Build Specimens That Represent the Interface
Use the Actual Stone and Adjoining Material
Record the stone identity, source or batch, orientation, finish and backing. A clean untreated offcut may not represent a resin-coated, sealed or mesh-backed production piece.
For a stone-to-metal joint, identify the metal and its actual finish. For another receiving material, include the layer that the adhesive touches and the layers relevant to the test. “Stone bonded to steel” leaves important information missing if the production interface is a coating on the steel.
Record Geometry and Preparation
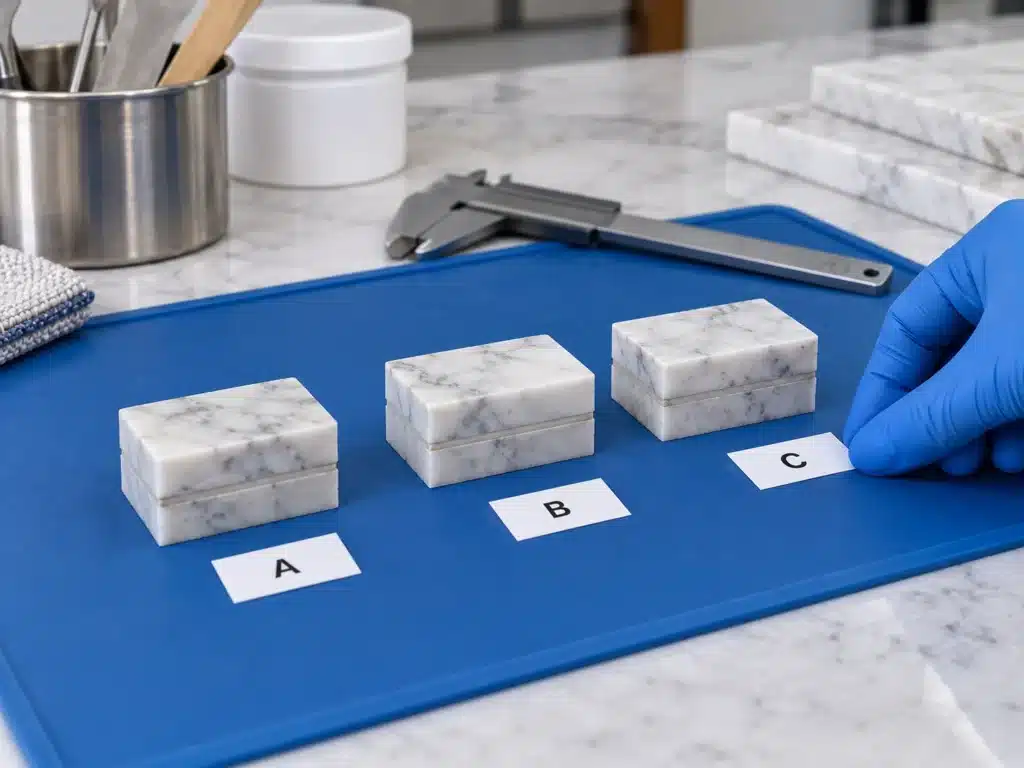
Define specimen dimensions, contact area and bond-line geometry in the test plan. Record the preparation method and the condition of both contact faces before bonding.
Keep dimensions and preparation consistent within a comparison. If surface preparation is the variable being investigated, hold the other relevant factors constant and identify the preparation used for each specimen group.
Preserve Product and Mixing Identity
Record the exact adhesive grade, component batches, storage history where relevant, measurement basis and mixing procedure. Use the matched components and their stated ratio; a test of an improvised mixture does not characterize the supplied system.
Include the color recipe or other permitted additions if they form part of the proposed process. Note the mixing and placement sequence and any departure from the plan.
For a fabrication example, the marble-to-marble bonding guide provides a sequence of dry fitting, preparation, positioning and finishing checks that can inform a representative process trial.
Control Curing and Conditioning
Specify the intended age and curing conditions at testing, then record what actually occurred. Material temperature, storage before testing and any conditioning should remain traceable to the specimen.
Separate an early-handling assessment from an evaluation after the selected curing period. A harder surface or a sample left overnight does not define the same test condition for every resin and environment.
If the question concerns wetting, heat or another exposure, define that conditioning with the test organization. Compare relevant specimen groups using the same mechanical method and record the sequence between curing, exposure and testing.
An exposure-conditioned result addresses that particular program. Translating a laboratory exposure into years of service needs an additional technical basis; the test duration alone cannot provide it.
Read Force, Area and Units Together
Some test results are calculated by dividing a measured force by a defined reference area. The report must say which force and area were used and what the selected method calls the resulting value.
For a simple arithmetic illustration:
2,000 N ÷ 1,000 mm² = 2 N/mm² = 2 MPa.
These numbers demonstrate units only. They are not KEDA test data, a specimen recommendation or an acceptance threshold.
A value calculated with that relationship is still tied to the specimen and loading configuration. Geometry, alignment and load application affect how stresses develop. The resulting nominal value is not a statement that every point in the joint carried a uniform stress.
When two reports both show MPa, compare their methods and specimens before comparing the numbers. A material tensile result, an apparent lap-shear value and a local pull-off result remain different evaluations.
Record Where Separation Occurred
Inspect and photograph both corresponding surfaces before cleaning or discarding them. Link the photographs to the specimen, orientation and test record. Where the selected method uses failure-pattern designations, include them and describe mixed patterns as required.
| Observed separation | What to record | First point for interpretation |
|---|---|---|
| At an adhesive-to-stone interface | Which face separated and the visible residue | Review that interface, preparation and conditions |
| Within the adhesive layer | Location and appearance of the split | Relate the result to the tested material and cure |
| Within stone or another adherend | Material and fracture location | The interface’s ultimate strength may not have been reached |
| In backing, coating or another layer | Identity of the layer and separation plane | That layer formed part of the tested connection |
| At the fixture attachment or in a mixed pattern | All affected regions and fixture details | Assess validity and interpretation under the selected method |
Stone fracture does not establish a universal “stronger than stone” claim. It shows how that specimen separated under that test. A coating separation likewise points to a different part of the assembly from an adhesive split.
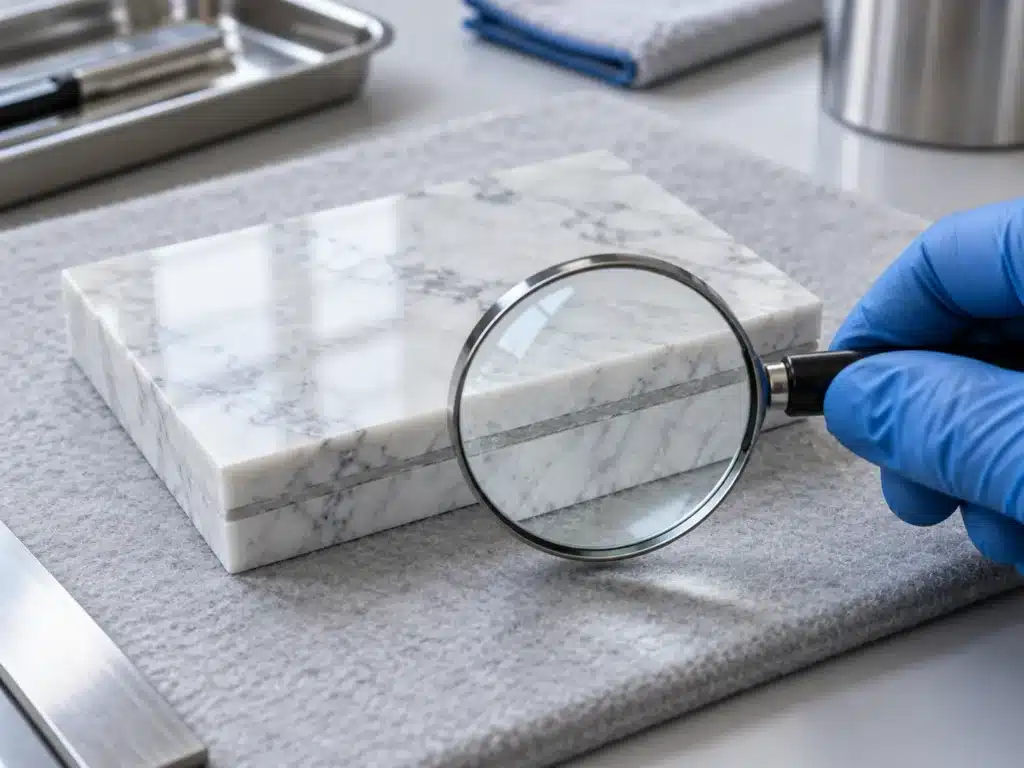
Compare a Series, Not Just the Highest Result
Plan the specimen count and grouping around the selected method and decision. Identify the variables being compared, the replication needed and how departures or invalid tests will be handled before the results are known.
Retain individual results and their failure descriptions. Summaries may include the statistics required by the plan, but an average should not hide a specimen that behaved differently.
For a preparation comparison, first review whether the specimen materials, geometry and curing remained comparable. If one group used a different stone batch or experienced different conditioning, record that difference instead of attributing the change entirely to preparation.
A low or unexpected value is a reason to review the specimen history, setup and separation plane. Excluding it requires an explanation tied to the agreed method and assessment process, not simply that it lowers the average.
Request a Report That Can Be Reviewed
| Report section | Information to request |
|---|---|
| Purpose and scope | Question, intended decision and limits of the evaluation |
| Materials | Stone and adjoining materials, finishes, treatments, product and component identities |
| Specimens | IDs, geometry, reference area, preparation and assembly details |
| Cure and conditioning | Actual ages, conditions and exposure sequence |
| Method and equipment | Method/edition, modifications, fixture and loading details, equipment identification and relevant calibration information |
| Individual results | Recorded force, calculated value and units where applicable, failure description and departures |
| Supporting evidence | Corresponding photographs and location or specimen references |
| Assessment | Acceptance basis, conclusions within scope and the identity of the responsible testing organization |
Ask for the result tables and supporting detail as well as any summary page. A product data sheet can summarize a property, while a test report needs enough information to understand the particular evaluation.
Where a project requires an accredited laboratory or a specific accredited test scope, identify that requirement when commissioning the work. A logo on a document is not a substitute for checking what work and scope the report covers.

Apply the Findings to the Actual Work
Use the report to answer the question in its scope. A comparison may help refine preparation; an appearance trial may establish the accepted sample; a defined qualification program may support a particular product-and-interface selection.
Keep the tested conditions connected to production. If the backing, coating, adhesive grade, joint geometry or curing process changes, review whether the existing evidence still represents the work.
For a panel installation, the adhesive interface is one part of the assembly. The vertical stone and slab installation guide explains the separate roles of supports, fixings and temporary restraint. A coupon result alone does not establish the capacity of the complete installation.
For testing on existing work, define locations, access, the intended test system and how any affected area will be assessed and repaired. The test organization should resolve the method and setup before destructive work begins.
Keep Acceptance Criteria Separate from Test Values
A test method explains how an evaluation is performed; the applicable specification or qualification plan establishes how its results will be accepted for the intended purpose.
Agree that basis before testing, including how individual values, variation, failure patterns and departures will be considered. Avoid replacing it with a generic minimum taken from an unrelated adhesive, substrate or application.
A useful conclusion states what was tested, under which conditions, what was observed and which decision the evidence supports. Broader claims about installation life, weather resistance or structural performance require evidence suited to those claims.
Discussing a KEDA Product Evaluation
KEDA Knife Grade Polyester Marble Adhesive is the relevant starting point for suitable nonstructural fabrication and local-repair trials. Define the actual stone, joint, appearance and finishing process being assessed.
KEDA 2-Component Epoxy Structural Adhesive is the related discussion for designated stone-installation interfaces. Provide the proposed assembly and contact materials so the evidence request addresses the relevant joint.
These product links identify application discussions; they do not imply that a particular test report or universal pass value is already available. Ask for evidence for the exact supplied grade and relevant conditions.
For an existing report, send the complete document and identify the proposed use. For a new trial, provide the materials, interface, test question and evidence requirements before preparing specimens.
Conclusion
Useful stone-adhesive testing connects a clear question to representative specimens, controlled conditions and a reviewable report. Read the method, result and failure location together. Preserve individual records and apply the findings to the materials and interface actually evaluated.
Frequently Asked Questions
1. Can the highest MPa value identify the best stone adhesive?
Compare method, materials, geometry, cure and conditioning first. Values from different evaluations cannot form a reliable ranking simply because their units match.
2. Does broken stone mean the adhesive is suitable for every installation?
It identifies the failure location in that specimen. It does not determine every other joint’s capacity, exposure response or installation suitability.
3. Is a hand-break demonstration a bond-strength report?
It can demonstrate a sample’s behavior under an informal action, but it lacks the defined measurement and conditions needed for a mechanical test result. Do not report it as a measured strength value.
4. How many samples are required?
Use the selected method and agreed test plan. The number and distribution depend on the decision, variability and evaluation scope; a universal sample count cannot cover all fabrication trials and installations.
5. Does one passing test predict the service life of a stone joint?
It supports a conclusion within its defined conditions and acceptance basis. Service-life claims need a separate basis addressing the relevant exposure, loads, assembly and maintenance.
Reviewing an adhesive sample or test report? Contact KEDA with the product, stone, interface and intended application so the evidence request can be matched to the work.