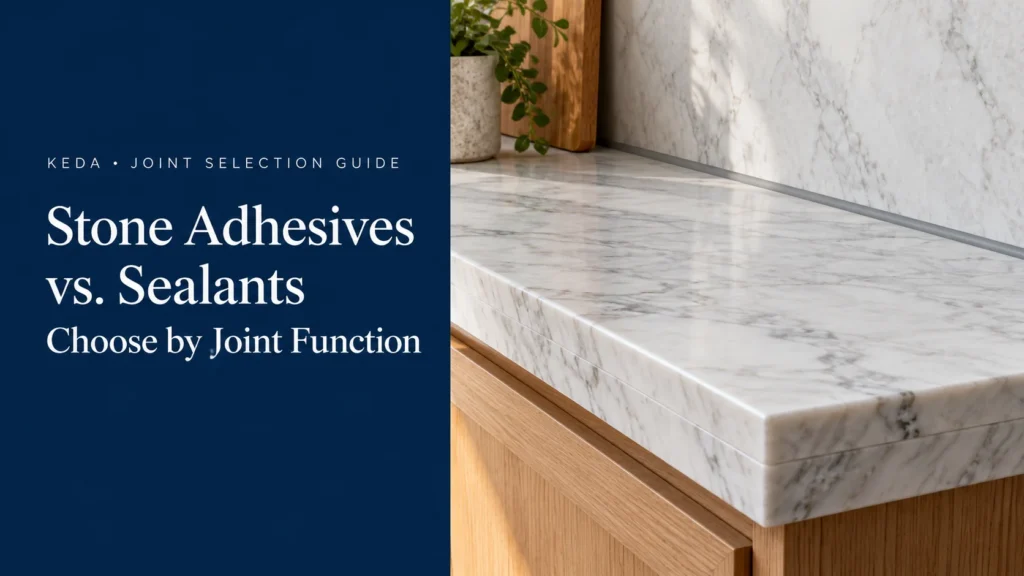
A marble counter can include a bonded decorative edge, a connection to its supporting base and a sealed joint against a backsplash. All three may be described as needing “stone glue,” but each material has a different job.
Choosing rigid stone adhesives vs. flexible sealants starts with the joint function. Identify what must stay joined, what carries the loads and where relative movement must remain possible. Then select the product, geometry and preparation for that interface.
This guide separates stone fabrication, installation bonding and nonstructural joint sealing. It explains the practical questions to resolve before ordering, applying or replacing a material.
Map the Joint’s Function First
| Joint or interface | Intended function | Main selection questions |
|---|---|---|
| Stone fabrication joint | Join prepared pieces for a defined assembly or repair | Stone, contact geometry, cured appearance, finishing and support |
| Installation bonding interface | Perform the specified bonding role within an installation assembly | Contact materials, design loads, supports, fixings, adhesive geometry and exposure |
| Nonstructural movement or perimeter joint | Maintain a seal while accommodating the designed connection behavior | Relative movement, joint dimensions, adhesion, compatibility, backing and exposure |
An indoor or outdoor label does not replace this first distinction. The same project can contain all three functions, and a material selected for one interface may be inappropriate for another.
For the broader material comparison, read Polyester vs. Epoxy vs. Cement-Based Adhesives for Marble.
Where a Rigid Stone Adhesive Fits
Fabricated Edges and Local Repairs
A cured rigid adhesive can suit compatible stone-fabrication work such as joining a decorative strip or filling a local defect. Selection includes how the material behaves during positioning and how it looks after the intended shaping or polishing.
Start with the actual contact faces and geometry. Dry-fit the pieces, inspect the preparation zones and make a representative cured appearance sample. A broad face, narrow repair and mitered edge expose different parts of the bond and need their own trial.
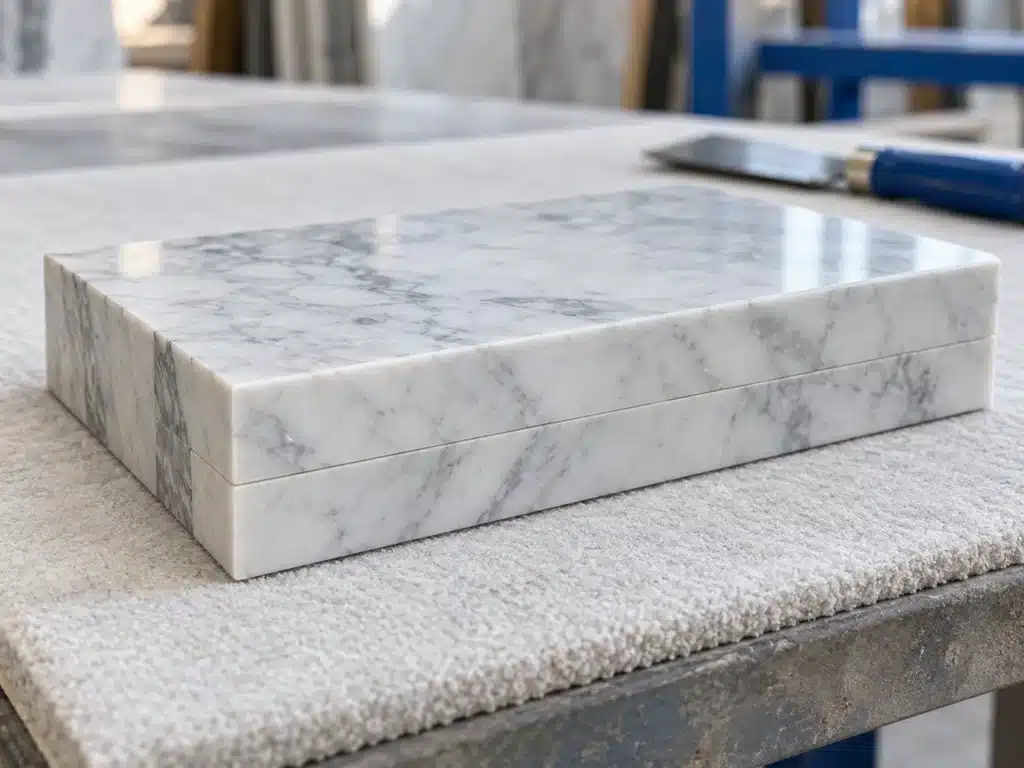
Maintain the support and positioning needed by the assembly during curing and subsequent handling. Our marble-to-marble bonding guide develops that workshop sequence in more detail.
Defined Installation Interfaces
An installation adhesive has to match its actual role within the supporting assembly. A stone-to-metal connection, for example, involves the stone, the adhesive, the prepared metal surface and the support’s connection to the structure.
Record any coating or backing at the immediate bonding face. Review the specified contact area and bond-line geometry together with the fixing arrangement. A rigid paste can perform a designated bonding function while movement is accommodated elsewhere in the assembly.
Non-sag consistency helps control placement. It does not determine the load carried by the connection or the time for removing temporary support.
Where a Flexible Sealant Fits
A suitable elastomeric sealant forms a seal between compatible joint faces while allowing the movement for which the detail is designed. Examples include assessed perimeter connections and joints between adjoining finish elements.
The relevant questions differ from those for a polishable fabrication joint. Establish the materials on both sides, expected opening and closing, possible shear movement, exposure and available joint dimensions.
A visible bead is only part of the detail. The joint also includes prepared contact faces and the specified backing or bond-breaker arrangement. Plan those parts before applying sealant, especially when the joint has a narrow opening or restricted depth.
KEDA’s Joint Sealing & Weatherproofing application page provides the separate starting point for that discussion.
Use Movement Evidence, Not a Stretch Claim
Elongation at break describes a material property under its test conditions. Joint movement capability concerns the sealant’s behavior in a defined joint and evaluation. A large elongation number is not a joint-movement classification.
Where a specification requires a classification, request the applicable type, grade, class and use, with the supporting evidence for the selected product. Check that the relevant substrates and application are covered.
Do the same for exposure claims. Flexibility alone does not establish suitability for traffic, immersion, chemical contact or every exterior condition.
Resolve the Joint Geometry and Backing
Joint dimensions connect the expected movement to the selected sealant capability. Establish the installation opening, intended depth, bonding faces and available space with the joint designer and supplier.
Use the specified backing to control the detail and support application. Avoid unintended three-sided adhesion where it would restrict the movement joint. Check that the backing and any bond-breaker material are compatible with the other contact materials.
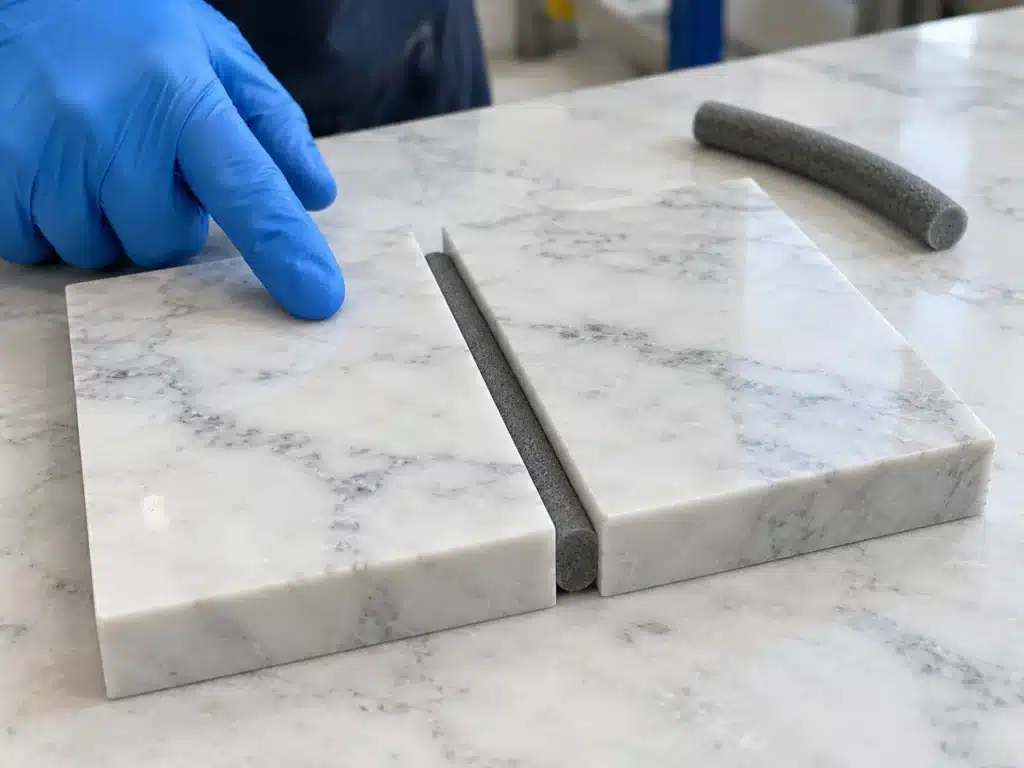
A deeper gap does not necessarily call for filling its entire depth with sealant. Likewise, a thin surface bead over an old failed joint does not recreate the intended bonding faces and geometry.
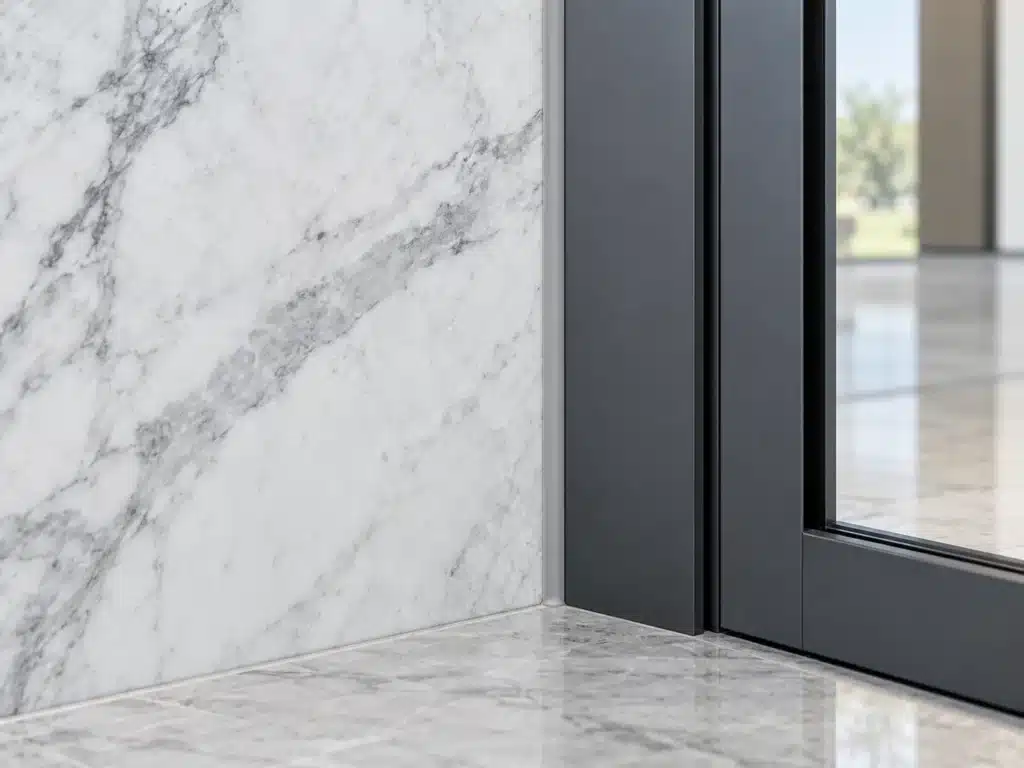
Keep movement details connected to the surrounding construction. Where drainage or ventilation openings form part of the installation, preserve their purpose instead of closing every visible gap.
Check Stone Compatibility and Appearance
Identify All Contact Materials
For either a rigid adhesive or a sealant, identify the actual stone and finish. Include factory resin, sealer, coatings, previous repair material and the preparation method where they affect the interface.
For a sealant joint, extend the review to the primer, backing, masking, neighboring sealants, gaskets and other relevant materials. Similar appearance or a shared generic material name does not establish compatibility.
Assess Adhesion and Staining Separately
A material can adhere while producing an unacceptable appearance change in sensitive stone. A visually clean sample can also leave the mechanical question unanswered. Plan the assessments around those separate requirements.
Use production-representative stone and the proposed material combination. Record the initial appearance and inspect the exposed face and joint margins at the defined stages. Neutral cure and white color alone do not establish a non-staining result.
For fabrication color samples, see the stone adhesive color-matching guide. For formal evidence, the stone adhesive testing guide explains how specimen details, conditions and report scope affect interpretation.
One Countertop Can Need Several Material Decisions
Consider a stone counter with a laminated front edge and a stone backsplash. The edge adhesive joins the fabricated components and must suit their finishing process. The top’s support and attachment follow the installation arrangement. The perimeter joint against the adjoining finish has its own sealing and movement requirements.
Selecting a softer material for the visible edge would change that fabrication decision. Choosing a stronger rigid resin for the perimeter would not establish an appropriate movement detail. Treat each interface as a separate entry on the work plan.
This approach also improves procurement. Describe the task as an edge-fabrication adhesive, a specified attachment material or a perimeter sealant so the supplier knows what is actually being requested.
The stone countertop adhesives guide explains the relationship between seams, decorative edges and independent countertop support.
Follow a Practical Selection and Application Sequence
1. Describe the Joint and Its Condition
Record its location, function, dimensions, materials and exposure. For replacement work, photograph the existing joint and identify whether the problem involves the material, the adjoining surface or movement of the assembly.
A flexible sealant cannot stabilize a loose panel, and a rigid refill cannot establish why a joint reopened. Resolve an underlying support or substrate problem before treating the visible line as the whole defect.
2. Define the Product and Detail Together
For fabrication, establish fit, appearance and finishing. For an installation interface, identify the bonding role and supports. For a sealant, establish the movement and joint detail.
Keep the selected product’s identity and relevant technical evidence with the drawing or work description. Avoid substituting another product solely because it has the same resin family, color or a higher headline strength.
3. Prepare and Trial the Actual Surfaces
Inspect both contact faces and remove contamination using the selected preparation method. Assess coatings and backing layers before changing them. Use primers only as part of the chosen material-and-substrate system.
Trial the preparation, application and cleanup on representative materials. A cleaner that works on a metal frame may affect nearby stone; include surrounding finishes when deciding how the work will be protected.
4. Apply Within the Material’s Working Stage
For a two-component rigid adhesive, measure the matched components on the stated basis, mix thoroughly and position the assembly while workable. Maintain the planned contact and support.
For a sealant, prepare the joint, place the specified backing and apply continuous material against the intended bonding faces. Complete tooling and masking removal at the appropriate stage using the selected method.
Use the labels and safety data sheets for handling, protective equipment and ventilation. Keep unauthorized additives, improvised tinting and unassessed tooling liquids out of the process.
5. Protect, Inspect and Record Release
Keep fresh work protected from disturbance and premature exposure. Distinguish working time, surface skin or hardness, handling readiness and the stage needed for the next operation.
For a rigid assembly, record support and release decisions. For a sealant joint, record preparation, geometry, application conditions and the relevant inspection or testing. Retain the accepted sample and material batches for either process.
Handover Checks by Function
| Check | Rigid fabrication or installation interface | Flexible sealant joint |
|---|---|---|
| Materials | Stone and actual contact surface match the reviewed assembly | Both joint faces and contact materials match the assessed detail |
| Geometry | Fit, contact area and adhesive layer follow the intended joint | Opening, depth, backing and bonding faces follow the joint detail |
| Appearance | Finished sample, exposed glue line and surrounding stone are reviewed | Bead continuity, finish and stone margins are reviewed |
| Support | Required temporary and permanent support are addressed | Adjacent components are stable; the sealant is performing its sealing role |
| Cure and release | Next handling, processing or loading stage is documented | Protection and readiness for the intended movement or exposure are addressed |
| Records | Product, batches, preparation, sample and inspection evidence are retained | Product, contact materials, detail, conditions and inspection evidence are retained |
Investigate Failures Before Switching Materials
| Observation | First checks |
|---|---|
| Rigid joint reopens | Actual movement, fit, support, interface and curing history |
| Sealant splits within the bead | Joint movement, geometry, material capability and application history |
| Sealant separates from an edge | Actual substrate, preparation, primer, contamination and movement |
| Stone develops a dark margin | Moisture, material interaction, treatments and staining assessment |
| Panel, frame or countertop moves | Support, fixings and adjoining construction before cosmetic sealing |
| A new bead fails over an old one | Condition of the existing material and whether the intended joint was properly renewed |
Keep photographs and the material history. Replacing a failed rigid joint with a flexible product, or the reverse, changes the connection behavior and needs a review of its function. A material swap alone does not explain or resolve the original cause.
Match the KEDA Inquiry to the Joint
KEDA Knife Grade Polyester Marble Adhesive is the related starting point for suitable nonstructural stone fabrication and local repair. Include the stone, joint and finishing requirements.
KEDA 2-Component Epoxy Structural Adhesive addresses designated stone-installation bonding interfaces. Provide the actual contact materials, support arrangement and exposure for the product review.
KEDA S500 Stone & Concrete Silicone Sealant is positioned for nonstructural stone and concrete joint sealing. Provide the stone treatment, joint detail, movement and staining requirements; the product name does not establish universal stone compatibility or a particular movement class.
For supply discussions, add the desired color, packaging, quantity and destination market after identifying the application. A clear joint description makes the product discussion more useful than asking for the strongest or most flexible glue.
Conclusion
Choose rigid stone adhesives and flexible sealants by the work the joint must perform. Define the interface, support or movement detail, assess the actual materials and trial the process. Keep preparation, geometry, curing and inspection tied to that function throughout installation and handover.
Frequently Asked Questions
1. Can silicone replace marble adhesive for a decorative edge?
A nonstructural joint sealant is a different selection from a fabrication adhesive. Define the edge assembly, fit, finishing and support requirements, then choose a material intended for that joint.
2. Can rigid epoxy fill a movement joint?
Preserve the movement function defined for the joint. A rigid fill changes that behavior; greater adhesive strength does not establish that the joint can be closed rigidly.
3. Is flexible always better outdoors?
Exterior exposure can involve bonding interfaces, fixings and weatherseals in the same assembly. Select each product for its role, materials and exposure rather than choosing everything by flexibility.
4. Does a high elongation value prove a sealant’s movement class?
No. Elongation at break and evaluated joint movement are different properties. Request the movement evidence and classification relevant to the product and proposed joint.
5. Does neutral silicone guarantee no staining on marble?
Neutral cure does not establish that outcome. Assess the actual stone, finish and proposed sealant combination for adhesion, compatibility and staining using the evidence required for the application.
Selecting a stone adhesive or joint sealant? Contact KEDA with the joint’s function, materials, dimensions and exposure so the product and supply requirements can be reviewed together.