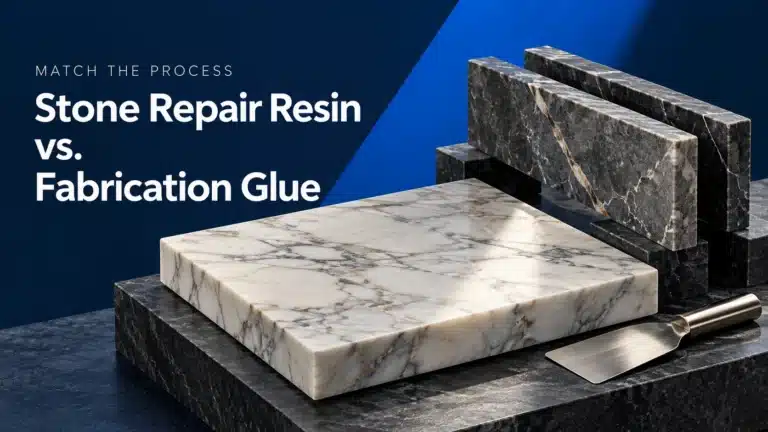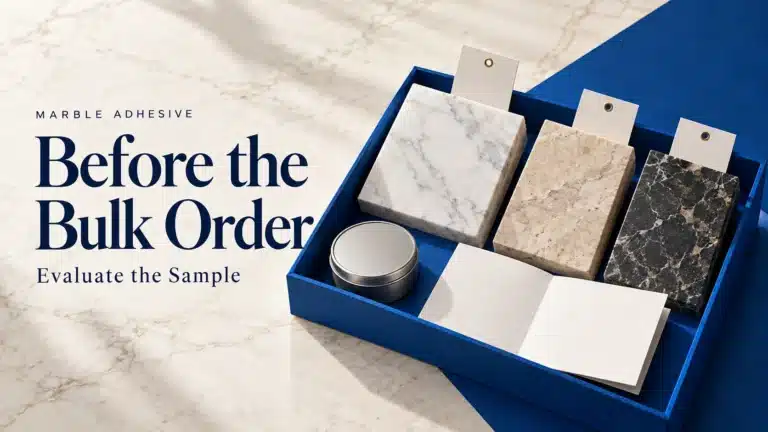
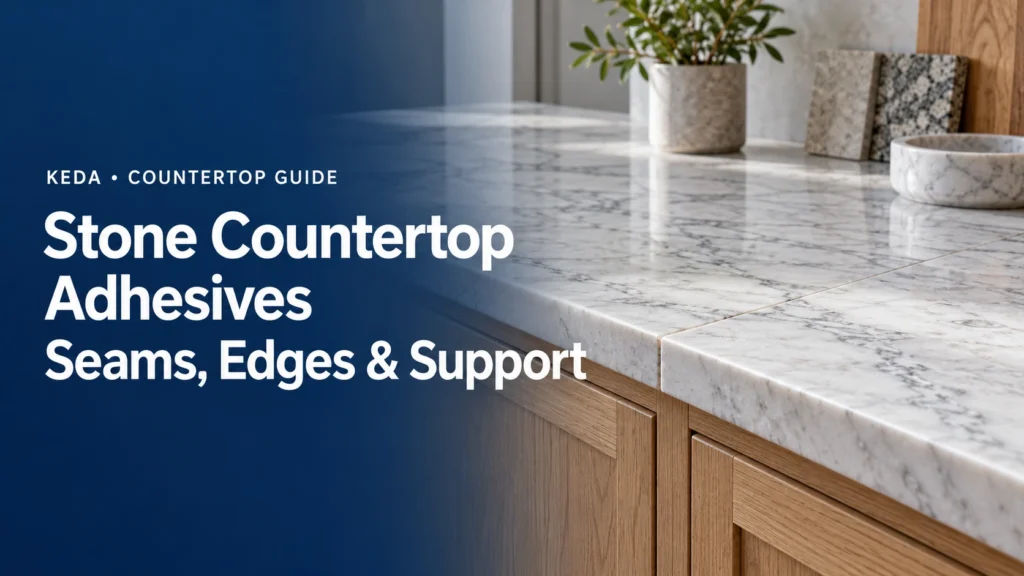
A dark countertop seam, a misaligned edge and a top that moves on its cabinets can all arrive as an “adhesive problem.” Yet each points to a different part of the work. Changing to a stronger glue may leave the actual cause unresolved.
Choosing stone countertop adhesives starts by separating three jobs: joining stone pieces, building a decorative edge and securing a properly supported top within its installation system. Each has its own bonding faces, appearance requirements and processing sequence.
This guide covers marble and granite countertop fabrication and installation planning, with a focus on visible seams, edge assembly and the checks needed before bonding.
Separate the Adhesive Tasks Before Ordering
| Task | What the material needs to do | What must be checked separately |
|---|---|---|
| Stone-to-stone seam | Form the intended joint with an acceptable cured appearance | Fit, surface alignment, seam location and support |
| Decorative edge lamination or miter | Join the fabricated edge components and suit their finishing process | Cut accuracy, positioning, profile and support |
| Countertop-to-base attachment | Secure compatible surfaces within the chosen installation method | Cabinet integrity, contact arrangement and any specified fixings |
| Perimeter or movement detail | Accommodate the requirements of the designed connection | Movement, exposure and compatibility with stone and adjacent materials |
A rigid fabrication adhesive, a base-attachment material and a flexible joint sealant therefore belong to different selections. Start with a drawing or clear description of the interface rather than the phrase “countertop glue.”
KEDA’s Stone Fabrication & Repair solutions provide the related starting point for workshop bonding and local repair.
Begin with the Countertop Layout and Support
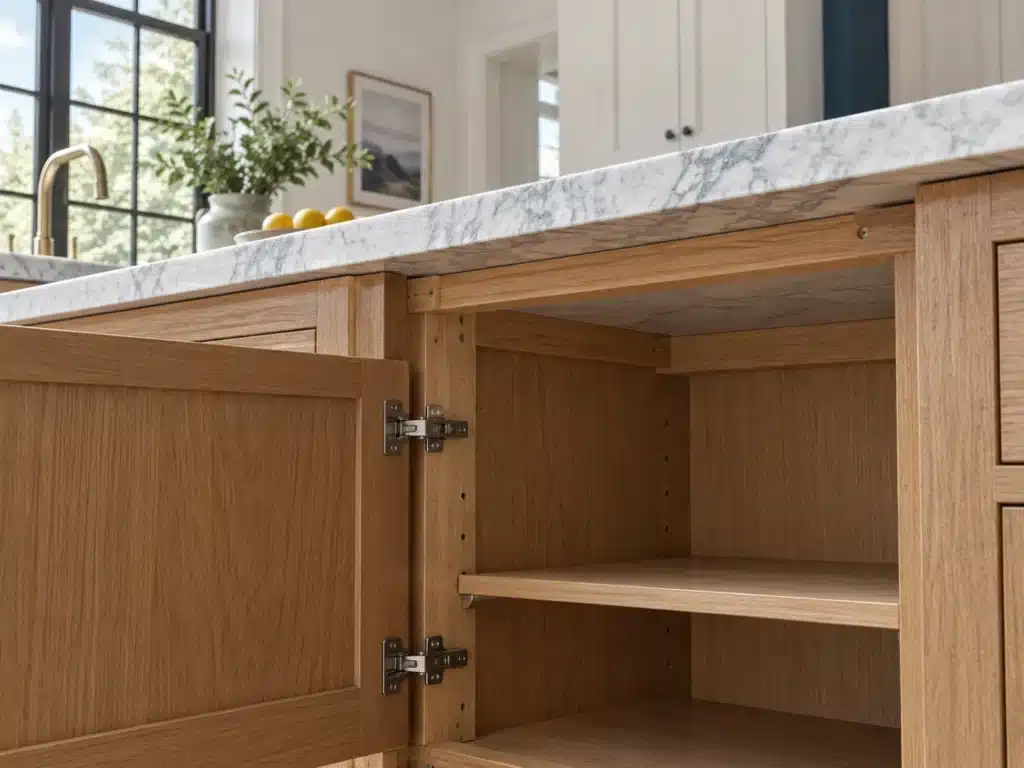
Review the stone pieces, seams, cutouts, cabinet arrangement and installation access together. Confirm that the support shown in the fabrication or installation plan can actually be provided on site before preparing adhesive.
Check the Cabinet Contact and Condition
Inspect the cabinet structure and planned bearing surfaces for stability, condition and alignment. Identify high points, missing contact or movement that would affect the stone. Resolve those issues through the specified support arrangement before using seam fixtures to bring the pieces together.
Adhesive selection does not determine an allowable unsupported span or overhang. Stone properties, thickness, geometry and the supporting assembly all matter. Obtain the appropriate detail for that combination instead of adopting a universal projection from a general article.
Give Cutouts and Appliances Their Own Review
Sink and cooktop openings change the geometry of a top and complicate handling. Include them in seam planning, access and support decisions. The sink also has its own mounting requirements; a stone seam adhesive is not a substitute for that mounting system.
Record any site changes after templating. A moved cabinet, altered opening or different appliance can change the fit and support available at installation.
Choosing an Adhesive for a Visible Countertop Seam
The seam material must suit the actual stone and the joint, while producing an acceptable visible result after curing and cleanup. Color, consistency, workability, staining response and the intended finishing method are useful selection questions.
A knife-grade polyester product can be considered for compatible nonstructural stone-fabrication work. An epoxy or another dedicated seaming adhesive may be a different selection for a particular joint. Compare actual products intended for the job instead of assuming one resin family is best for every countertop.
For the wider comparison, read Polyester vs. Epoxy vs. Cement-Based Adhesives for Marble.
Assess Both Bonding Faces
Inspect the cut edges and any factory treatment, repair resin, sealer or handling contamination. The adhesive interacts with the immediate surface, so a clean untreated offcut may not represent a treated production piece.
Use the preparation method suited to the stone and adhesive. Remove loose material and contamination, keep preparation dust out of the joint and establish the required dry condition before bonding.
Approve a Finished Color Sample
Match the local stone appearance, not just its trade name. A pale marble background, a gray vein and a speckled granite pattern can make the same adhesive shade appear different.
Assess a cured sample in a representative joint. Check color, translucency, perimeter staining, surface level and sheen under relevant lighting. KEDA Stone Adhesive Color Paste is a related accessory for compatible systems; our stone adhesive color-matching guide explains the trial process.
A Practical Seam-Assembly Sequence
1. Dry-Fit Before Mixing
Position the pieces on the intended supported arrangement and inspect the seam along its full length. Check fit, orientation and visible surface alignment. Rehearse fixture access and the order in which the parts will be positioned.
If the joint rocks or opens because of cut accuracy, debris or an uneven base, correct that issue before bonding. A large bead of adhesive does not establish a remedy for an arbitrary gap.
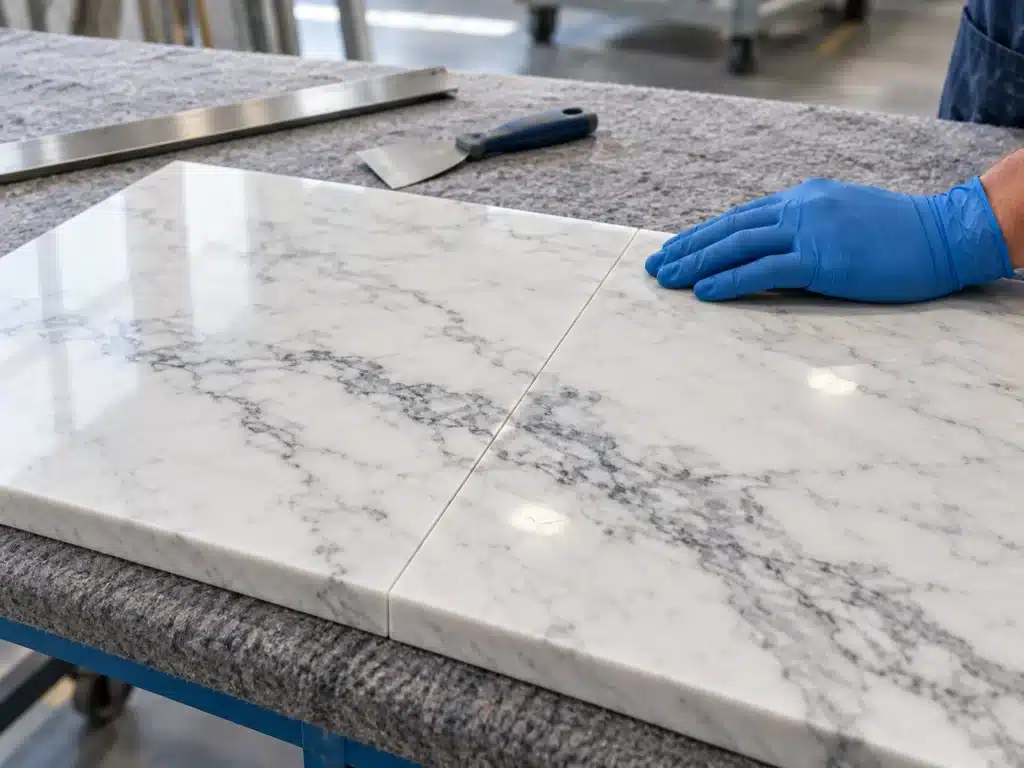
Application illustration: inspect a supported seam sample for fit and appearance.
2. Prepare the Components and Work Area
Stage the approved adhesive, matching curing components, measured color recipe, clean tools and suitable positioning fixtures. Protect nearby finishes using masking and cleanup materials already checked on the stone.
Coordinate handling and access with the fabrication team. A sequence that works on a small sample can become awkward when a long piece must pass a wall return or appliance opening.
3. Mix and Apply Within the Working Window
Measure the product’s components on the stated weight or volume basis and mix thoroughly. Follow the specified tinting sequence. Prepare a quantity that can be applied and positioned while workable under the actual material and site conditions.
Apply the adhesive at the intended prepared interface using the product and joint method. Keep mixed material out of the original containers and follow the labels and safety data sheets for handling, ventilation and protective equipment.
4. Position, Inspect and Maintain Support
Bring the pieces into the rehearsed position and use suitable fixtures to hold alignment. Check the whole seam, including surface level and the ends. Fixtures should maintain the intended fit rather than force a distorted piece against an unresolved support problem.
Clean excess material using the appropriate method and timing without disturbing the joint. Maintain the specified support while curing, and establish fixture removal, subsequent handling and release for use as separate decisions.
Our marble adhesive properties guide explains the distinction between working time, handling readiness, finishing readiness and full cure.
Decorative Edges Need Their Own Trial
A laminated strip creates a particular edge profile; a miter creates a different geometry and exposed corner. Check the actual cut, contact faces, positioning and final appearance for each.
Prepare a representative sample and finish it as intended. Inspect the line after shaping or polishing, because material exposed during machining can look different from the original wet joint. Keep a retained sample as the production reference.
A thicker-looking decorative edge does not, by itself, establish the support capacity of the countertop. Keep the edge-fabrication decision connected to the overall support arrangement.
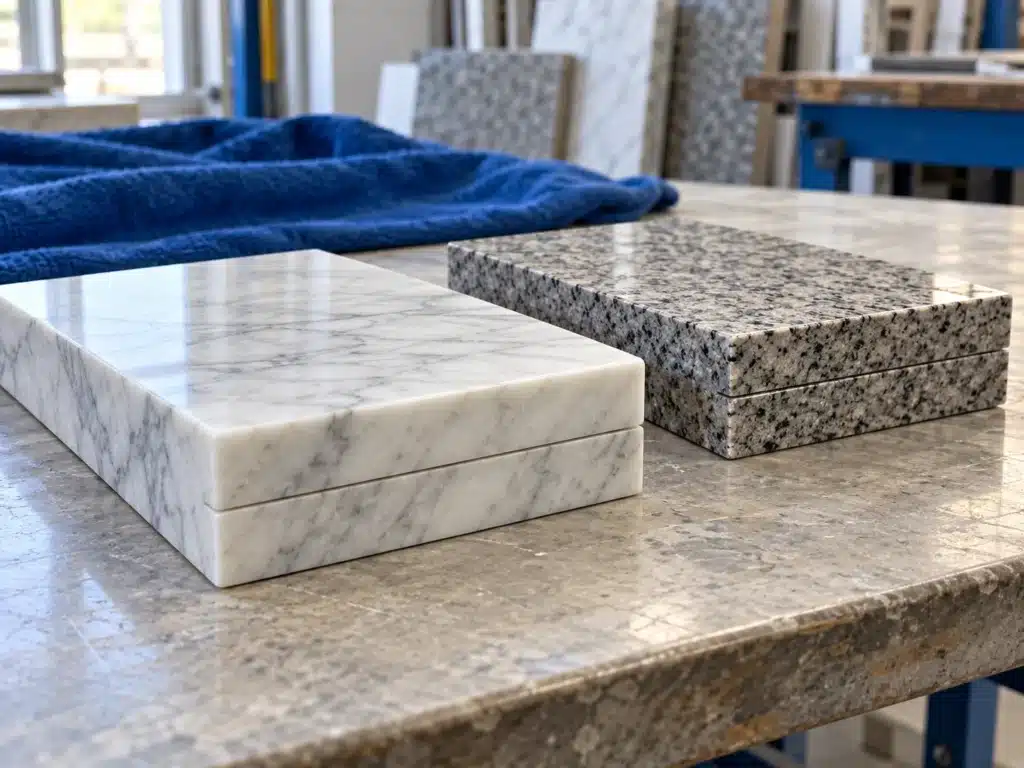
For a detailed workshop sequence, see Marble-to-Marble Bonding: Preparation, Color and Support.
What Changes Between Marble and Granite?
Appearance and Local Stone Variation
Some marble joints are sensitive to the contrast between an opaque fill and translucent surrounding stone. Granite can present a different challenge: its mixed mineral colors and pattern may make a solid adhesive line conspicuous.
Select against the actual repair location and sample, including the treatment and finish. A previous recipe for a similarly named stone is a starting record to review, not an appearance approval for a new batch.
Surface Treatment and Finishing Method
Inspect resin treatments and prepared bonding faces for both materials. Do not infer an untreated surface from a polished appearance or assume that a sealer makes a slab nonporous.
Plan cleanup and any finishing before assembly. Grinding an installed polished face to correct poor alignment can create another appearance problem. Approve the proposed process on an offcut and protect the surrounding finish.
A Countertop Handover Checklist
| Checkpoint | Useful evidence or observation |
|---|---|
| Support and site condition | The agreed cabinet and support arrangement is in place; changes have been resolved |
| Seam fit and appearance | The joint meets the agreed fit, alignment and sample appearance |
| Decorative edge | The intended profile, bond line and finish have been inspected |
| Curing and release | The product and process conditions support the next handling or use stage |
| Cutouts and mounting | Relevant sink, appliance and mounting details have been addressed |
| Cleanup and care | Excess material and masking residue are removed using a stone-compatible method |
Keep photographs, product identities, the color recipe and the accepted sample. Record the installation conditions and any agreed limitations for use or care. A neat photograph alone is not a complete record of how the countertop was assembled.
Common Problems and the First Area to Investigate
| Problem | Start the investigation here |
|---|---|
| Seam looks dark | Compare adhesive shade, joint depth, fill level, contamination and possible staining |
| Surfaces meet at different levels | Recheck cut fit, base alignment, support and positioning |
| Decorative strip shifts | Rehearse the fixture arrangement and inspect contact while the material is workable |
| Adhesive stays soft or smears | Check component identity, measurement, mixing, temperature and cure stage |
| A seam opens after installation | Assess movement, support, the actual interface and curing history before refilling |
| A top or sink moves | Review the relevant support or mounting system instead of treating it as a cosmetic seam repair |
For a reopening or moving joint, establish the cause before adding more material. A local refill cannot establish that a changing support condition has been corrected.
Discussing a KEDA Product for Countertop Fabrication
KEDA Knife Grade Polyester Marble Adhesive is the related product for suitable nonstructural stone-fabrication and local-repair inquiries. Select it against the actual stone, prepared faces, joint and service conditions.
Send the task, stone details, photographs of the bonding faces, planned finish and processing requirements. For supply discussions, include the destination market, preferred color, packaging and quantity. Keep a request for a seam or decorative-edge adhesive distinct from a request for cabinet attachment, sink mounting or a movement-joint sealant.
Conclusion
Countertop adhesive selection works best when the seam, decorative edge and supporting installation are treated as connected but distinct decisions. Start with sound support and fit, approve the joint sample, control mixing and positioning, and record the checks before release for use.
Frequently Asked Questions
1. Can one adhesive handle seams, cabinet attachment and movement joints?
These interfaces perform different jobs and contact different materials. Select the appropriate product for each role. A rigid stone-fabrication adhesive should not be assumed to replace a flexible joint detail or the specified base-attachment method.
2. Is epoxy always the best adhesive for a granite countertop seam?
No resin-family name settles the selection. Compare products intended for the joint, including their compatibility with the prepared granite, workability, appearance, curing and exposure requirements.
3. Will a color-matched countertop seam be invisible?
Color is only part of the result. Joint width, stone pattern, translucency, surface alignment and lighting affect visibility. Agree a representative cured sample and acceptable finished appearance.
4. Can a stronger adhesive allow a larger unsupported overhang?
An adhesive strength claim does not establish the allowable overhang of a countertop assembly. The stone, geometry, loads and support arrangement need their own assessment and detail.
5. Does a fully cured adhesive automatically qualify for food contact?
Cure and food-contact suitability are different questions. If the application or procurement specification requires relevant documentation, request evidence for the exact product and intended contact conditions. General claims about epoxy or cured resin do not provide that evidence.
Planning countertop seams or decorative edges? Contact KEDA with the stone, joint details, photographs and order requirements so the fabrication adhesive can be reviewed for the actual work.