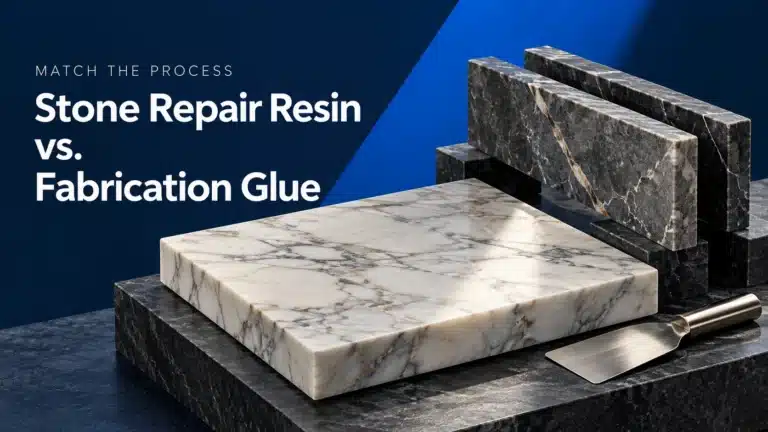
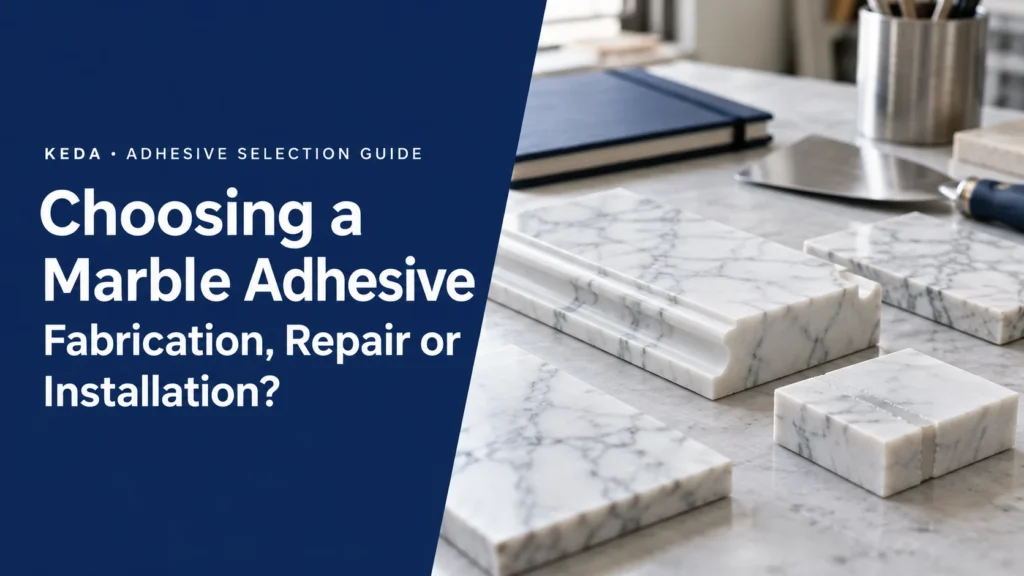
The right marble adhesive starts with the job: joining a fabricated edge, filling a small chip, setting a floor tile, bonding a designated installation interface, or sealing a joint that moves. Each task places different demands on the material.
For compatible nonstructural fabrication and local repairs, a knife-grade polyester stone adhesive may be a useful starting point. Installation interfaces may call for a specified epoxy adhesive within a support and fixing system. Full-bed tile setting requires a natural-stone setting product, while movement joints need a suitable flexible sealant.
Use the sequence below to turn “Which marble glue is best?” into a clear material choice, a representative sample and an order that matches the actual work.
Start With the Function of the Joint
Describe what the material must do before comparing chemistry, color or price. A decorative laminated edge on a supported countertop is a different joint from the interface between a wall panel and its support. A bathroom perimeter joint has another function again.
| Your task | Starting material category | Main selection question |
|---|---|---|
| Fabricate a decorative edge or compatible stone-to-stone detail | Stone fabrication adhesive, potentially knife-grade polyester | Can the joint be placed, finished and color-matched within the fabrication process? |
| Fill a shallow chip or small local defect | Compatible stone repair material | Does the cured repair suit the stone, defect depth and finishing method? |
| Bond a designated stone installation interface | Specified installation adhesive, potentially a two-component epoxy | Does the evidence cover the actual contact materials, joint and assembly? |
| Set marble tiles over a continuous substrate | Natural-stone full-bed setting product | Does the system suit the stone backing, moisture sensitivity, substrate and exposure? |
| Seal a perimeter or movement joint | Stone-compatible flexible joint sealant | Can the joint accommodate its expected movement without unacceptable staining? |
Write the function in one sentence: “Fill a shallow edge chip in a supported indoor marble worktop” is much more useful than “glue marble.” Include whether the joint is visible and whether it carries a load.
For the material basics behind these choices, see marble adhesive composition and properties.
Match the Material to the Work
Fabrication: Control Placement, Color and Finishing
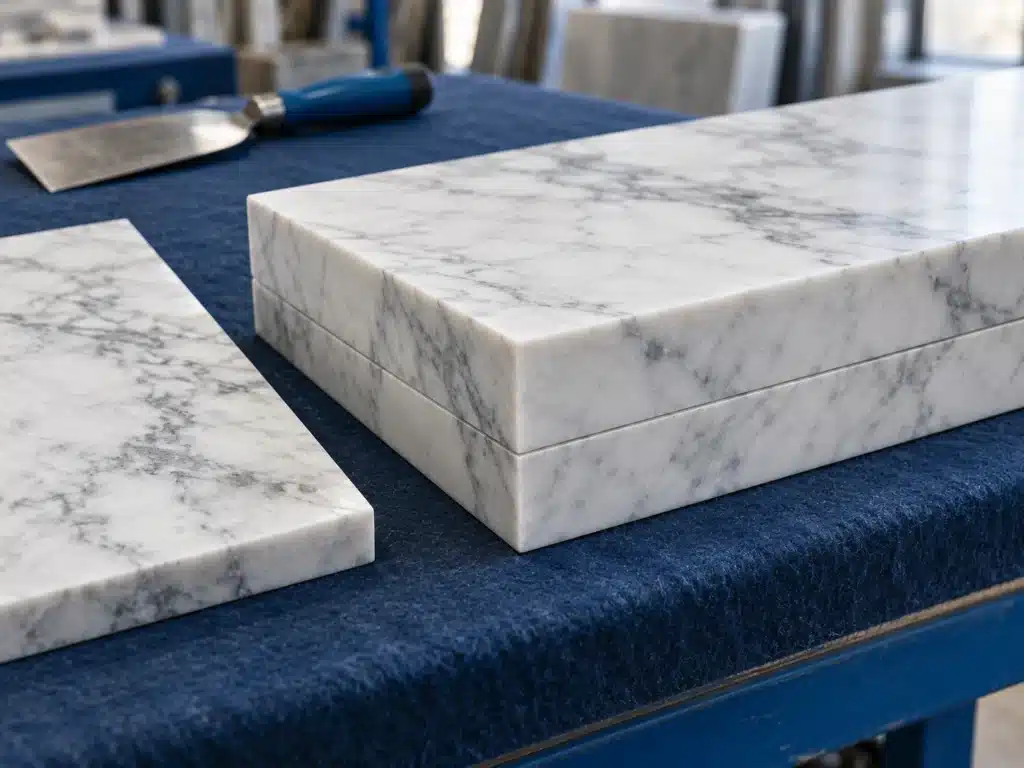
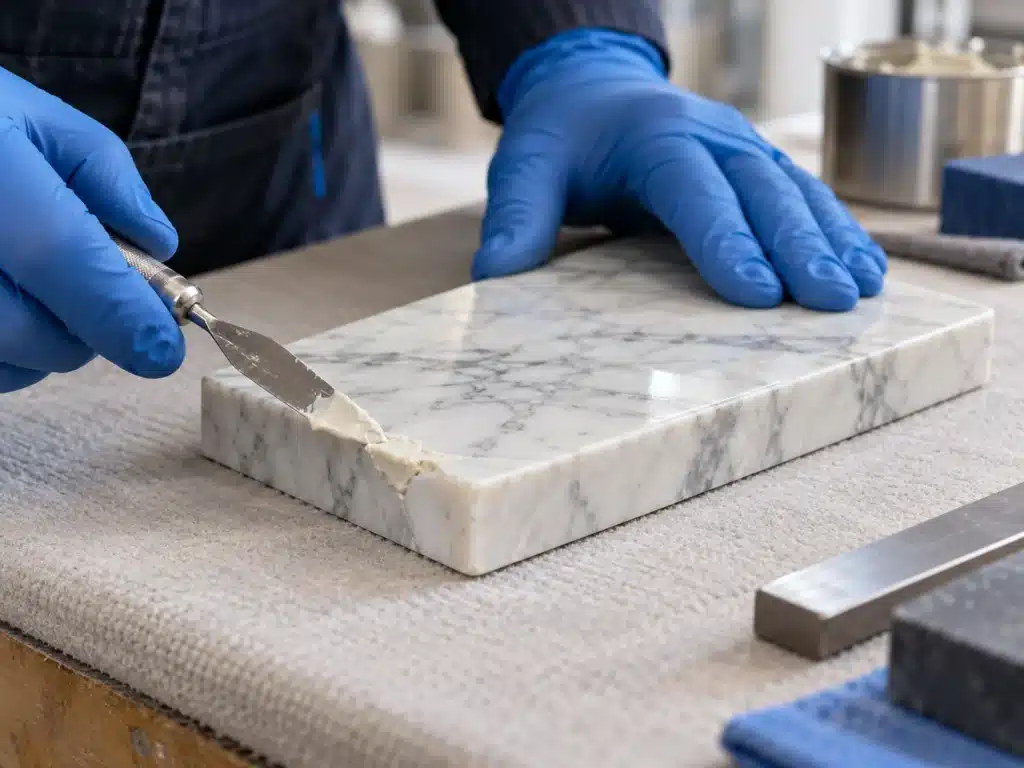
A fabrication adhesive needs to stay where the fabricator places it, wet the prepared contact faces and allow the planned finishing process. Knife-grade consistency can help with localized joints and filling, but consistency alone does not establish a product’s load capacity or outdoor suitability.
Evaluate a sample using the intended seam width and stone orientation. Look for a clean joint, manageable excess removal and a cured surface that responds well to the planned finishing tools. A pale adhesive can still leave a noticeable line if its translucency or finish differs from the surrounding marble.
KEDA Knife Grade Polyester Marble Adhesive is the relevant starting point for compatible nonstructural fabrication and local-repair trials. For the practical joint sequence, read the marble-to-marble bonding guide.
Repairs: Identify the Defect Before Filling It
A small edge chip, an open surface void and a crack through a slab require different decisions. A local filler may restore the shape of a shallow defect; it does not automatically restore the capacity of a fractured or poorly supported component.
First establish whether the stone is stable and what caused the damage. For a local cosmetic repair, trial the material on a spare offcut with a similar defect. Compare the cured color, edge definition and polished or honed finish. Clear resin may make some defects appear darker rather than disappear.
If a crack is growing, crosses a support area or involves a loose component, resolve the underlying assembly problem before treating the surface. Record the location and extent of the damage so the repair discussion addresses more than its appearance.
Installation Interfaces: Define Both Contact Materials
“Marble to metal” leaves several important details unanswered. The stone may have a resin-treated reverse face, and the metal may be painted, coated or contaminated. The adhesive contacts those surfaces, so their condition matters as much as the material names.
KEDA 2-Component Epoxy Structural Adhesive is the related product discussion for designated stone-installation interfaces. Provide the joint detail, support arrangement, contact materials and exposure when selecting the grade. The word “structural” in a product name does not determine the capacity of the completed assembly.
For vertical stone, the support and fixing design determines how loads are carried and what role the adhesive performs. The vertical marble installation guide explains this distinction in more detail.

Tile Setting and Movement Joints: Choose by System Role
A fabrication glue is not a general replacement for the setting product under a marble floor. Full-bed installation brings coverage, substrate preparation, stone backing, moisture response and movement provision into the same decision. Some moisture-sensitive or resin-backed stones require a purpose-specific setting product; the word “epoxy” alone does not establish suitability.
Use the large-format marble tile adhesive guide for that selection route. No KEDA full-bed setting grade is assigned in this article without a matching product scope.
A movement joint must retain its intended ability to move. Filling it with a rigid fabrication adhesive changes its function. For perimeter and movement-joint decisions, see flexible versus rigid marble adhesive materials.
Record the Stone, Exposure and Working Conditions
Inspect the Reverse Face as Well as the Polished Face
Record the stone type, thickness, finish and batch. Photograph the reverse face and any mesh, resin, coating or protective treatment. A test on a clean cut edge does not represent a bond made against a coated back.
Note translucency and the final viewing conditions. Thin, pale marble can reveal changes behind the surface. A small color swatch cannot show how a wider joint or backing pattern will look through the finished stone.
Describe Water, Heat and Movement Precisely
Separate occasional indoor splashes, repeated wetting, sustained immersion and exterior exposure. They are different service conditions. An adhesive’s water resistance also does not provide the waterproofing, drainage or movement design for the surrounding installation.
Include direct sunlight, nearby heat sources, substrate movement and temperature changes. For exterior projects, use the outdoor marble adhesive guide to structure the assembly review. Avoid turning a successful indoor sample into a general outdoor claim.
Fit the Adhesive Into the Production Sequence
Map the steps from mixing to final use: application, alignment, holding, handling, finishing and exposure. Working time, handling strength and full cure describe different stages. The relevant release point depends on the next operation, not simply whether the surface feels hard.
Plan batch size around the crew and the actual conditions. Use the selected product’s mixing instructions and matching components. Adding extra hardener or solvent to solve a scheduling problem changes the formulation rather than fixing the workflow. The marble adhesive properties guide explains these processing stages.
Make One Representative Sample Before Ordering for Production
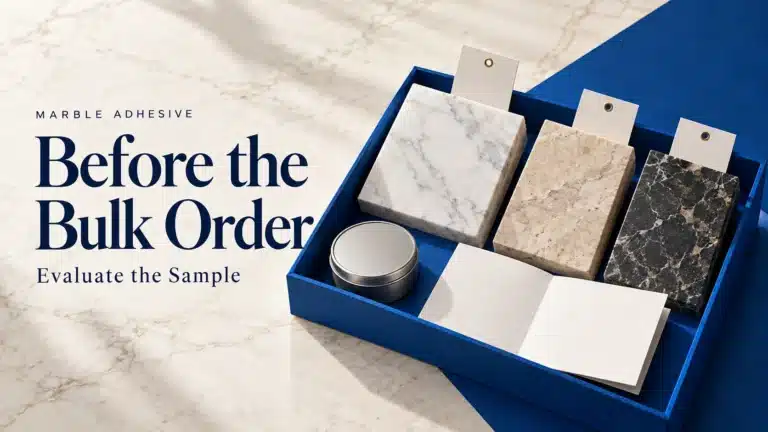
Use offcuts from the production stone, including the actual reverse-face treatment where relevant. Reproduce the contact materials, preparation, joint geometry, tint and finishing method. Keep an untreated reference offcut for comparison.
| Stage | What to record | What the observation helps decide |
|---|---|---|
| Before mixing | Stone batch, contact faces, preparation, product and component identification | Whether the sample represents the planned work |
| During application | Batch size, conditions, placement, wetting, alignment and holding method | Whether the crew can place the joint consistently |
| Through curing | Times, conditions and the product-defined handling and processing stages | When each planned operation can begin |
| After finishing and cleanup | Joint color, surface finish, residue, edge quality and photographs | Whether the appearance and cleanup method are acceptable |
| During later observation | Changes in appearance or joint condition under the defined sample exposure | Whether further investigation or relevant testing is needed |
Set appearance criteria before making several samples. Compare the joint in the expected lighting and from a realistic viewing distance, as well as close up. Keep the same camera position when documenting changes.
Use KEDA Stone Adhesive Color Paste only with a compatible adhesive system and its stated addition limits. Color paste is an accessory; it does not replace the curing component or change the adhesive’s application category. Follow the marble adhesive color-matching guide for a controlled tinting sequence.
A useful sample separates several questions: can the crew apply it, does it look acceptable, and what evidence supports its required performance? A visually satisfactory joint answers only the appearance question. Use the marble bond-strength testing guide when defining a performance-evidence request.
Use Sample Problems to Improve the Choice
| Observation | First investigation | Practical next step |
|---|---|---|
| Joint looks too dark or too visible | Tint, translucency, joint width, residue and lighting | Compare cured samples with one variable changed at a time |
| Material moves out of position | Consistency, joint geometry and temporary holding | Revise the application method or select a suitable grade |
| Bond separates at a contact face | Dust, moisture, coatings, preparation and actual contact | Record the failure location and review the interface before repeating |
| Mixed material remains uneven or soft | Component identity, measurement, mixing and conditions | Isolate the batch and correct the process before another sample |
| Cracking or movement returns | Support, restraint, movement provision and original damage | Review the assembly before choosing another filler |
For halos, shadows or other appearance changes, use the marble adhesive staining guide to distinguish possible causes. A photograph of a dark line alone does not identify chemical migration.
Plan for Service and Maintenance
Durability depends on the complete joint: suitable material, sound contact faces, consistent mixing, adequate curing, support and the service environment. A generic “20-year adhesive life” gives no useful prediction for an unidentified marble assembly.
At handover, retain product and batch details, the agreed joint appearance, installation photographs and relevant technical documents. Record any restrictions on early cleaning or exposure. These records make later changes easier to investigate.
Use a cleaning method compatible with both marble and the joint materials. Acidic cleaners can damage many marble surfaces, and aggressive cleaning can complicate an adhesive or sealant problem. A penetrating stone treatment does not correct an unsuitable joint or failed bond.
Compare later concerns with the baseline record. Note when a change appeared, whether it is spreading, and whether movement or water entry accompanies it. Loose stone, opening joints and recurring cracks call for an assembly assessment; repeatedly covering the symptom with filler leaves the cause unresolved.
Send a Clear Selection Request to KEDA
Include these details in one project message:
- Task: fabrication, cosmetic repair, installation interface, tile setting or joint sealing.
- Materials: marble identification, thickness, finish, reverse-face photographs and the adjoining material.
- Joint and support: dimensions, joint shape, visible areas, support arrangement and the adhesive’s intended role.
- Environment: interior or exterior, water exposure, heat, sunlight and expected movement.
- Process: preparation, holding, finishing, crew sequence and site conditions.
- Evidence needed: application instructions, relevant technical data and sample or testing requirements.
Ask for the exact grade and matching components before comparing quotations. Compare material use, waste, finishing effort and likely rework on the same proposed detail; container price alone can hide a costly process mismatch.
Contact KEDA with the joint description and photographs to start a product-specific discussion and plan representative samples.
Frequently Asked Questions
1. What is the best adhesive for natural marble?
It depends on the function. Fabrication and small cosmetic repairs may suit a compatible stone adhesive; installation interfaces, full-bed setting and movement joints each need materials selected for their different roles. Start by describing the joint and its service conditions.
2. Is epoxy always better than polyester for marble?
No. Compare the specified products against the task. A fabrication adhesive may suit finishing and appearance needs, while a designated epoxy may suit a particular installation interface. Neither chemistry name establishes suitability for every marble project.
3. Can I use marble fabrication glue to lay floor tiles?
Use a natural-stone setting product selected for the stone, backing, substrate and exposure. Fabrication glue is not a general substitute for a full-bed setting system. Include moisture sensitivity and movement requirements in the selection.
4. Will white or clear adhesive prevent visible marks?
Color alone cannot establish that. Joint width, translucency, the stone’s backing, residue and material interaction can affect appearance. Compare cured and finished samples on the actual stone, including later observations relevant to the project.
5. How long should marble adhesive cure before use?
Use the selected product’s stage-specific instructions and actual conditions. Handling, polishing, loading and water exposure may have different release points. A hard-feeling surface or a generic 24-hour rule does not establish readiness for every operation.